Project Overview
This project involved the professional sanding and restoration of an existing wood floor at a property in Hackney, N1. The floor had seen years of daily wear and was in need of attention to bring it back to a quality finish. Our team carried out a full assessment before starting work, checking for any boards that needed attention alongside the main sanding and finishing work.
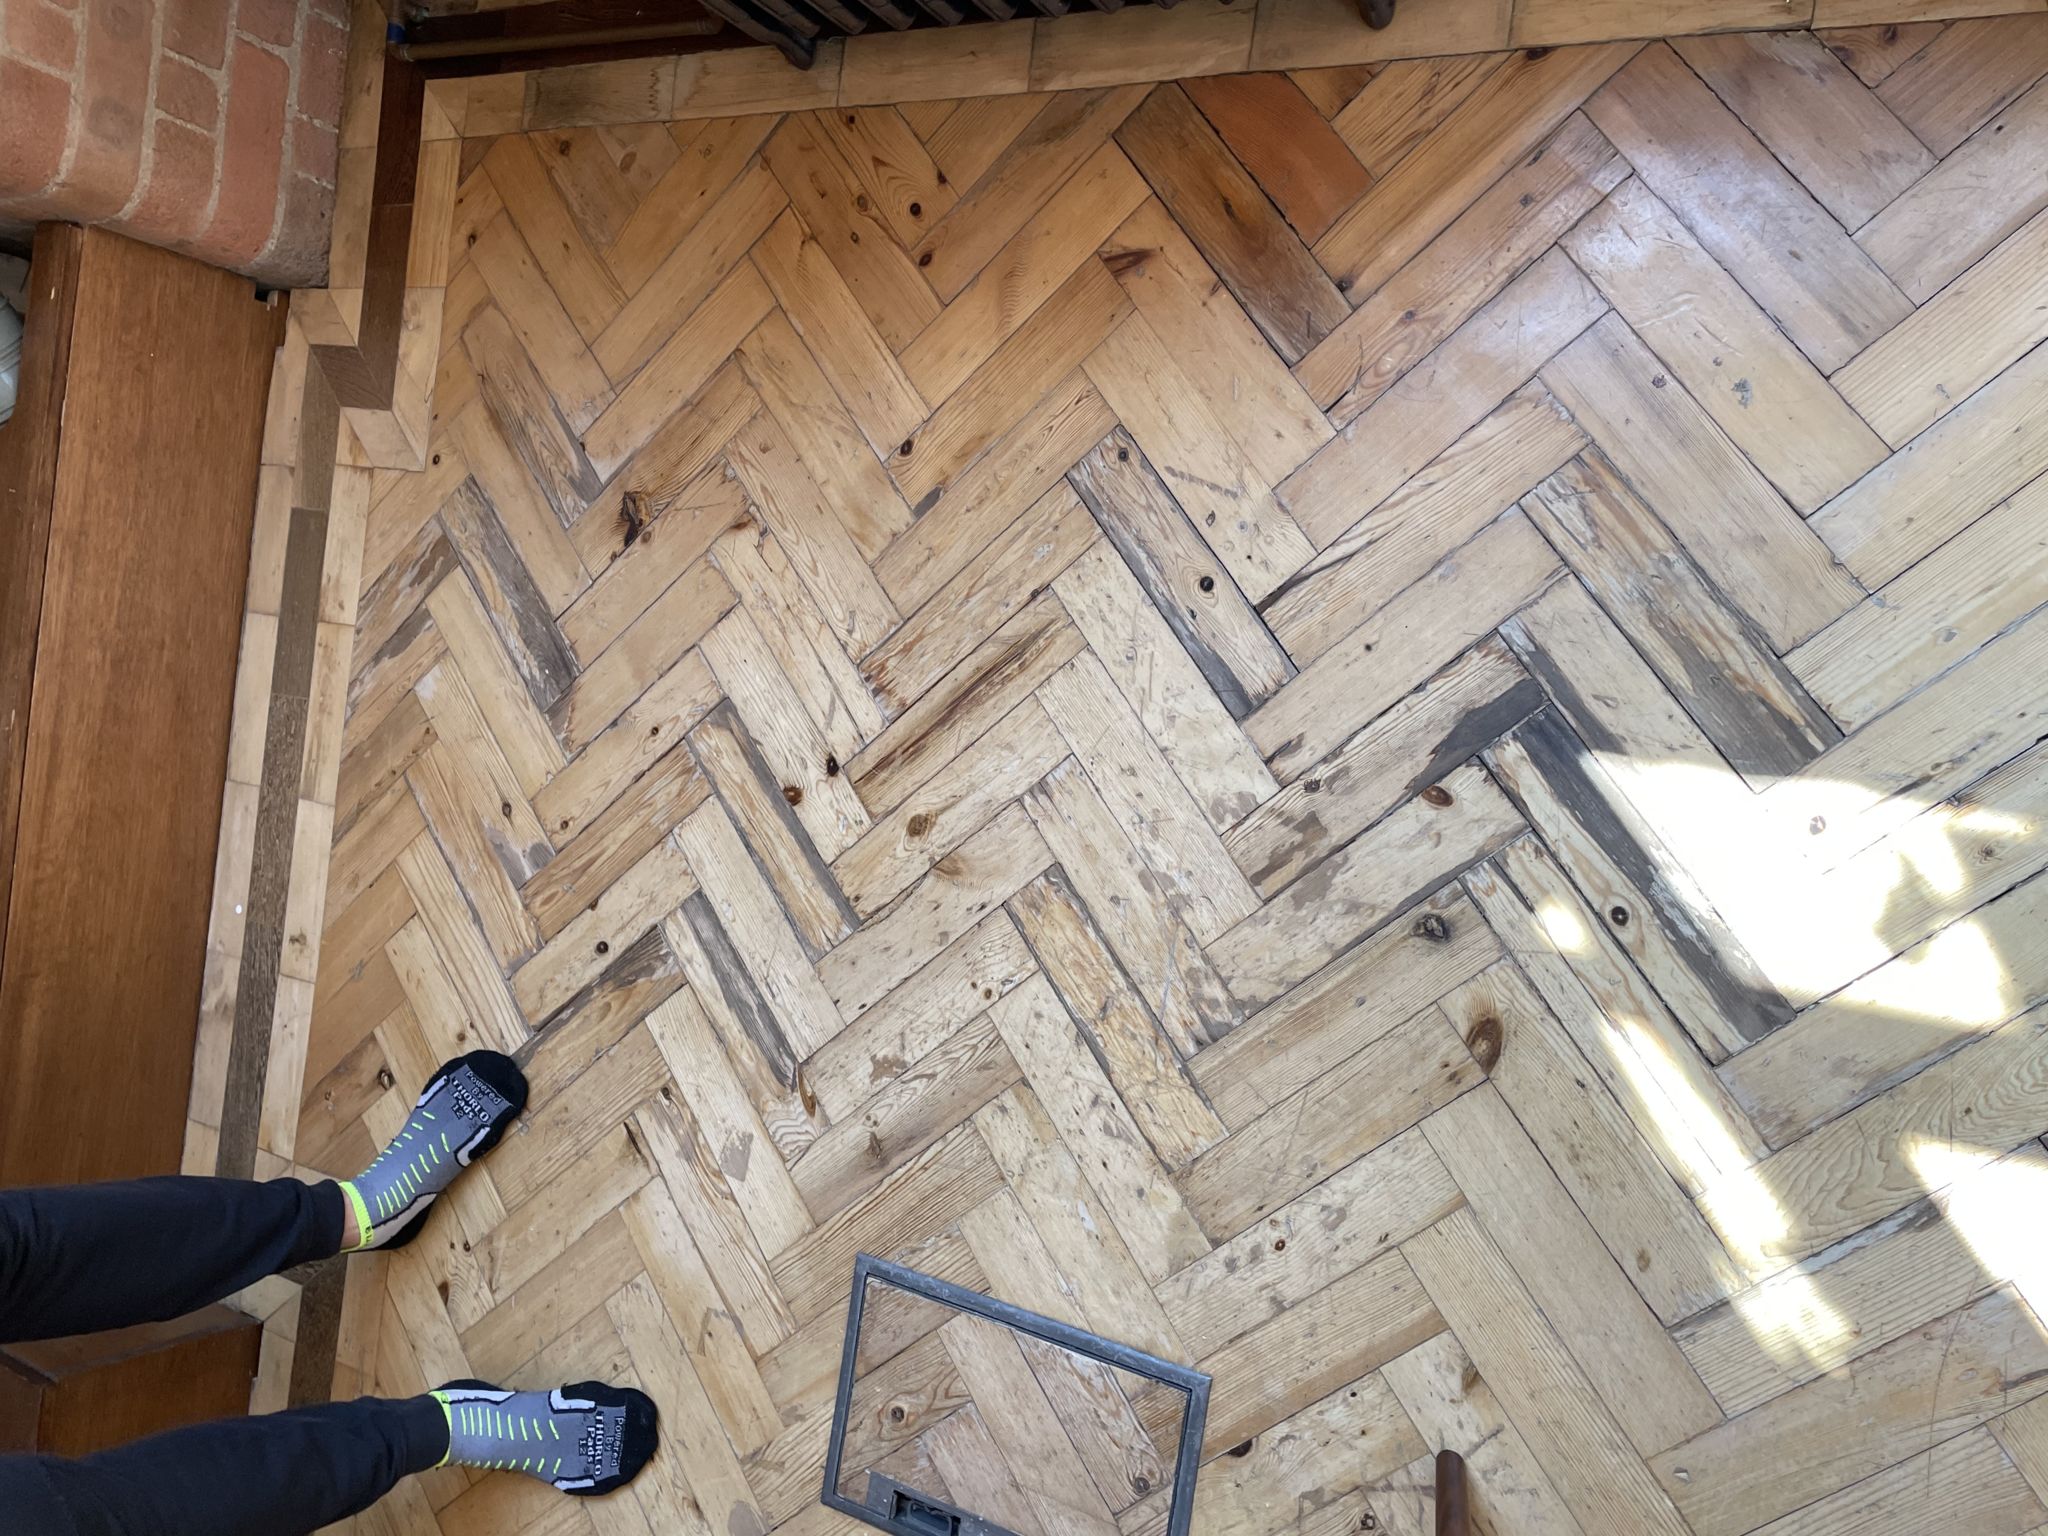
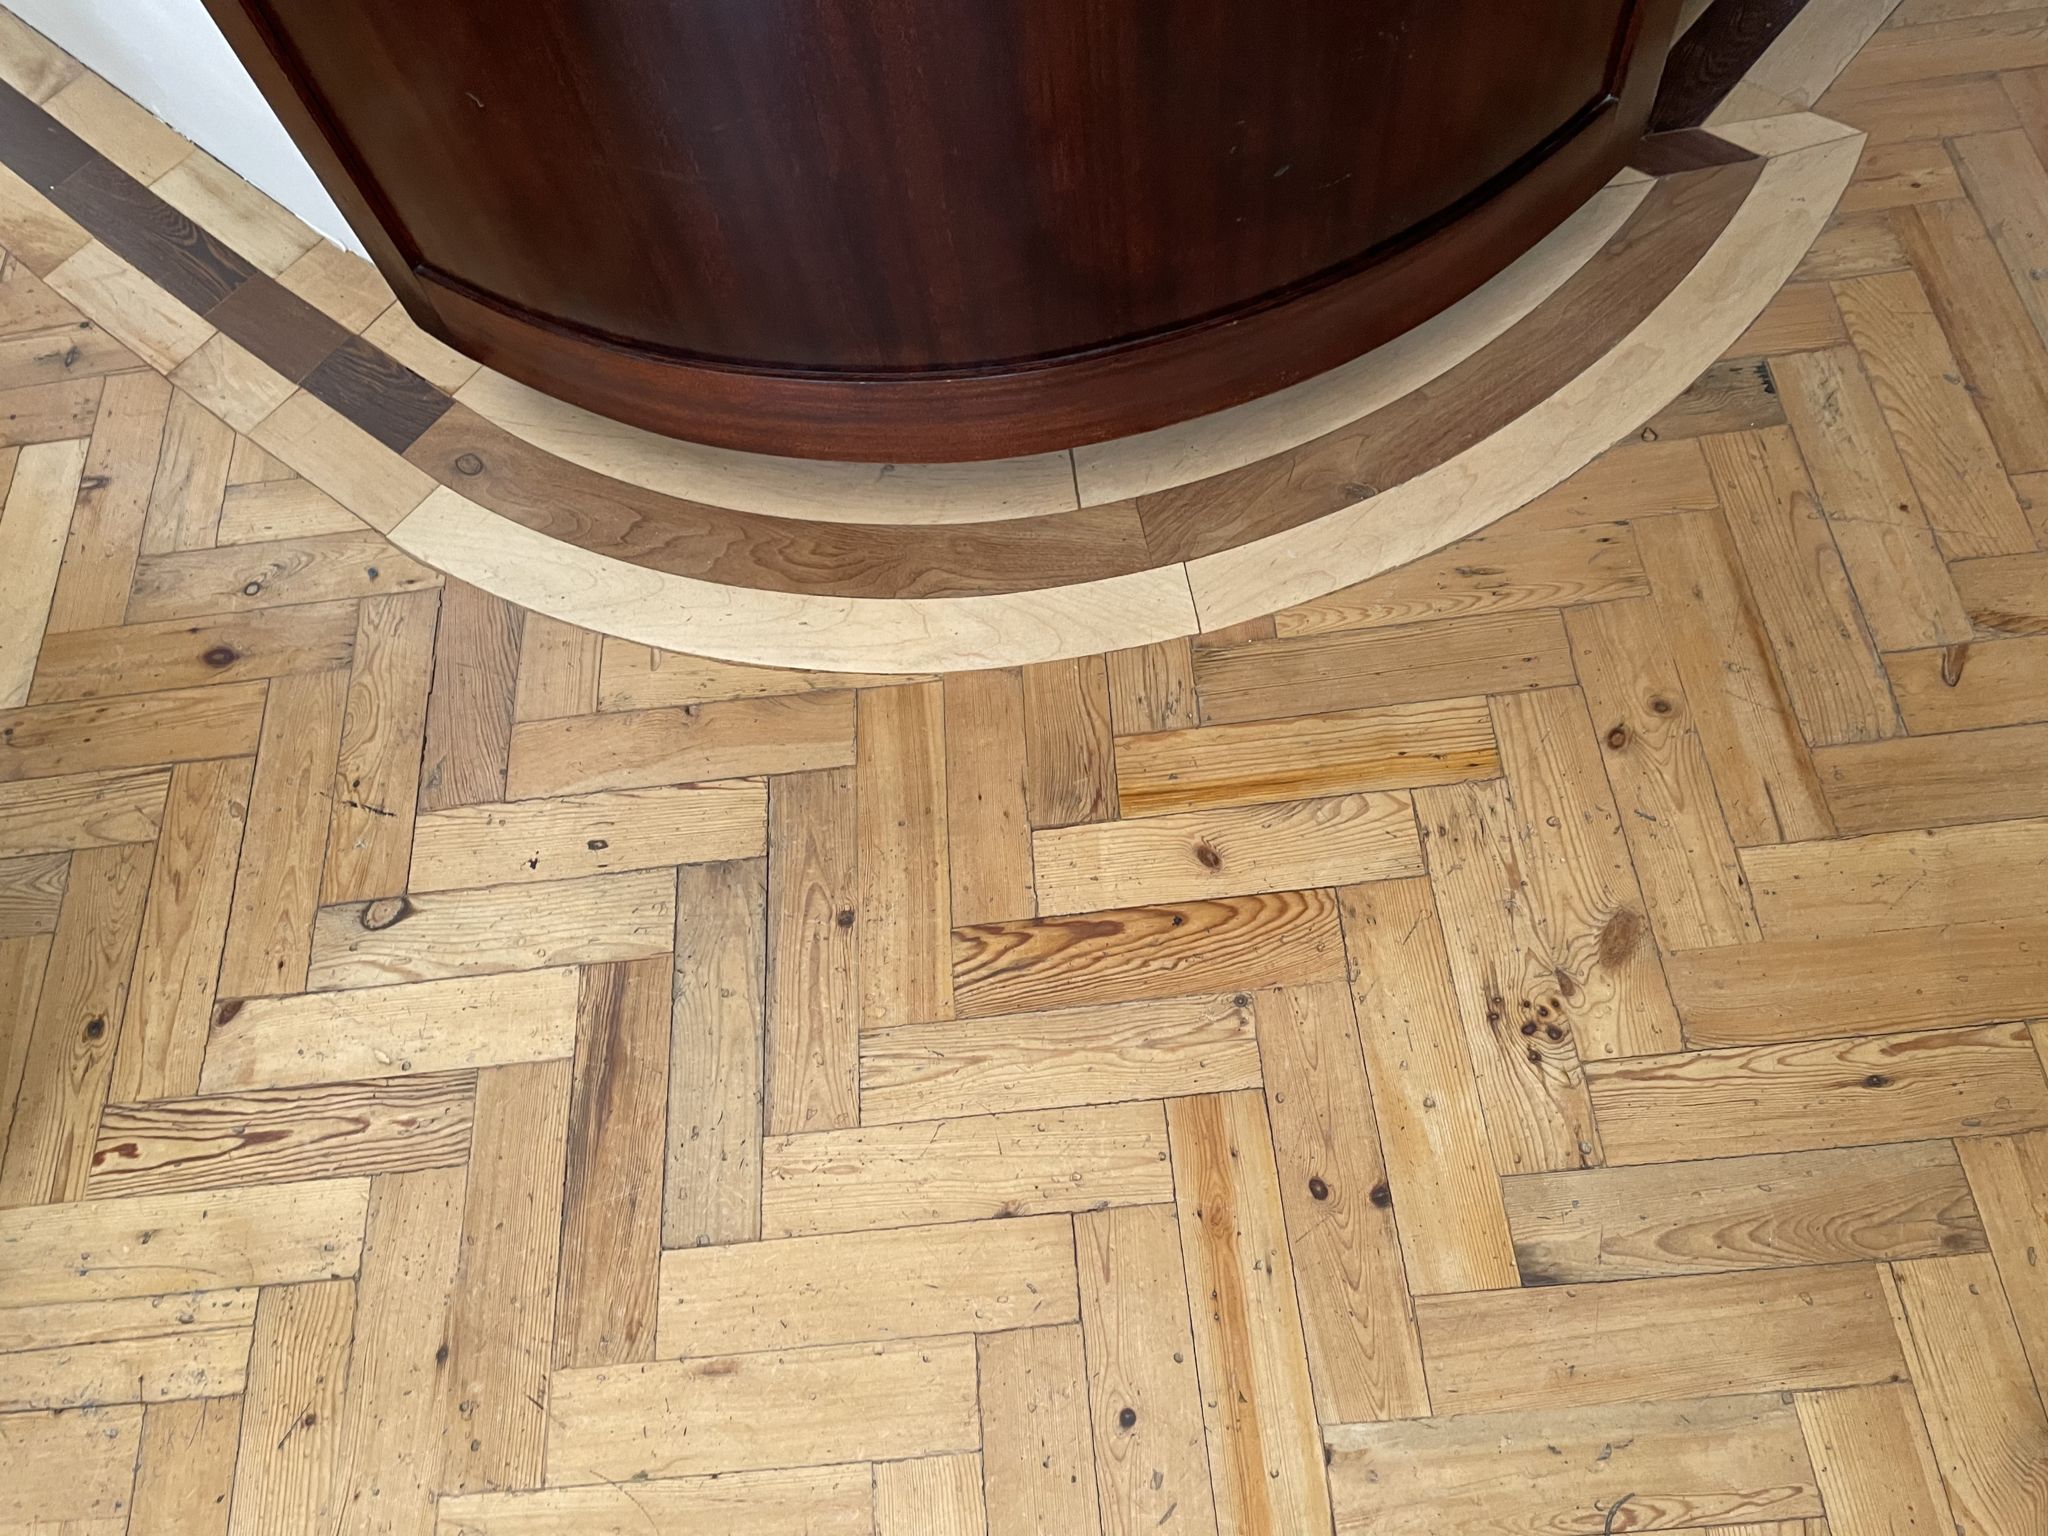
Before the Work
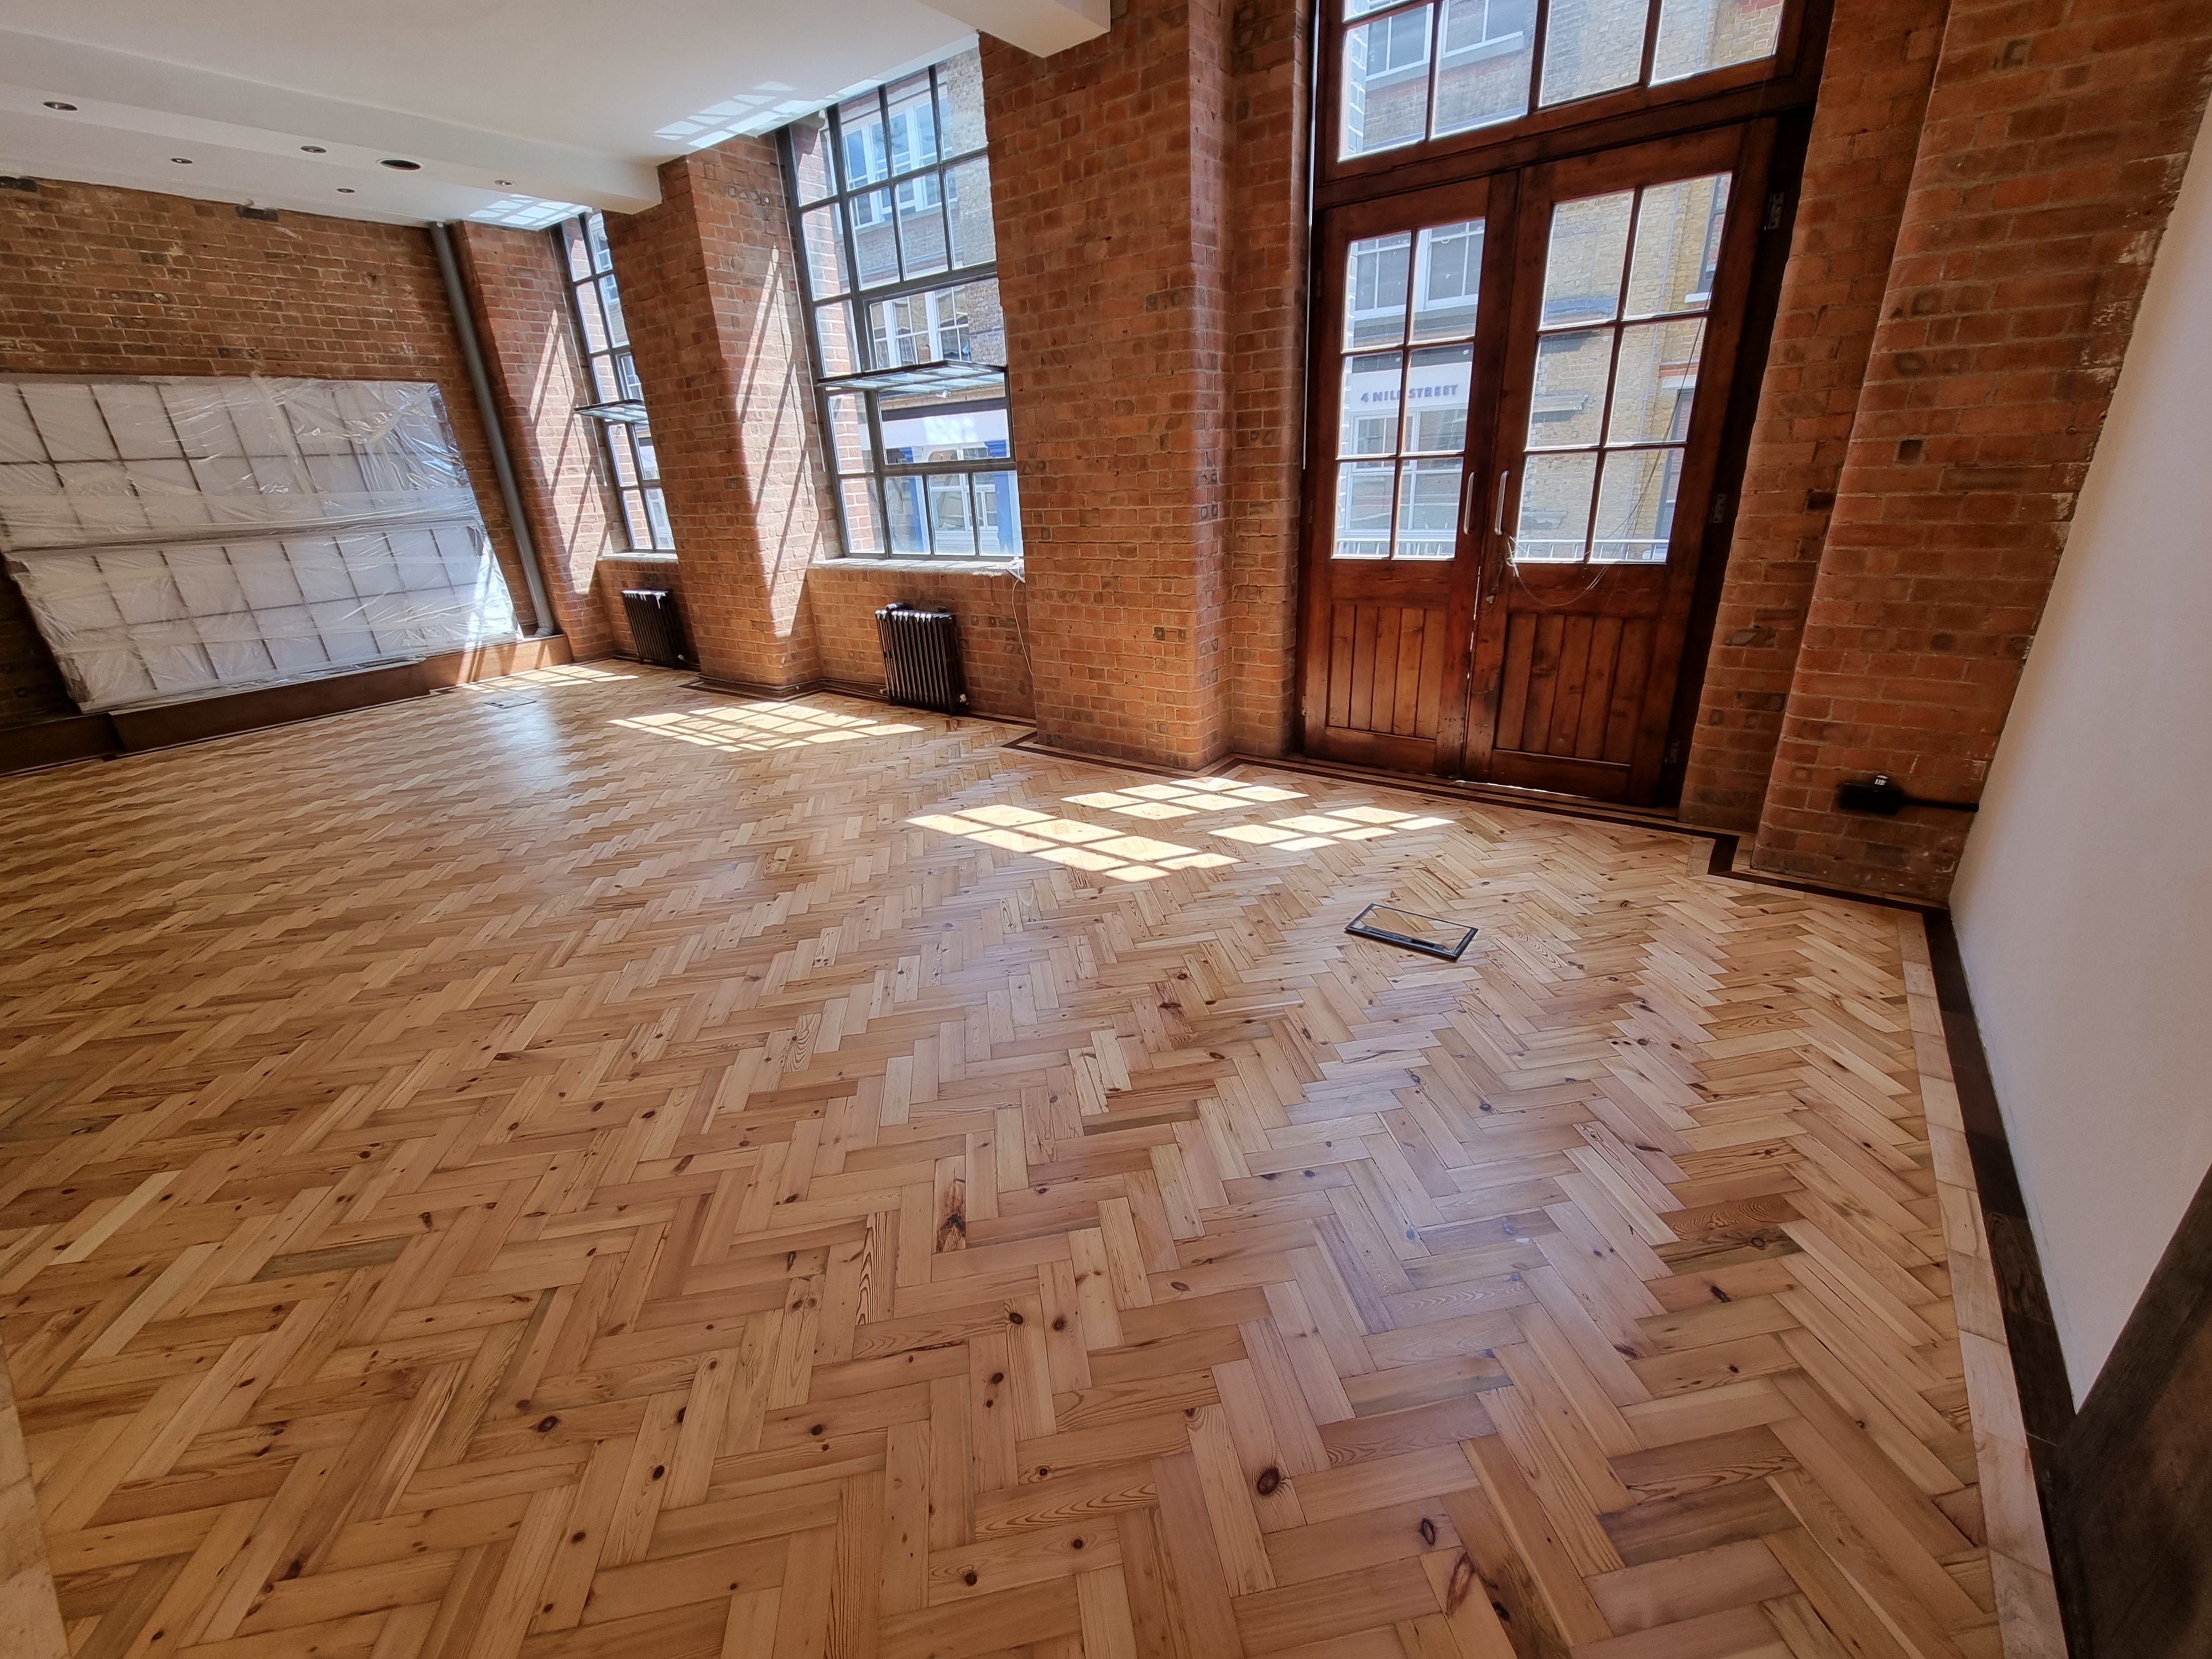
Before work began, the floor showed typical signs of wear. Surface scratches, dull patches, and general finish deterioration were present. A thorough survey was carried out to plan the correct sanding depth, assess board condition, and choose the most appropriate finish for the space.
Survey photos showing the floor condition before work:
Our Approach
The following services were carried out as part of this project:
- Gap Filling
- Parquet - Sand, Buff & Lacquer
- Elka Stoney Oak Aqua Protect Laminate Flooring, 12mm
- Tile removal
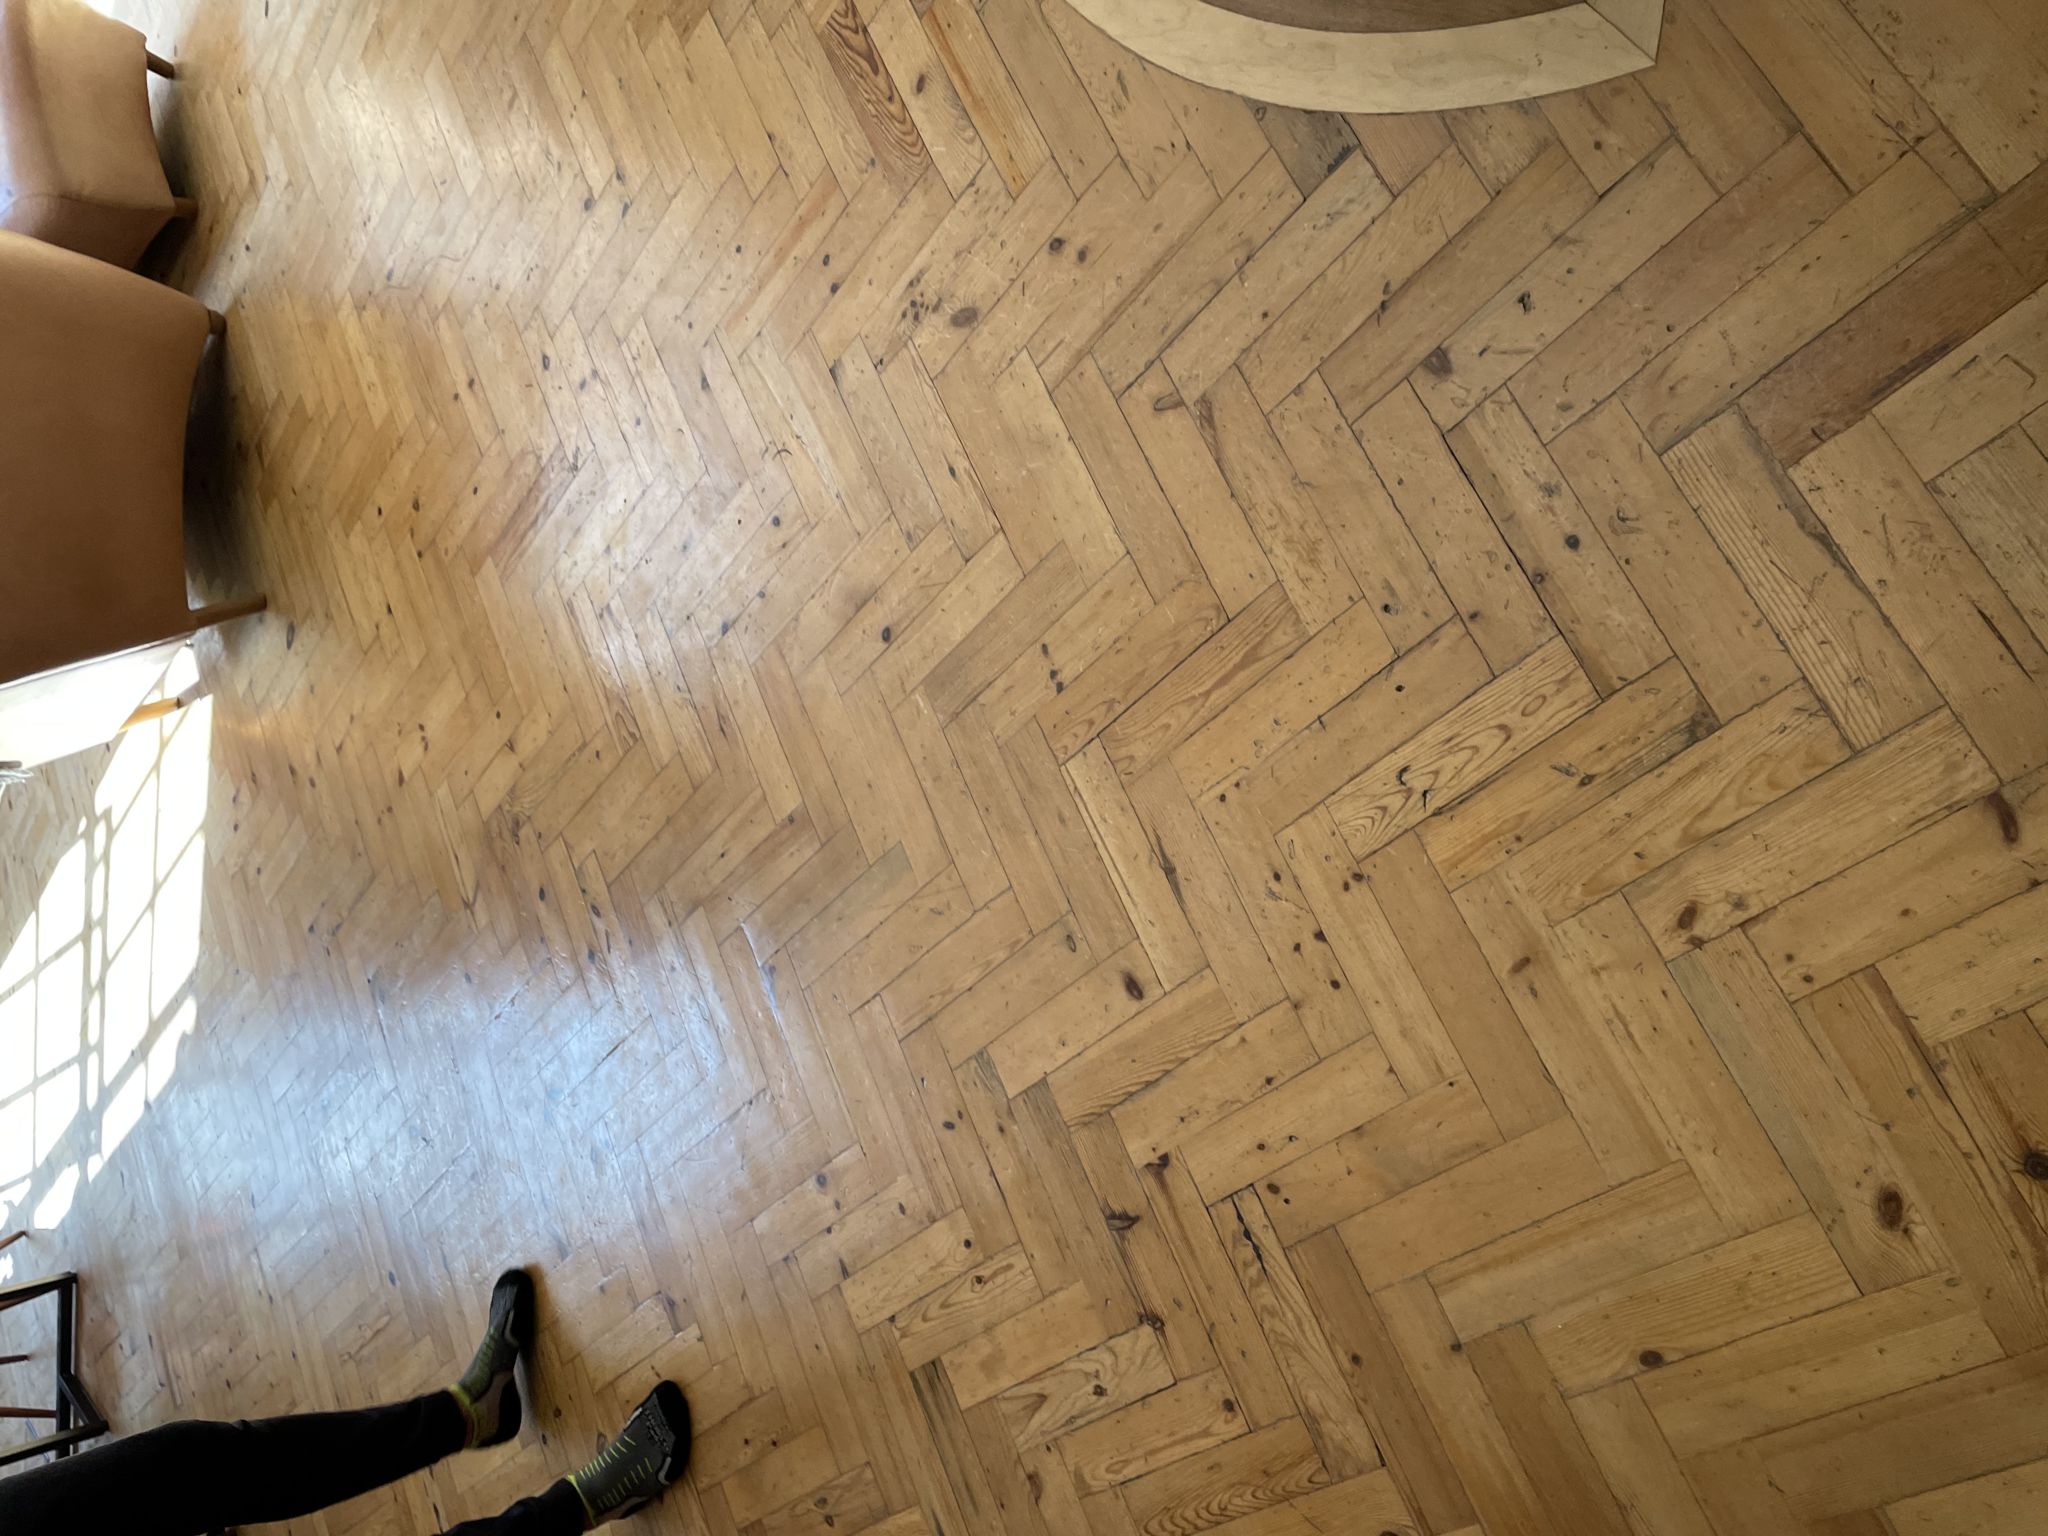
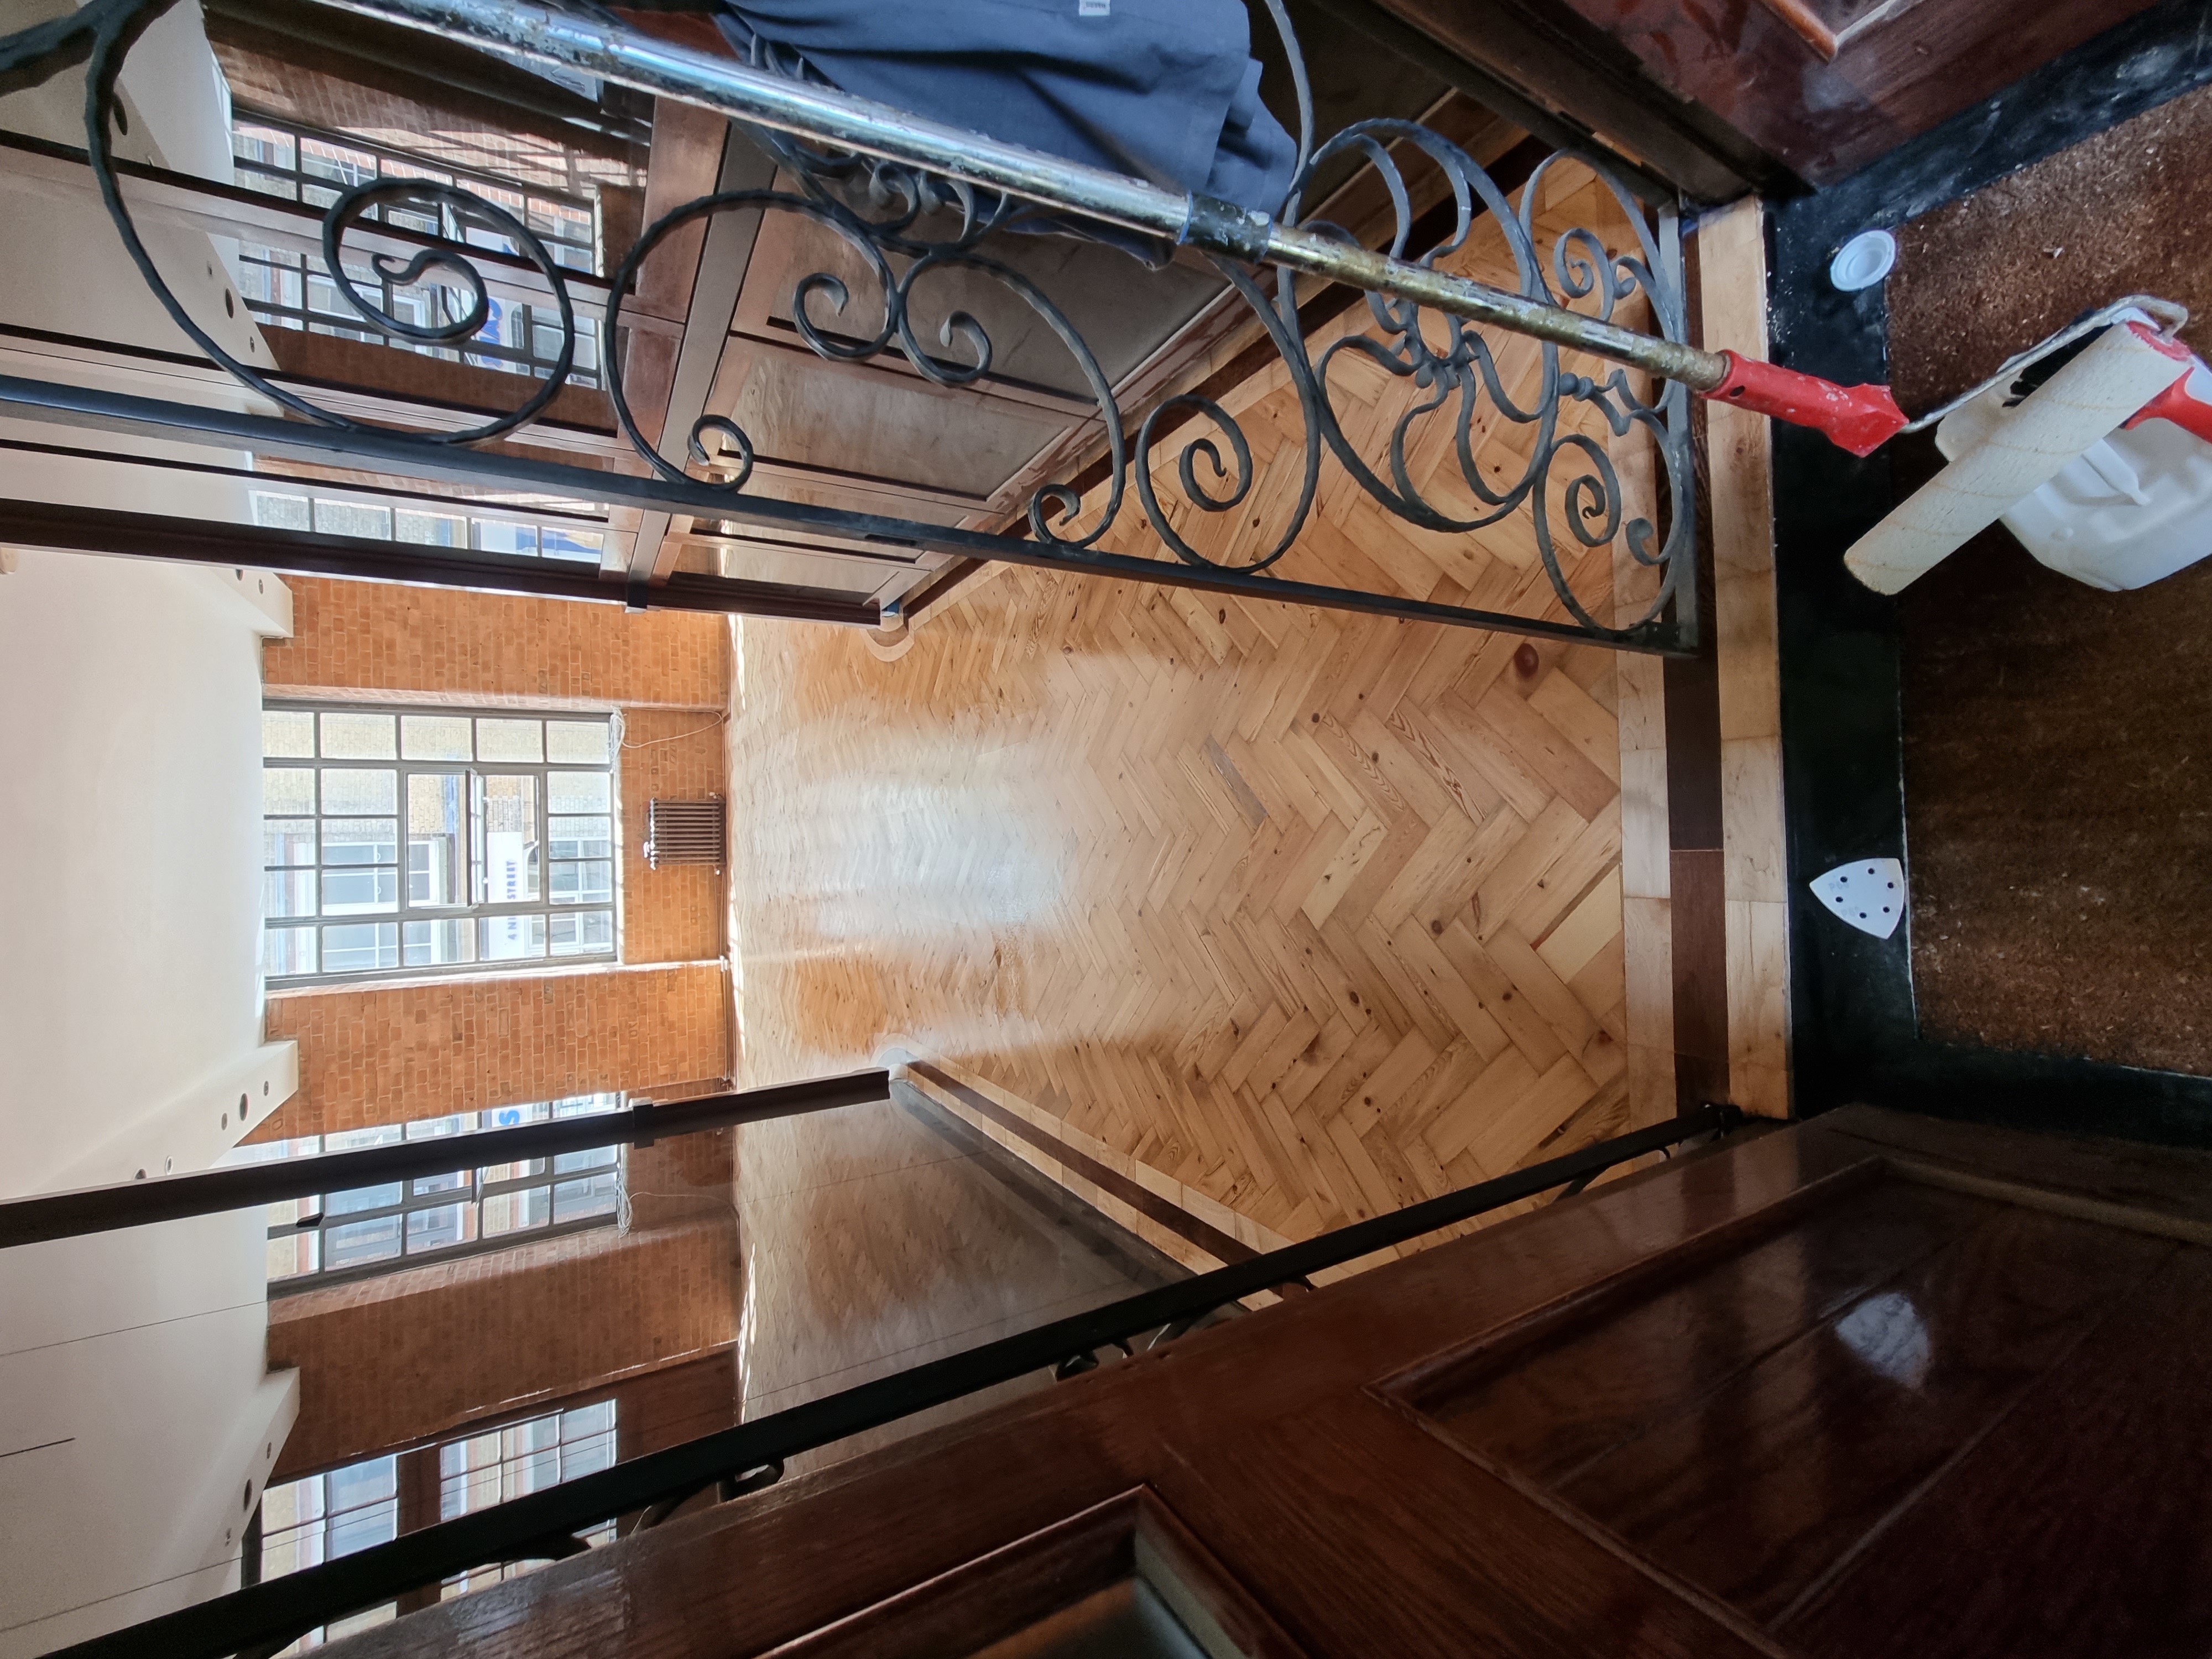
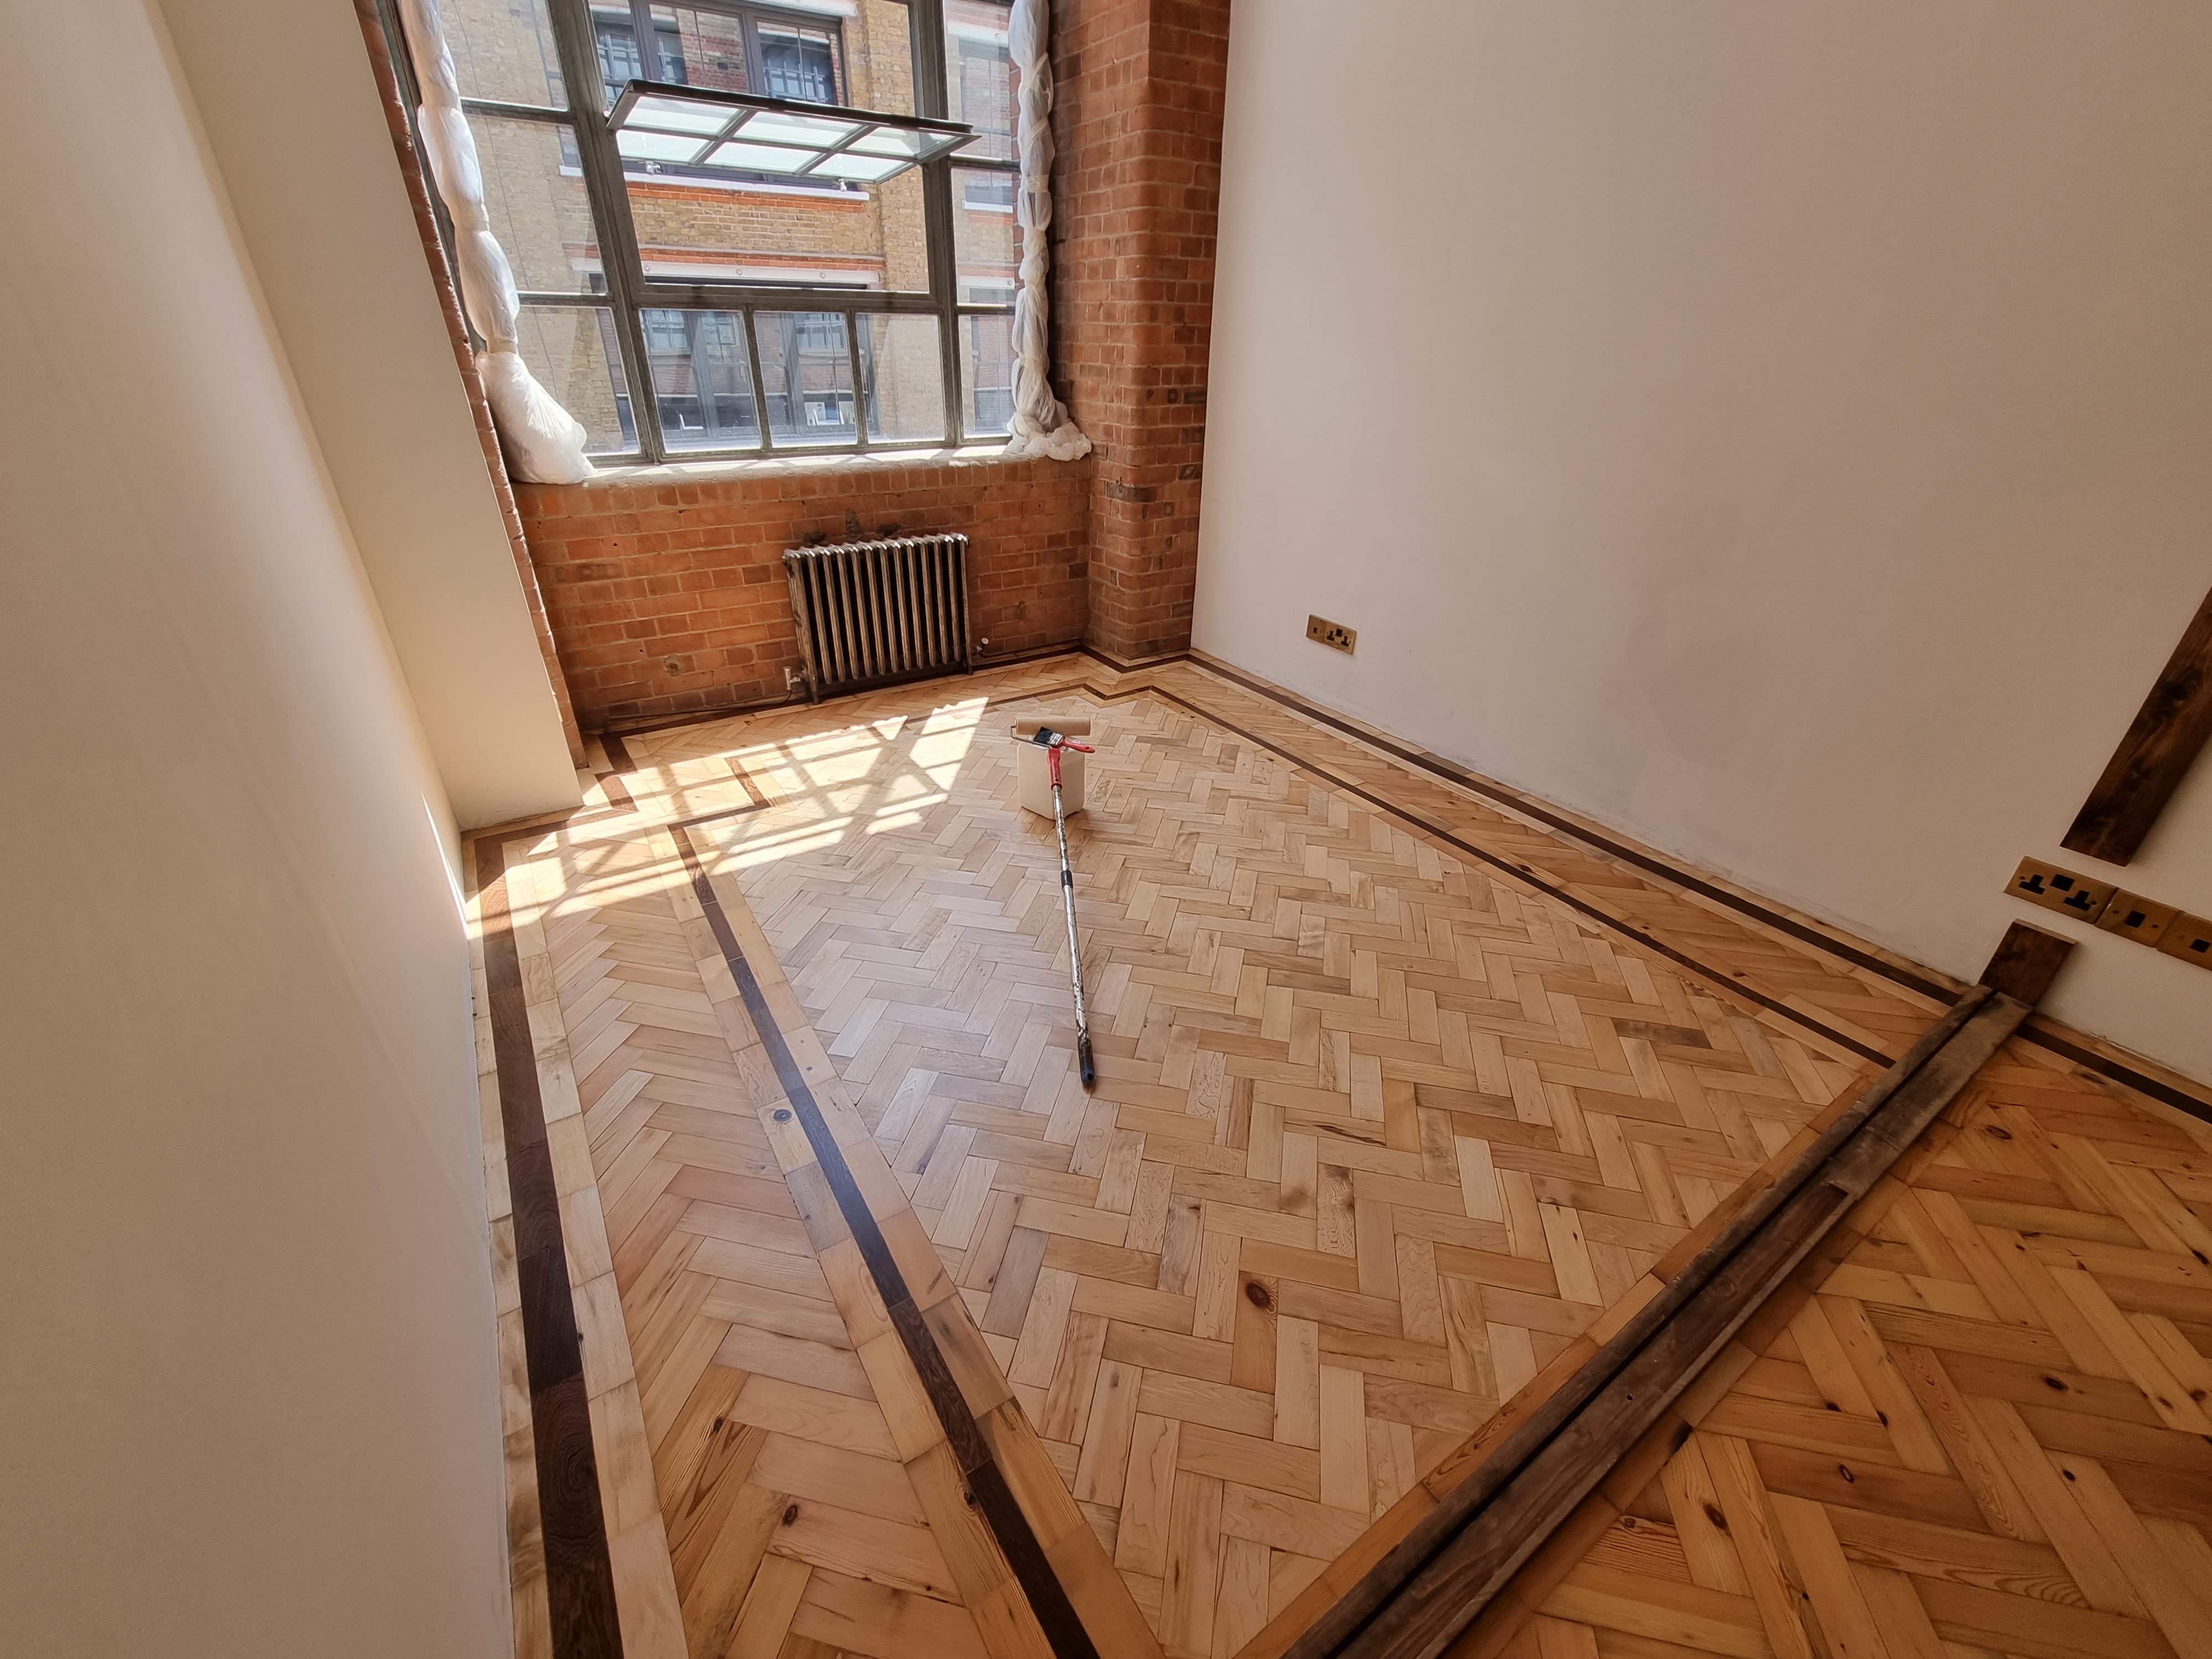
The Result
Once the sanding and finishing process was complete, the floor was transformed. The wood grain was opened up and brought back to life, the surface was smooth and even, and the new finish provided lasting protection. The client was left with a floor that looked, and performed, as good as new.
Photos of the completed work:
Frequently Asked Questions
How long does floor sanding take?
Most residential sanding jobs are completed in one to two days, depending on floor size and condition. Lacquering or oiling adds further drying and curing time, which we factor into the job schedule.
Do I need to vacate the property during sanding?
Modern dustless sanding equipment keeps dust to a minimum, but we recommend keeping pets and young children clear of the area during the work. Most clients remain in their property throughout.
How much does floor sanding cost in London?
Prices typically range from £25 to £45 per square metre depending on floor condition, finish type, and any repair work required. Gap filling and board replacement are priced separately if needed.
Have a similar project? Call us on 020 88309782 or Book a Free Site Visit
Close