Herringbone Parquet Sanding and Restoration in Notting Hill, W11 — Full Case Study
Project Overview
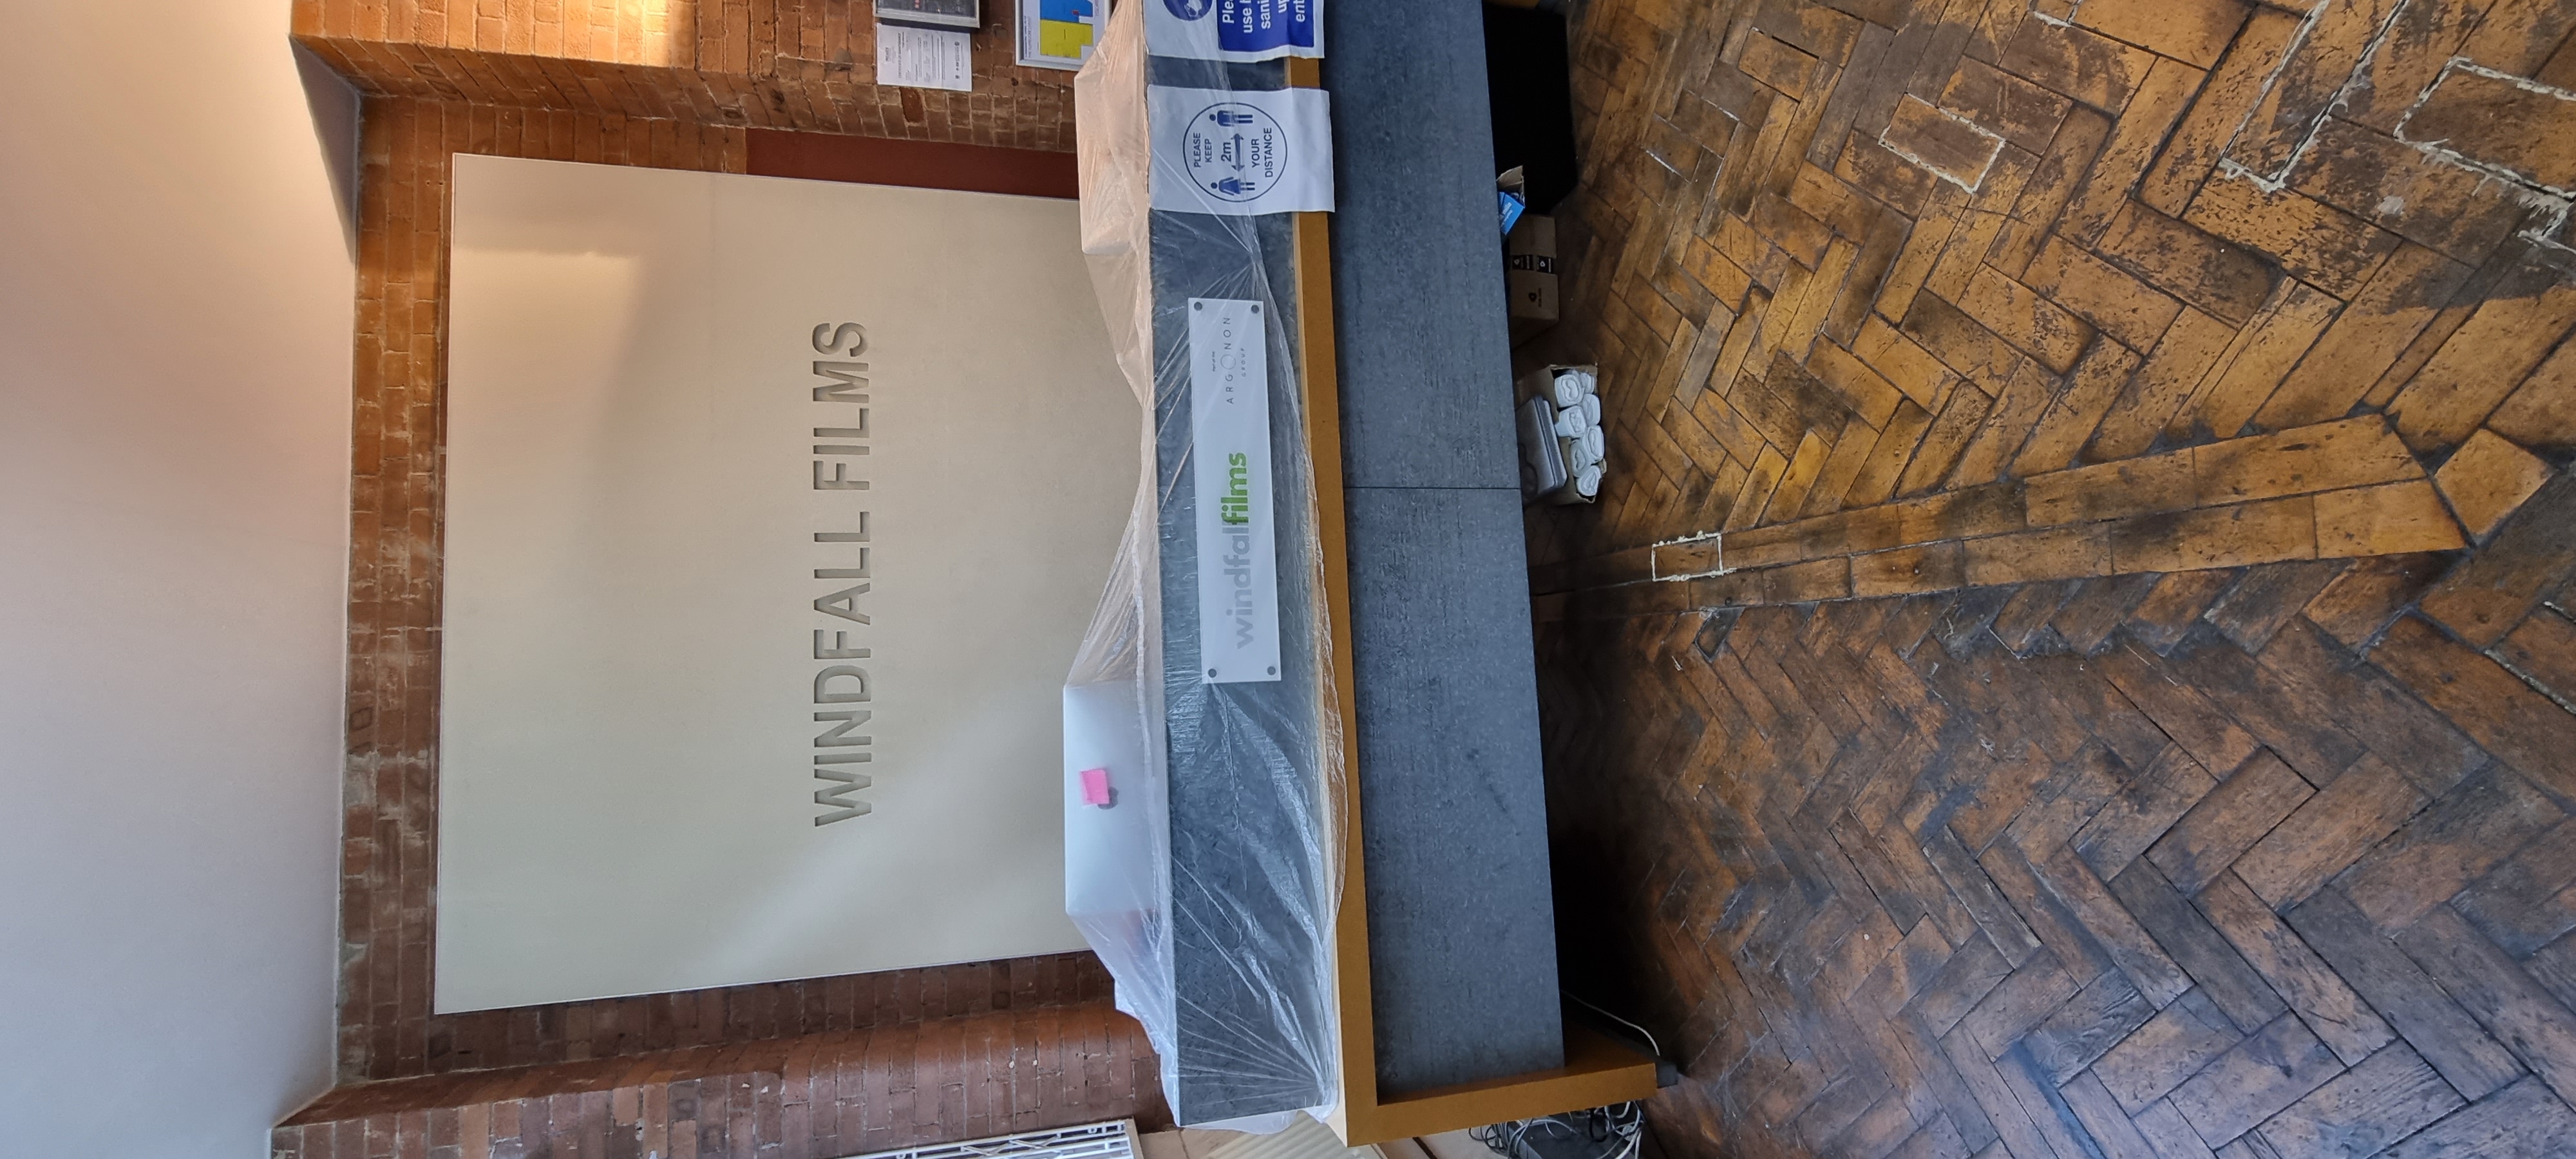
This project involved the professional sanding and restoration of an existing wood floor at a property in Notting Hill, W11. The floor had seen years of daily wear and was in need of attention to bring it back to a quality finish. Our team carried out a full assessment before starting work, checking for any boards that needed attention alongside the main sanding and finishing wor...
Project Overview
This project involved the professional sanding and restoration of an existing wood floor at a property in Notting Hill, W11. The floor had seen years of daily wear and was in need of attention to bring it back to a quality finish. Our team carried out a full assessment before starting work, checking for any boards that needed attention alongside the main sanding and finishing work.
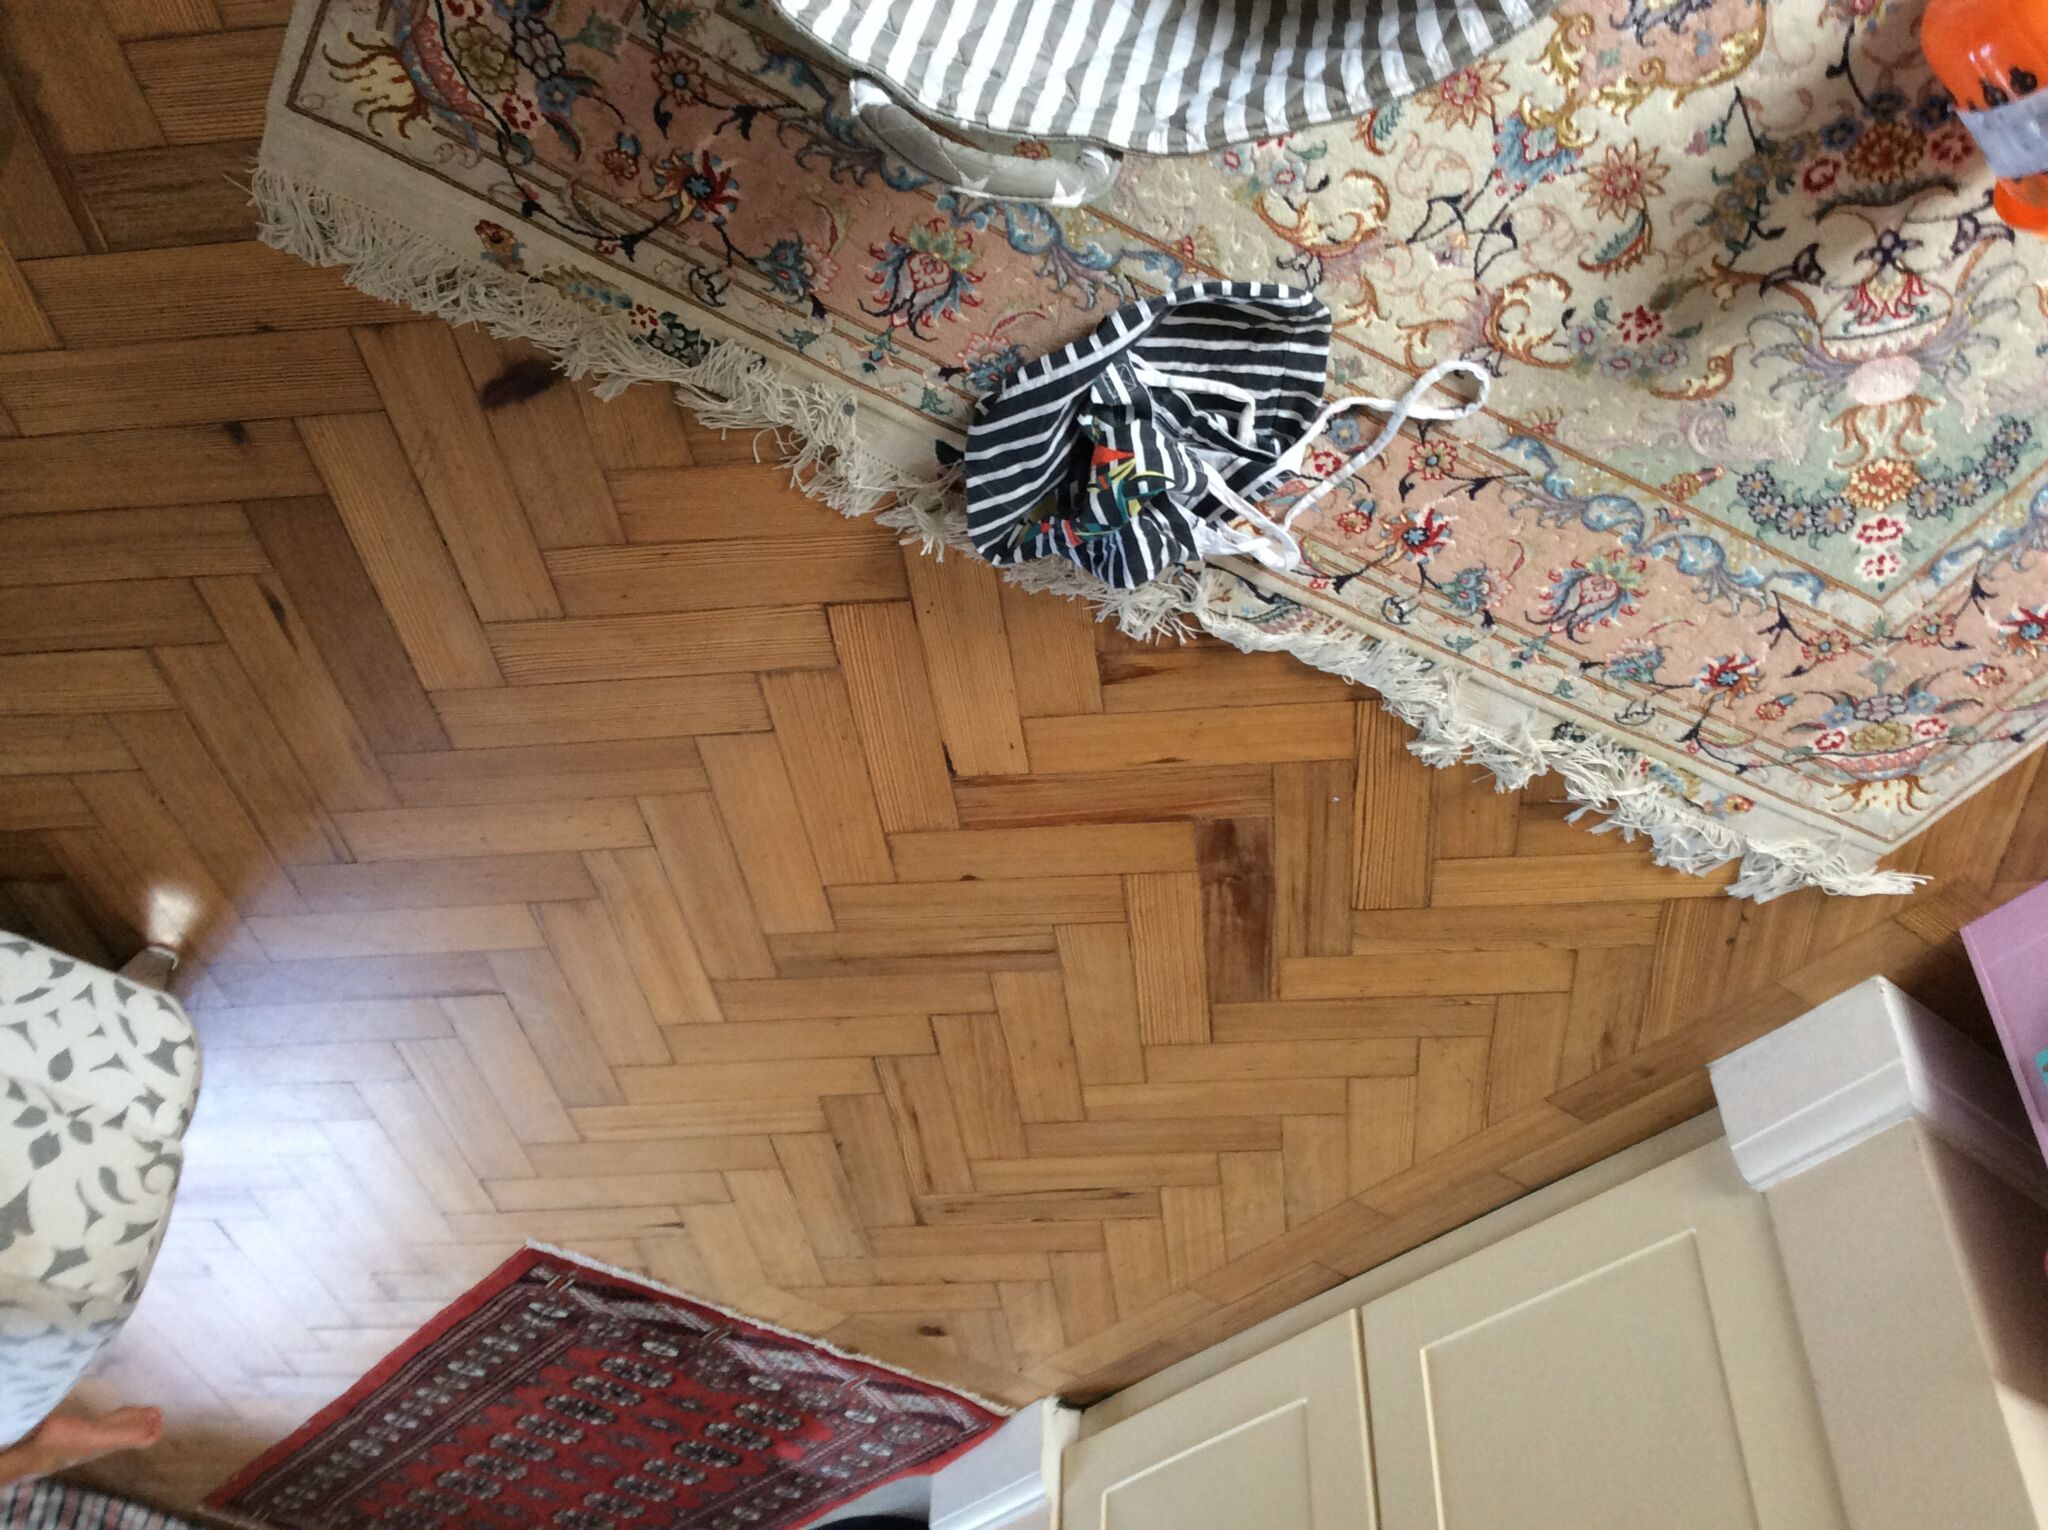
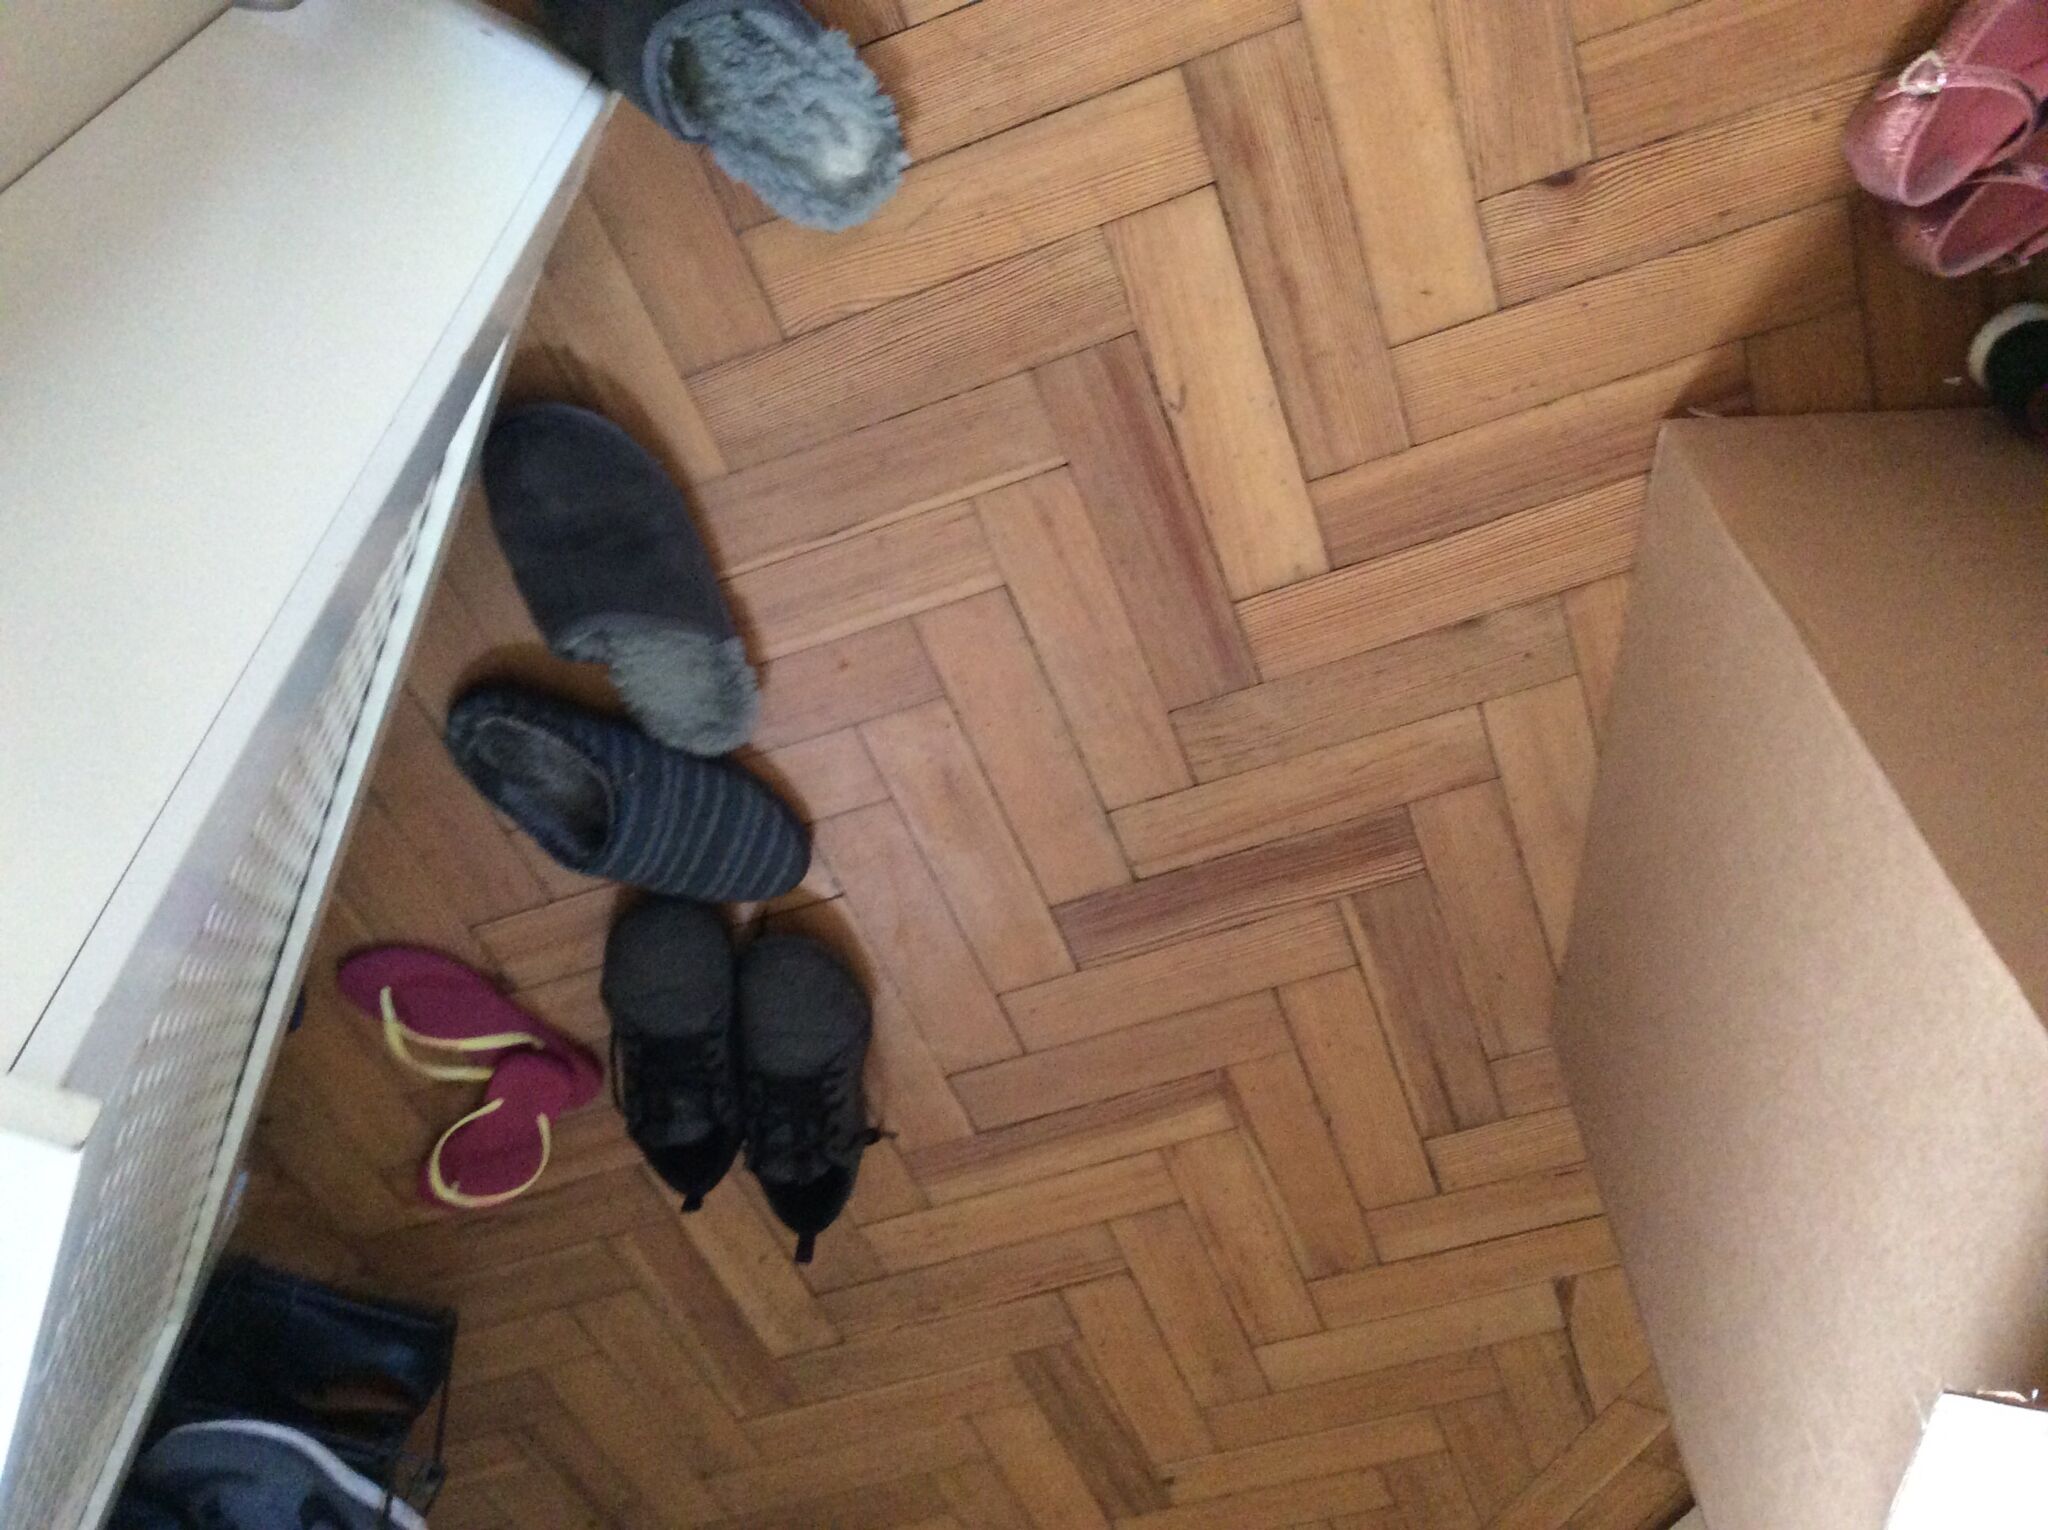
Before the Work
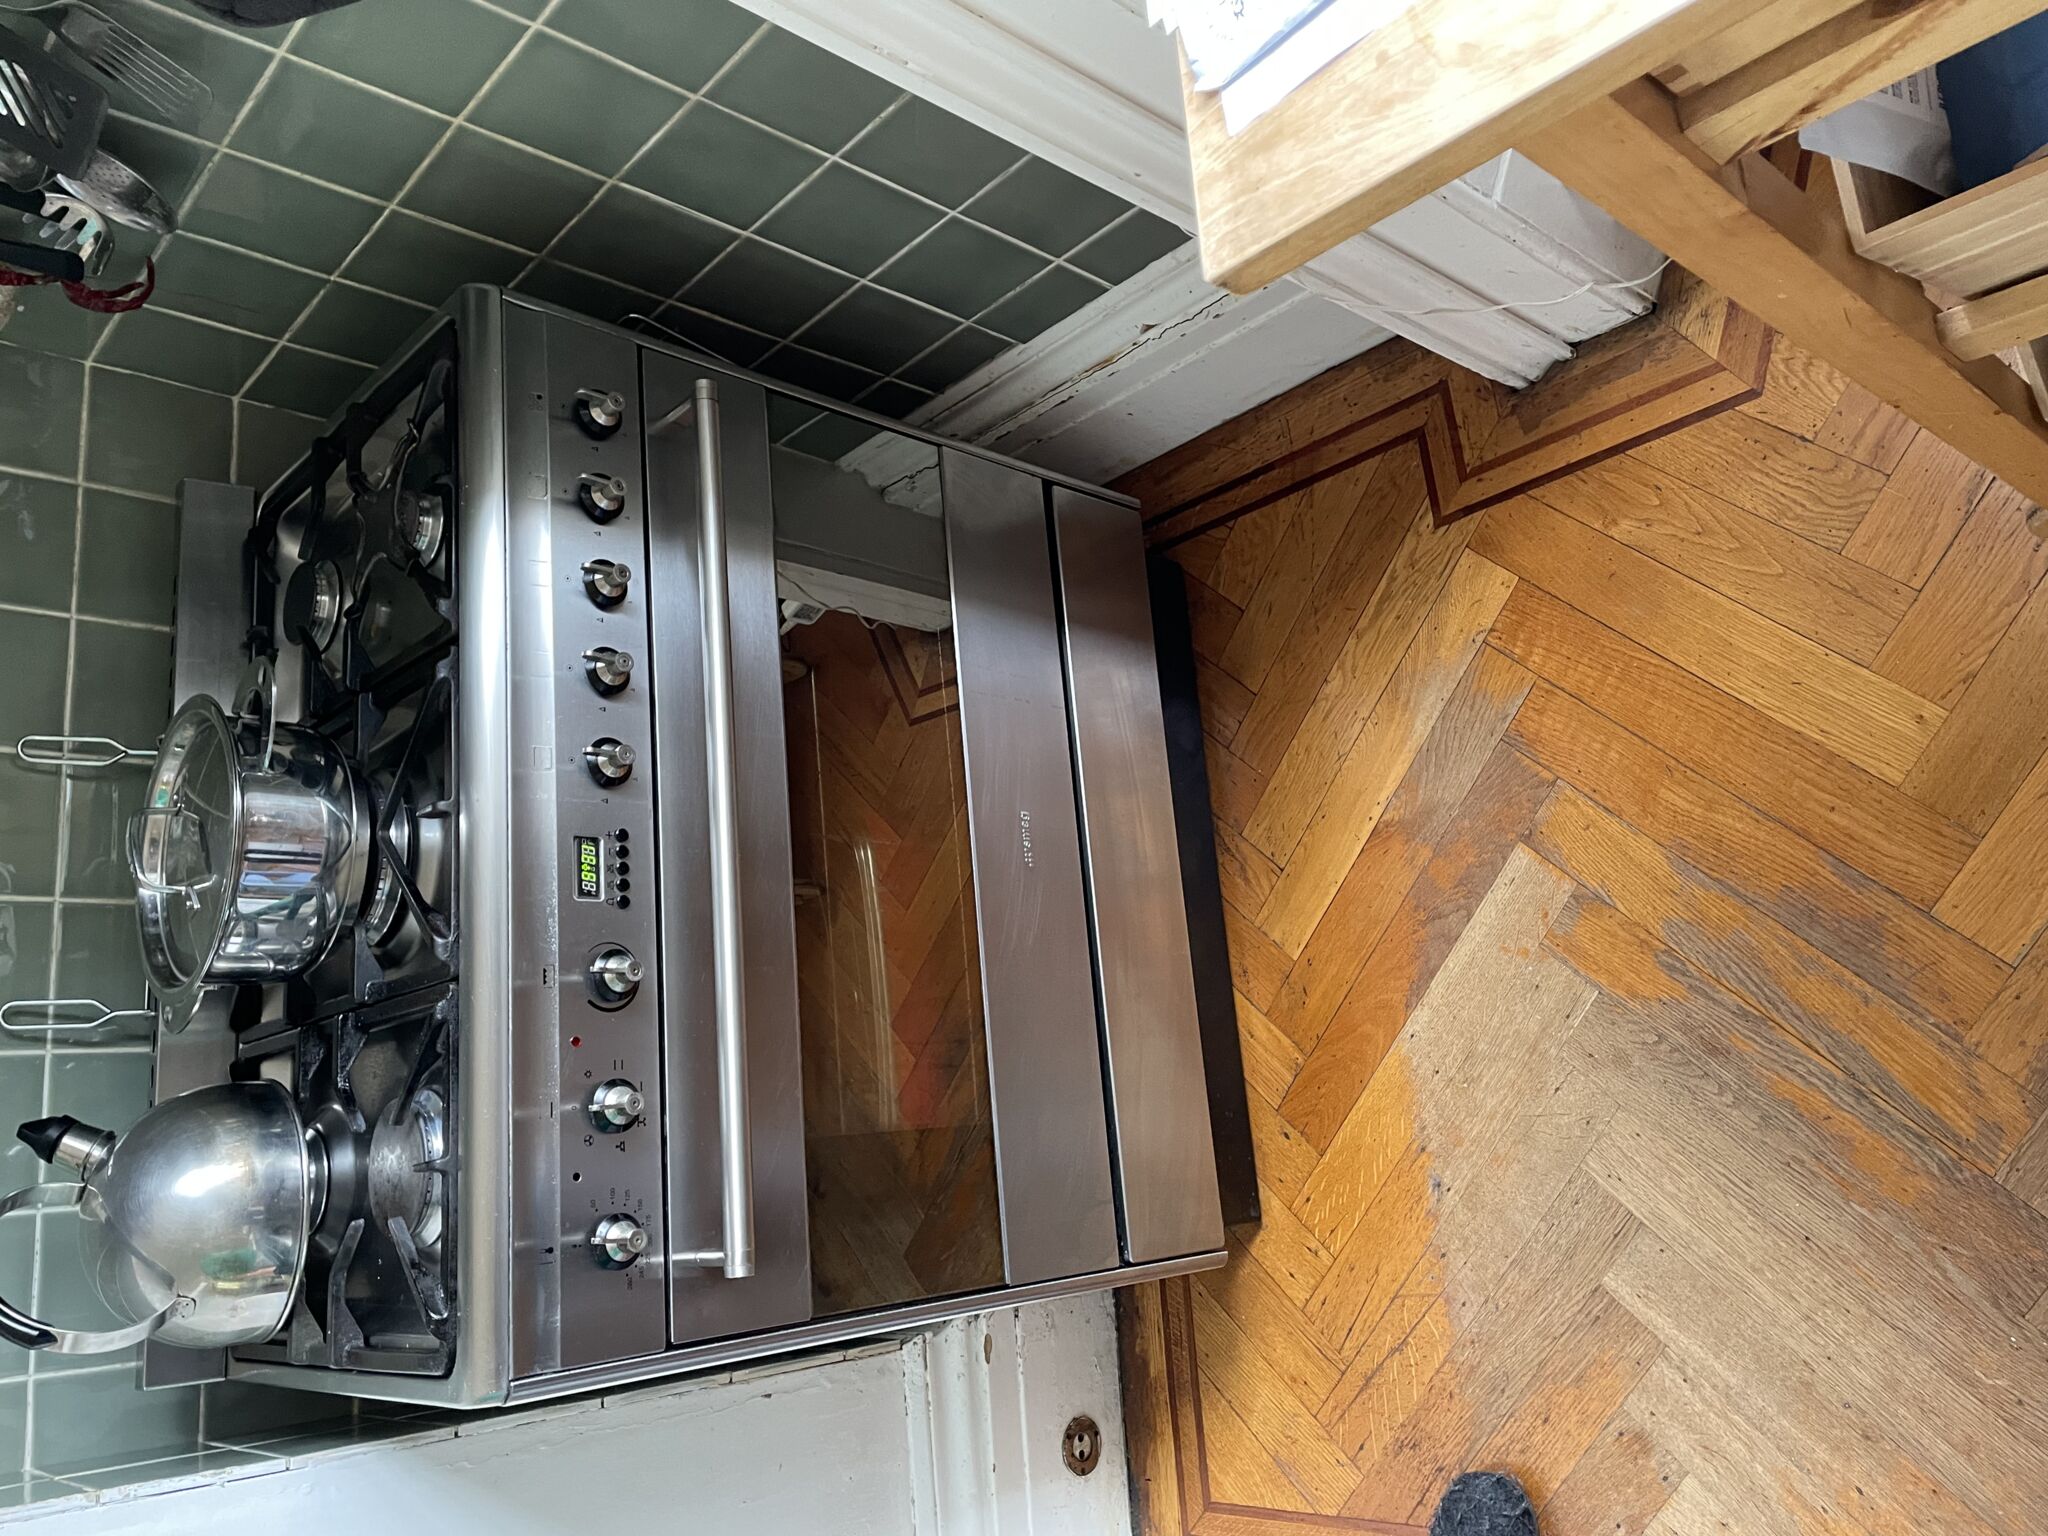
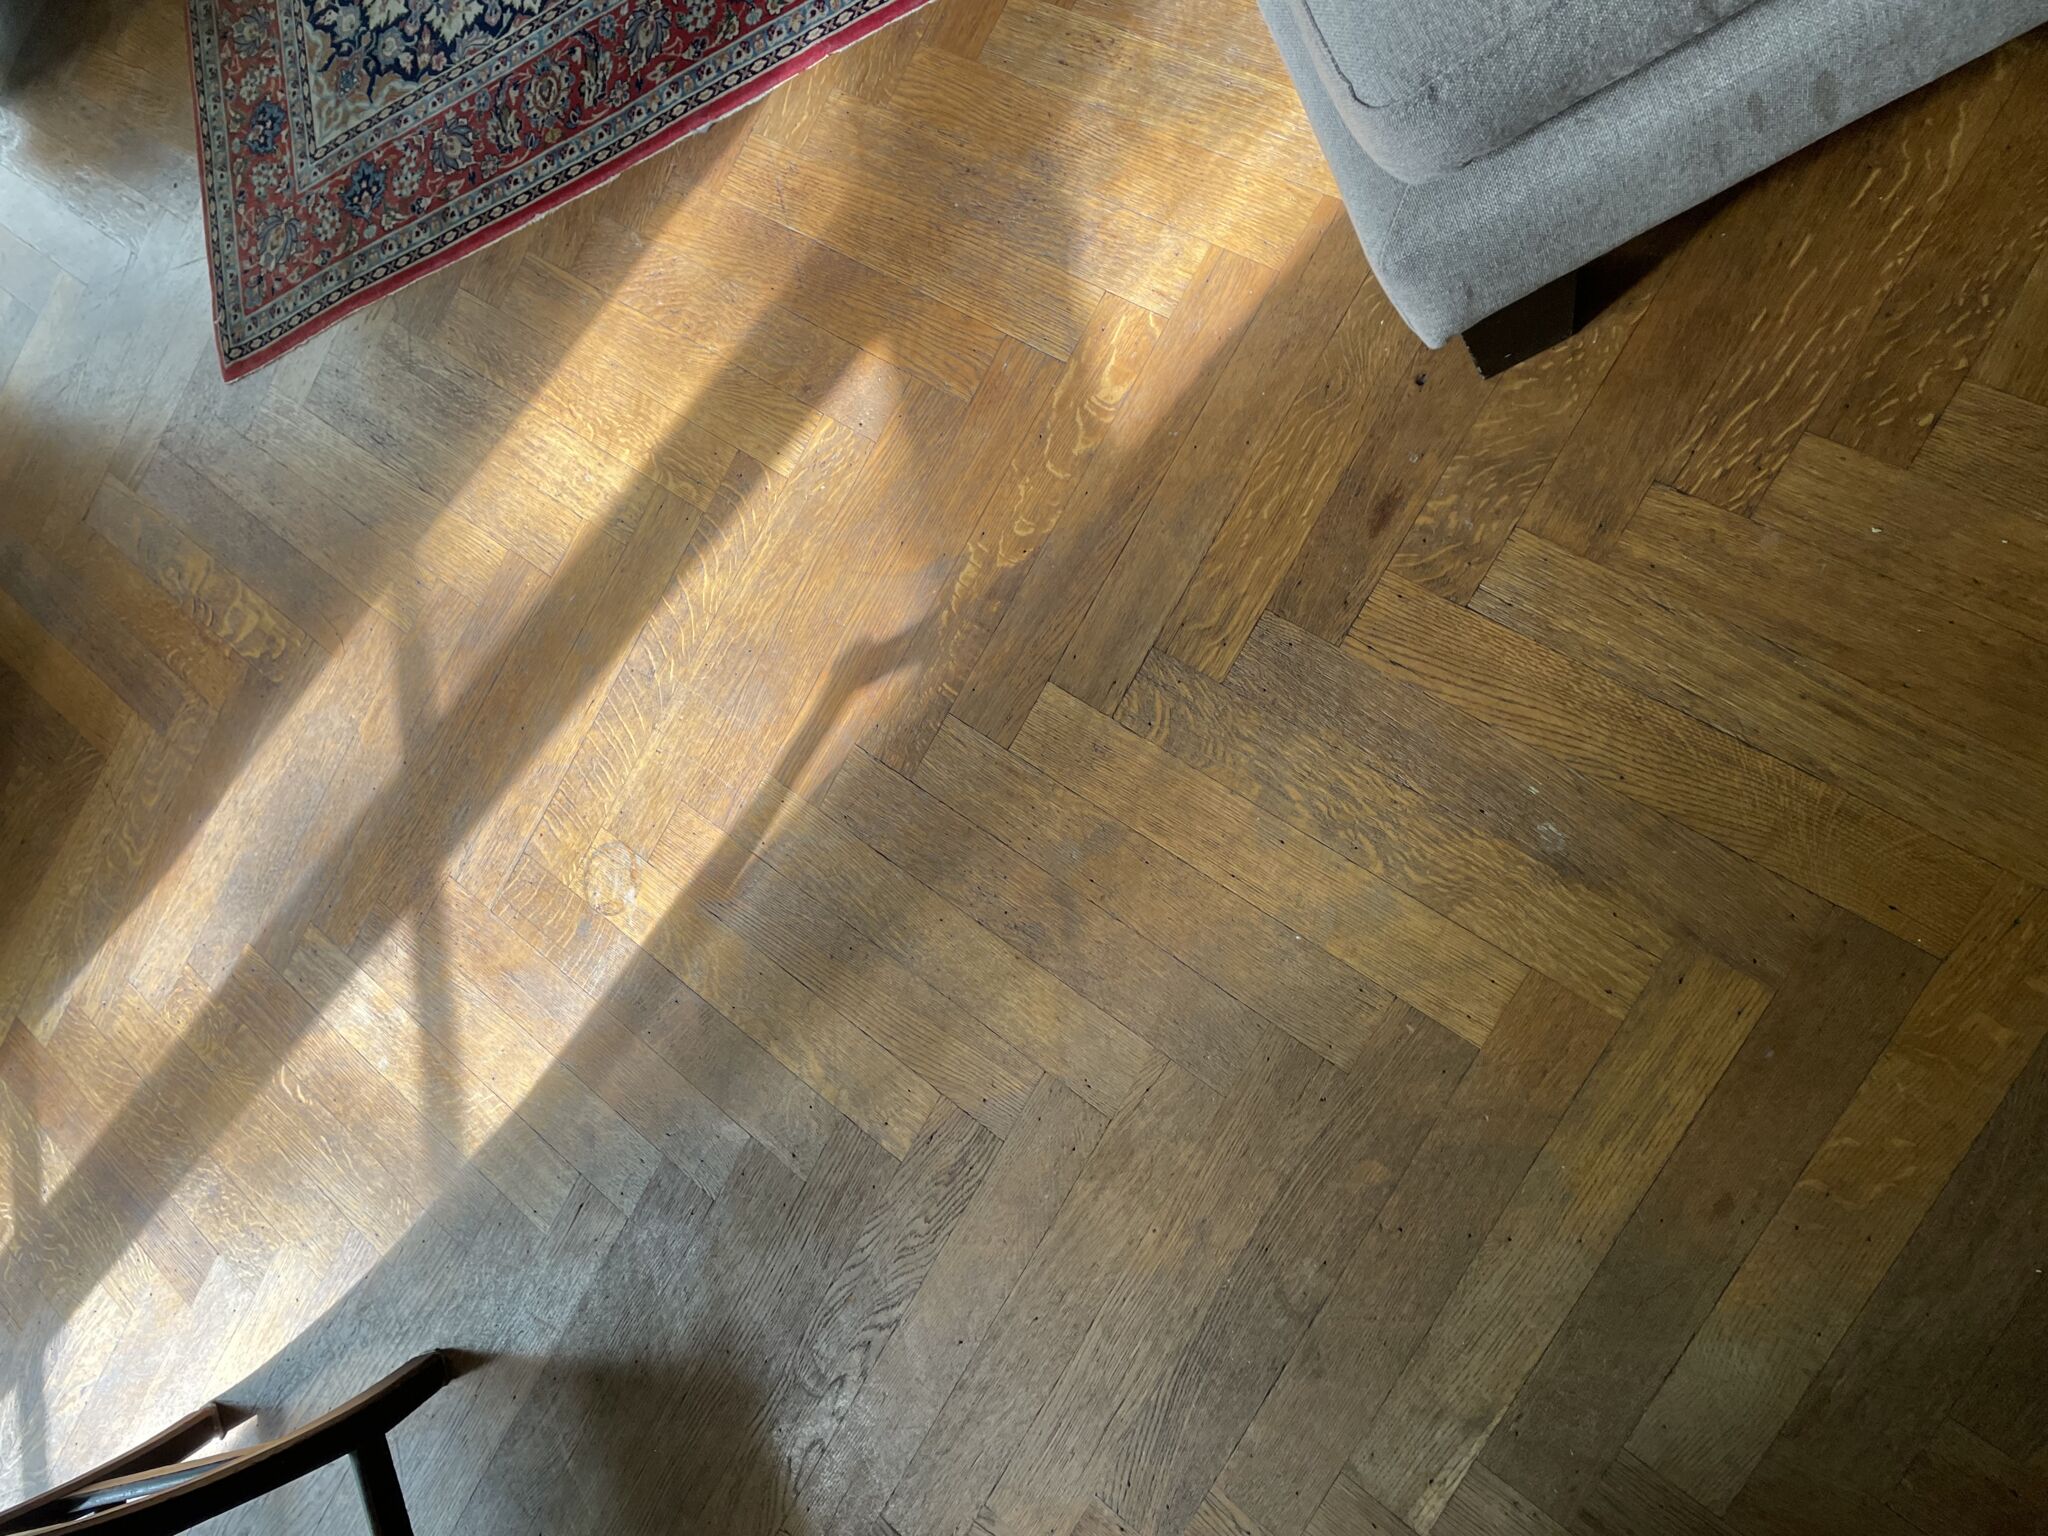
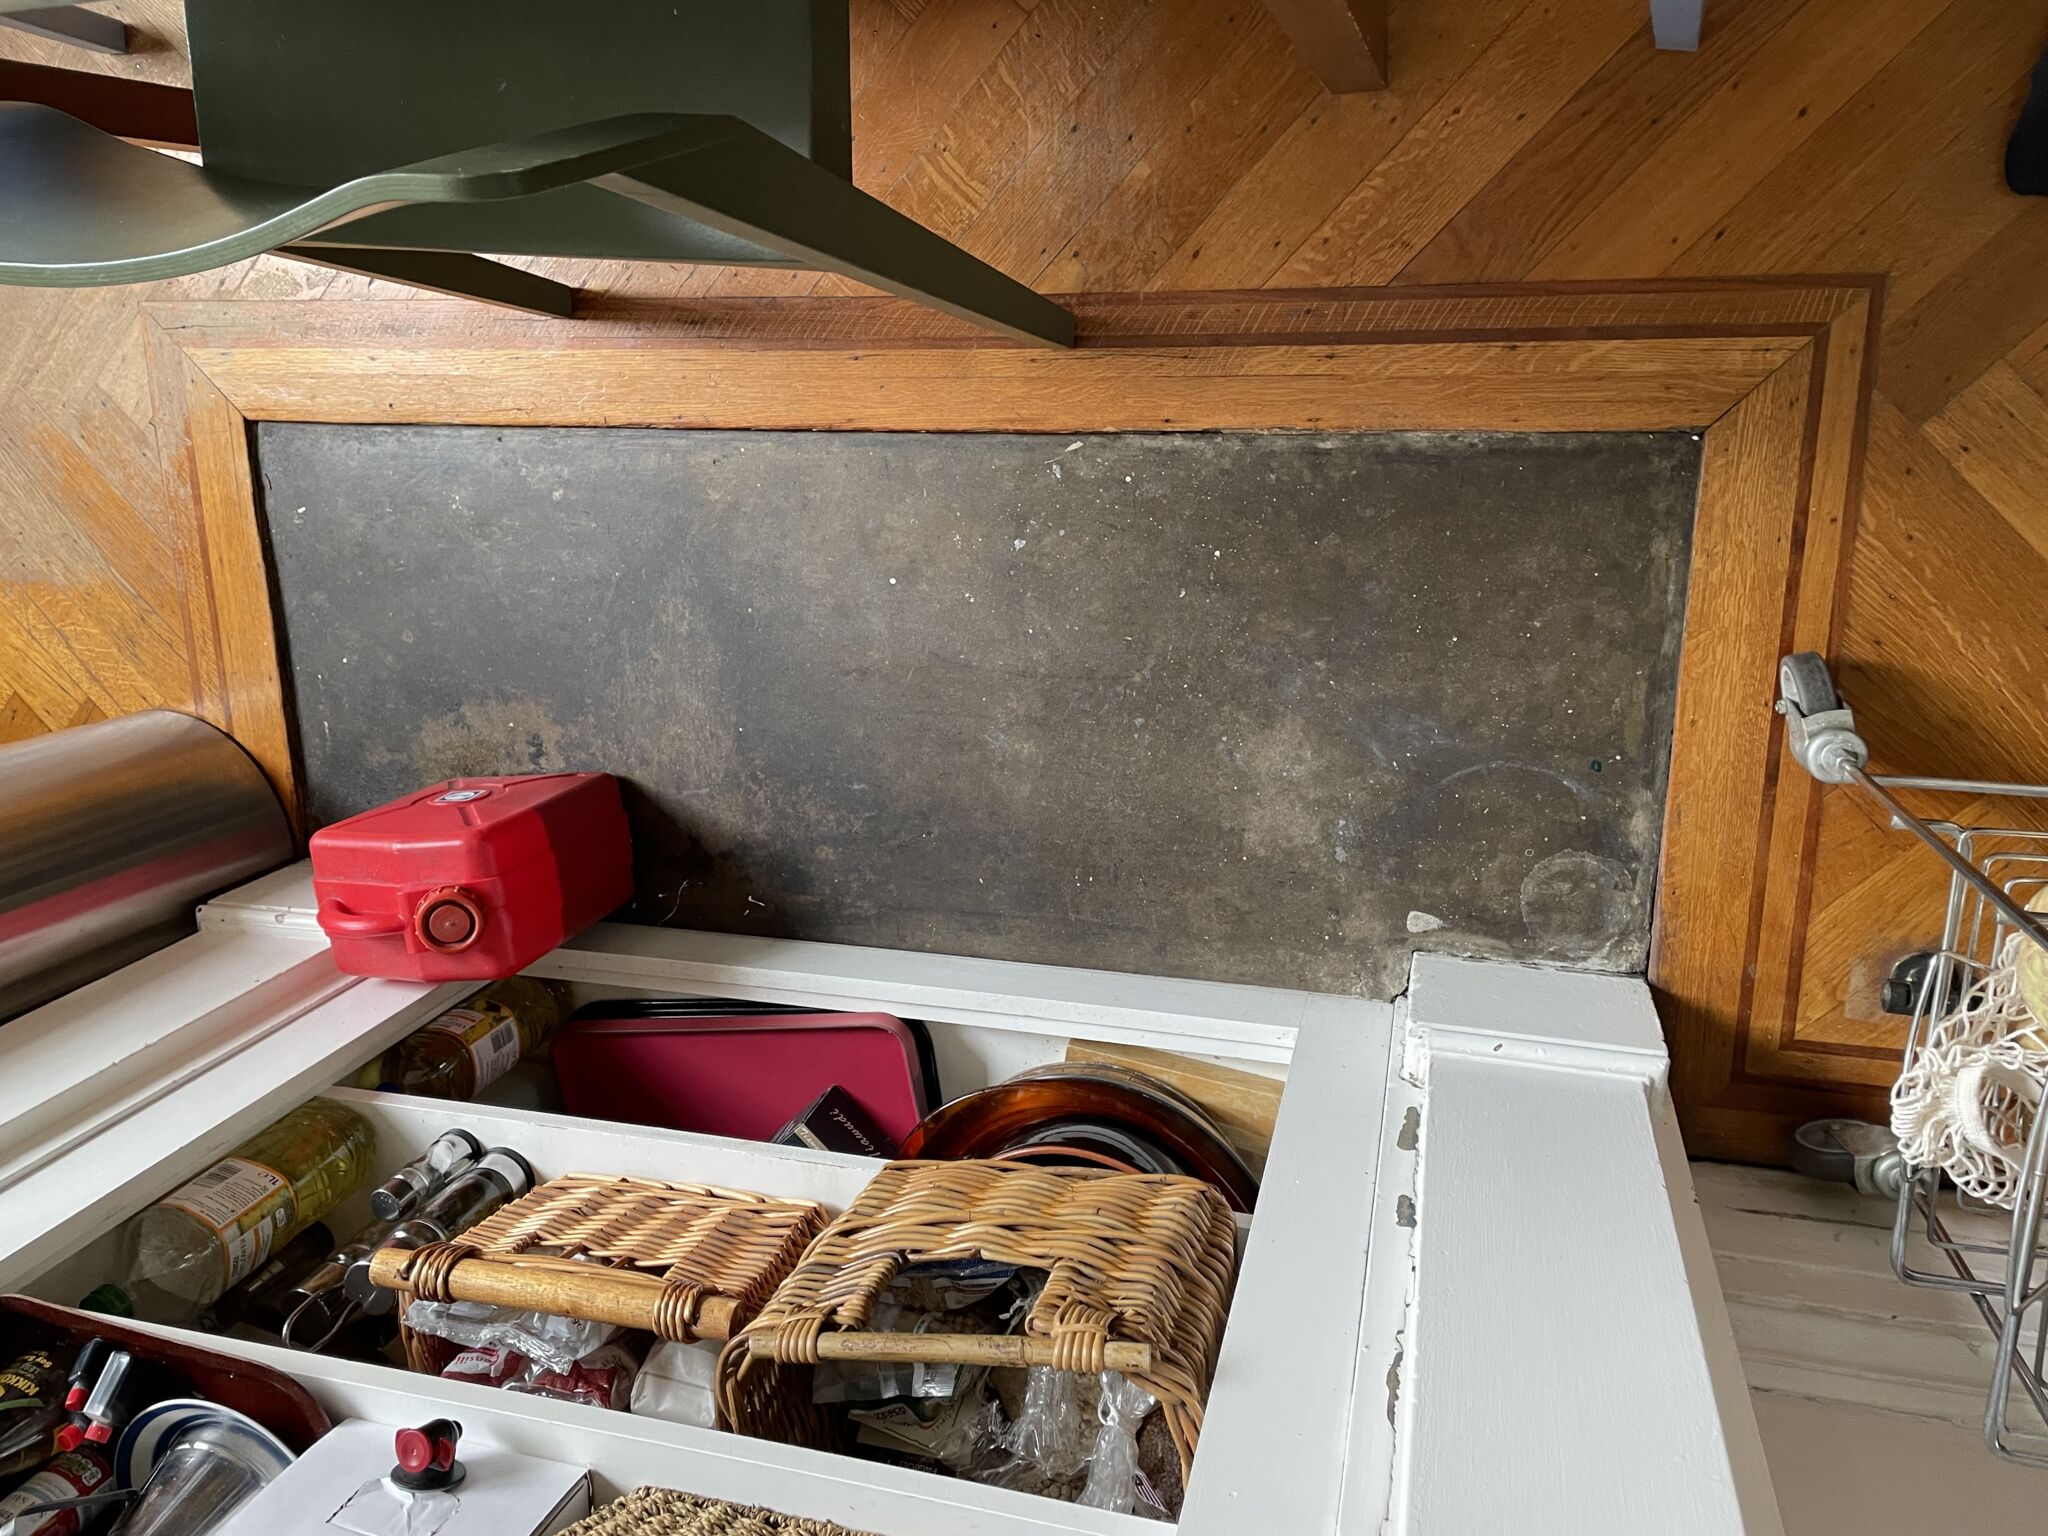
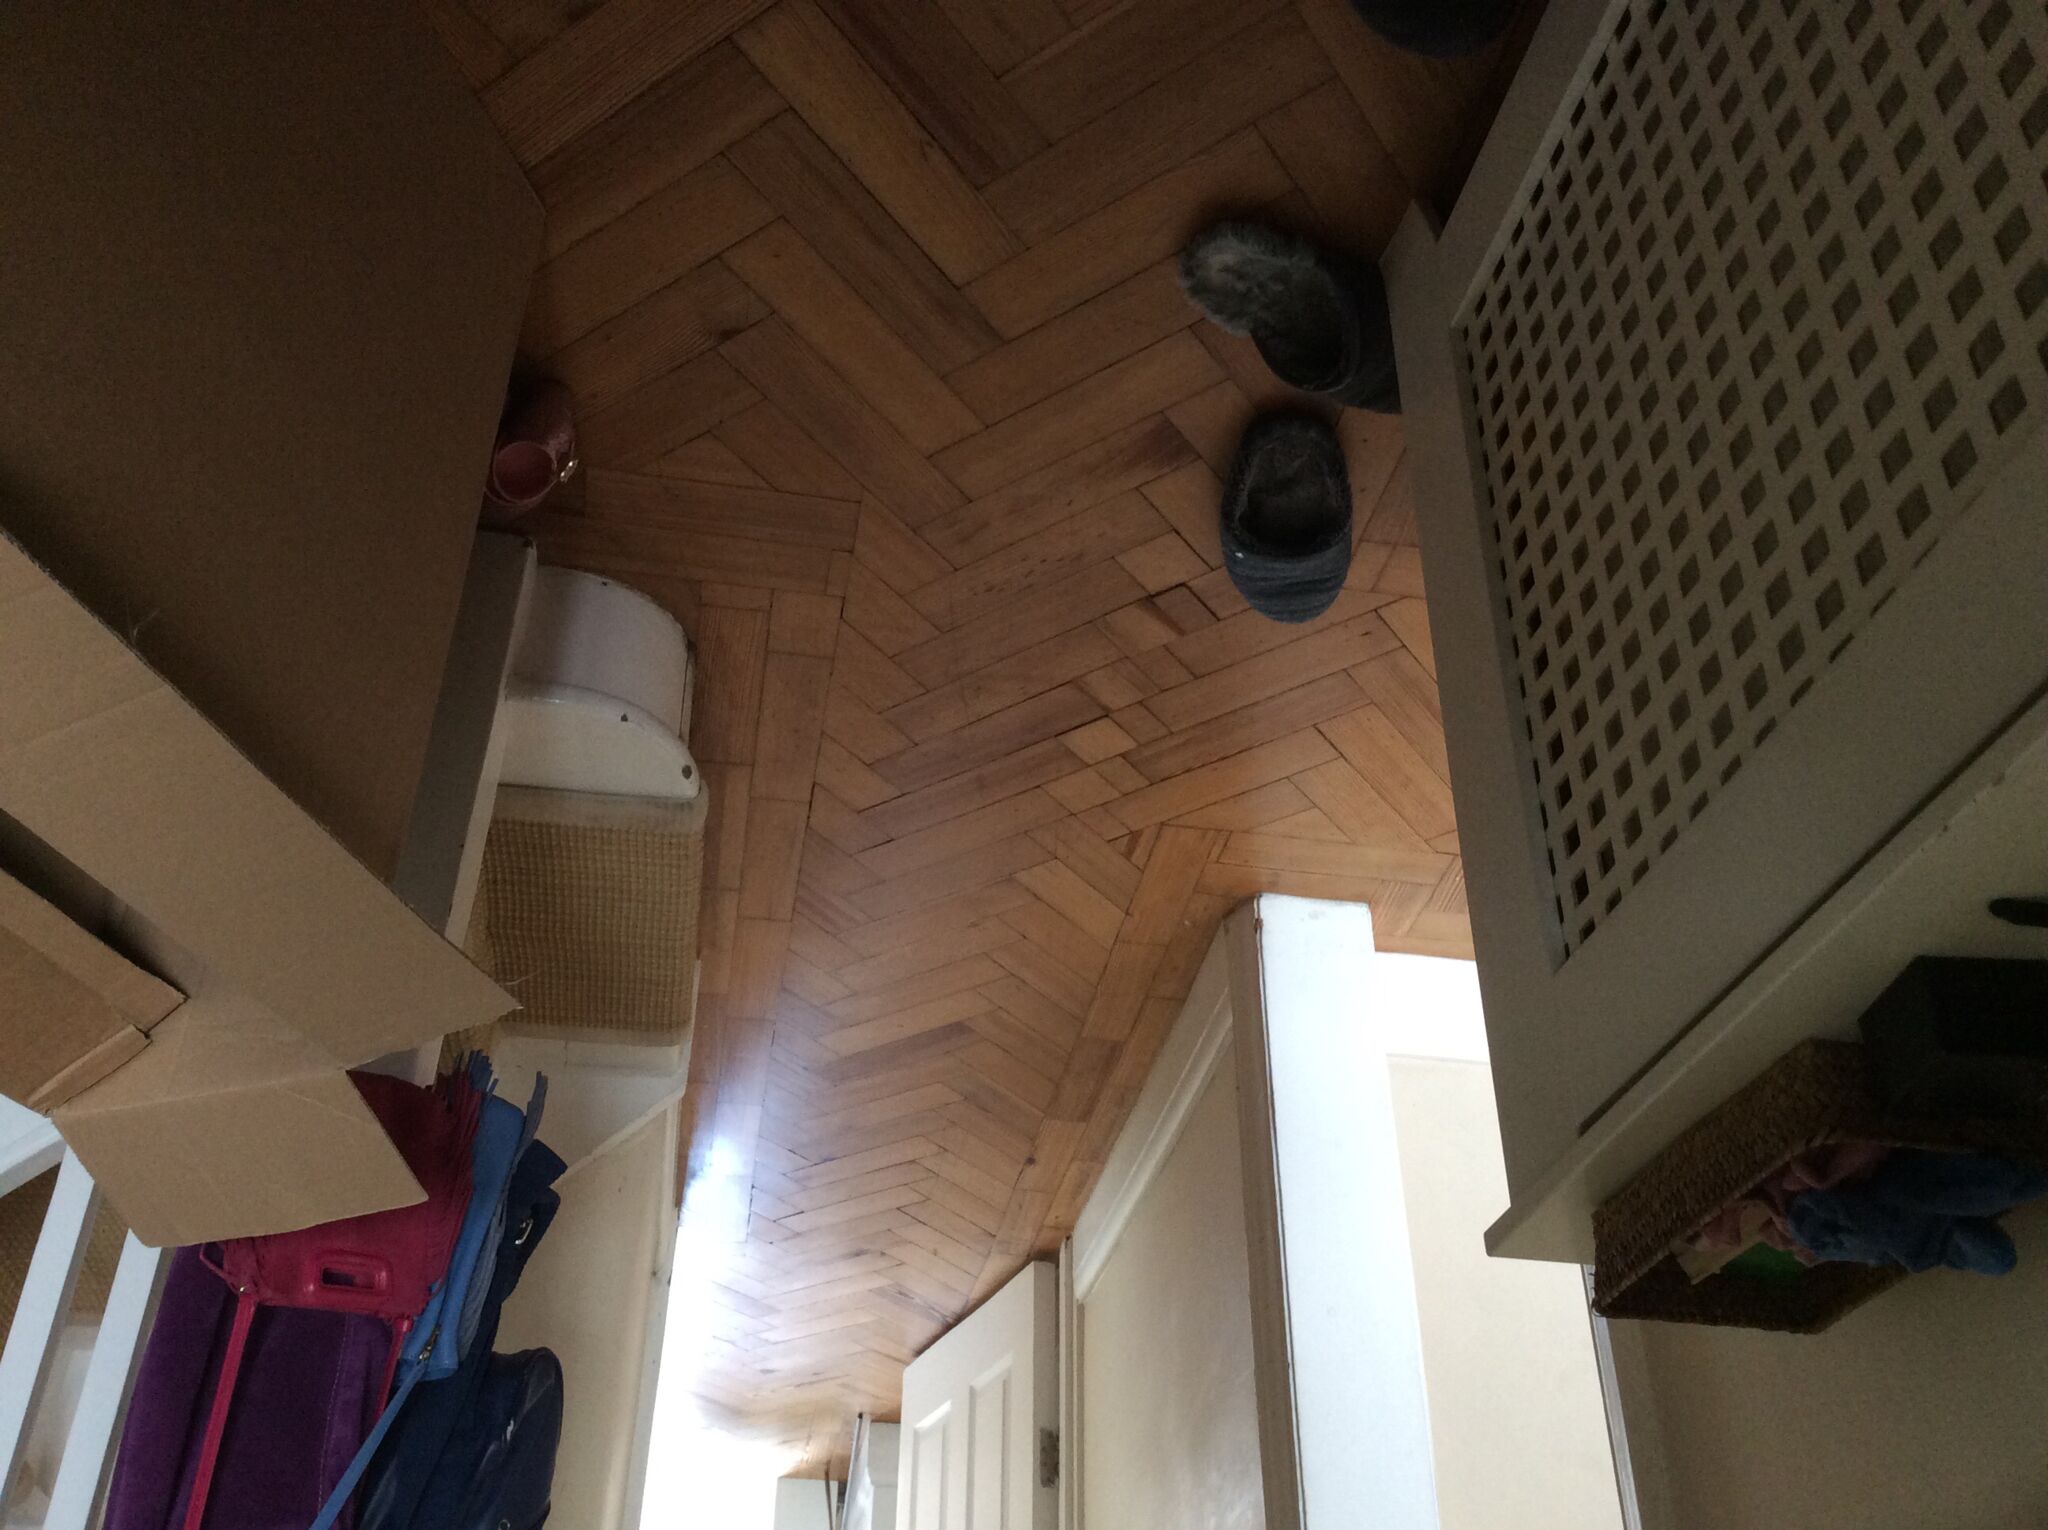
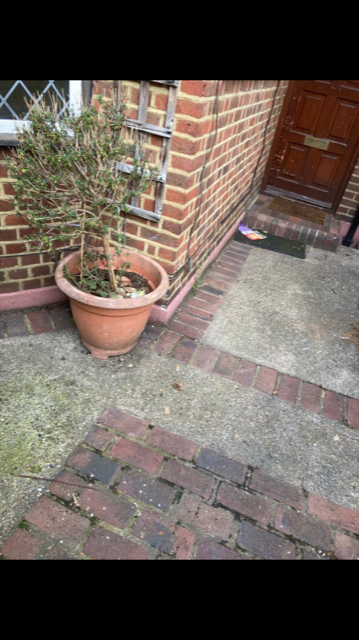
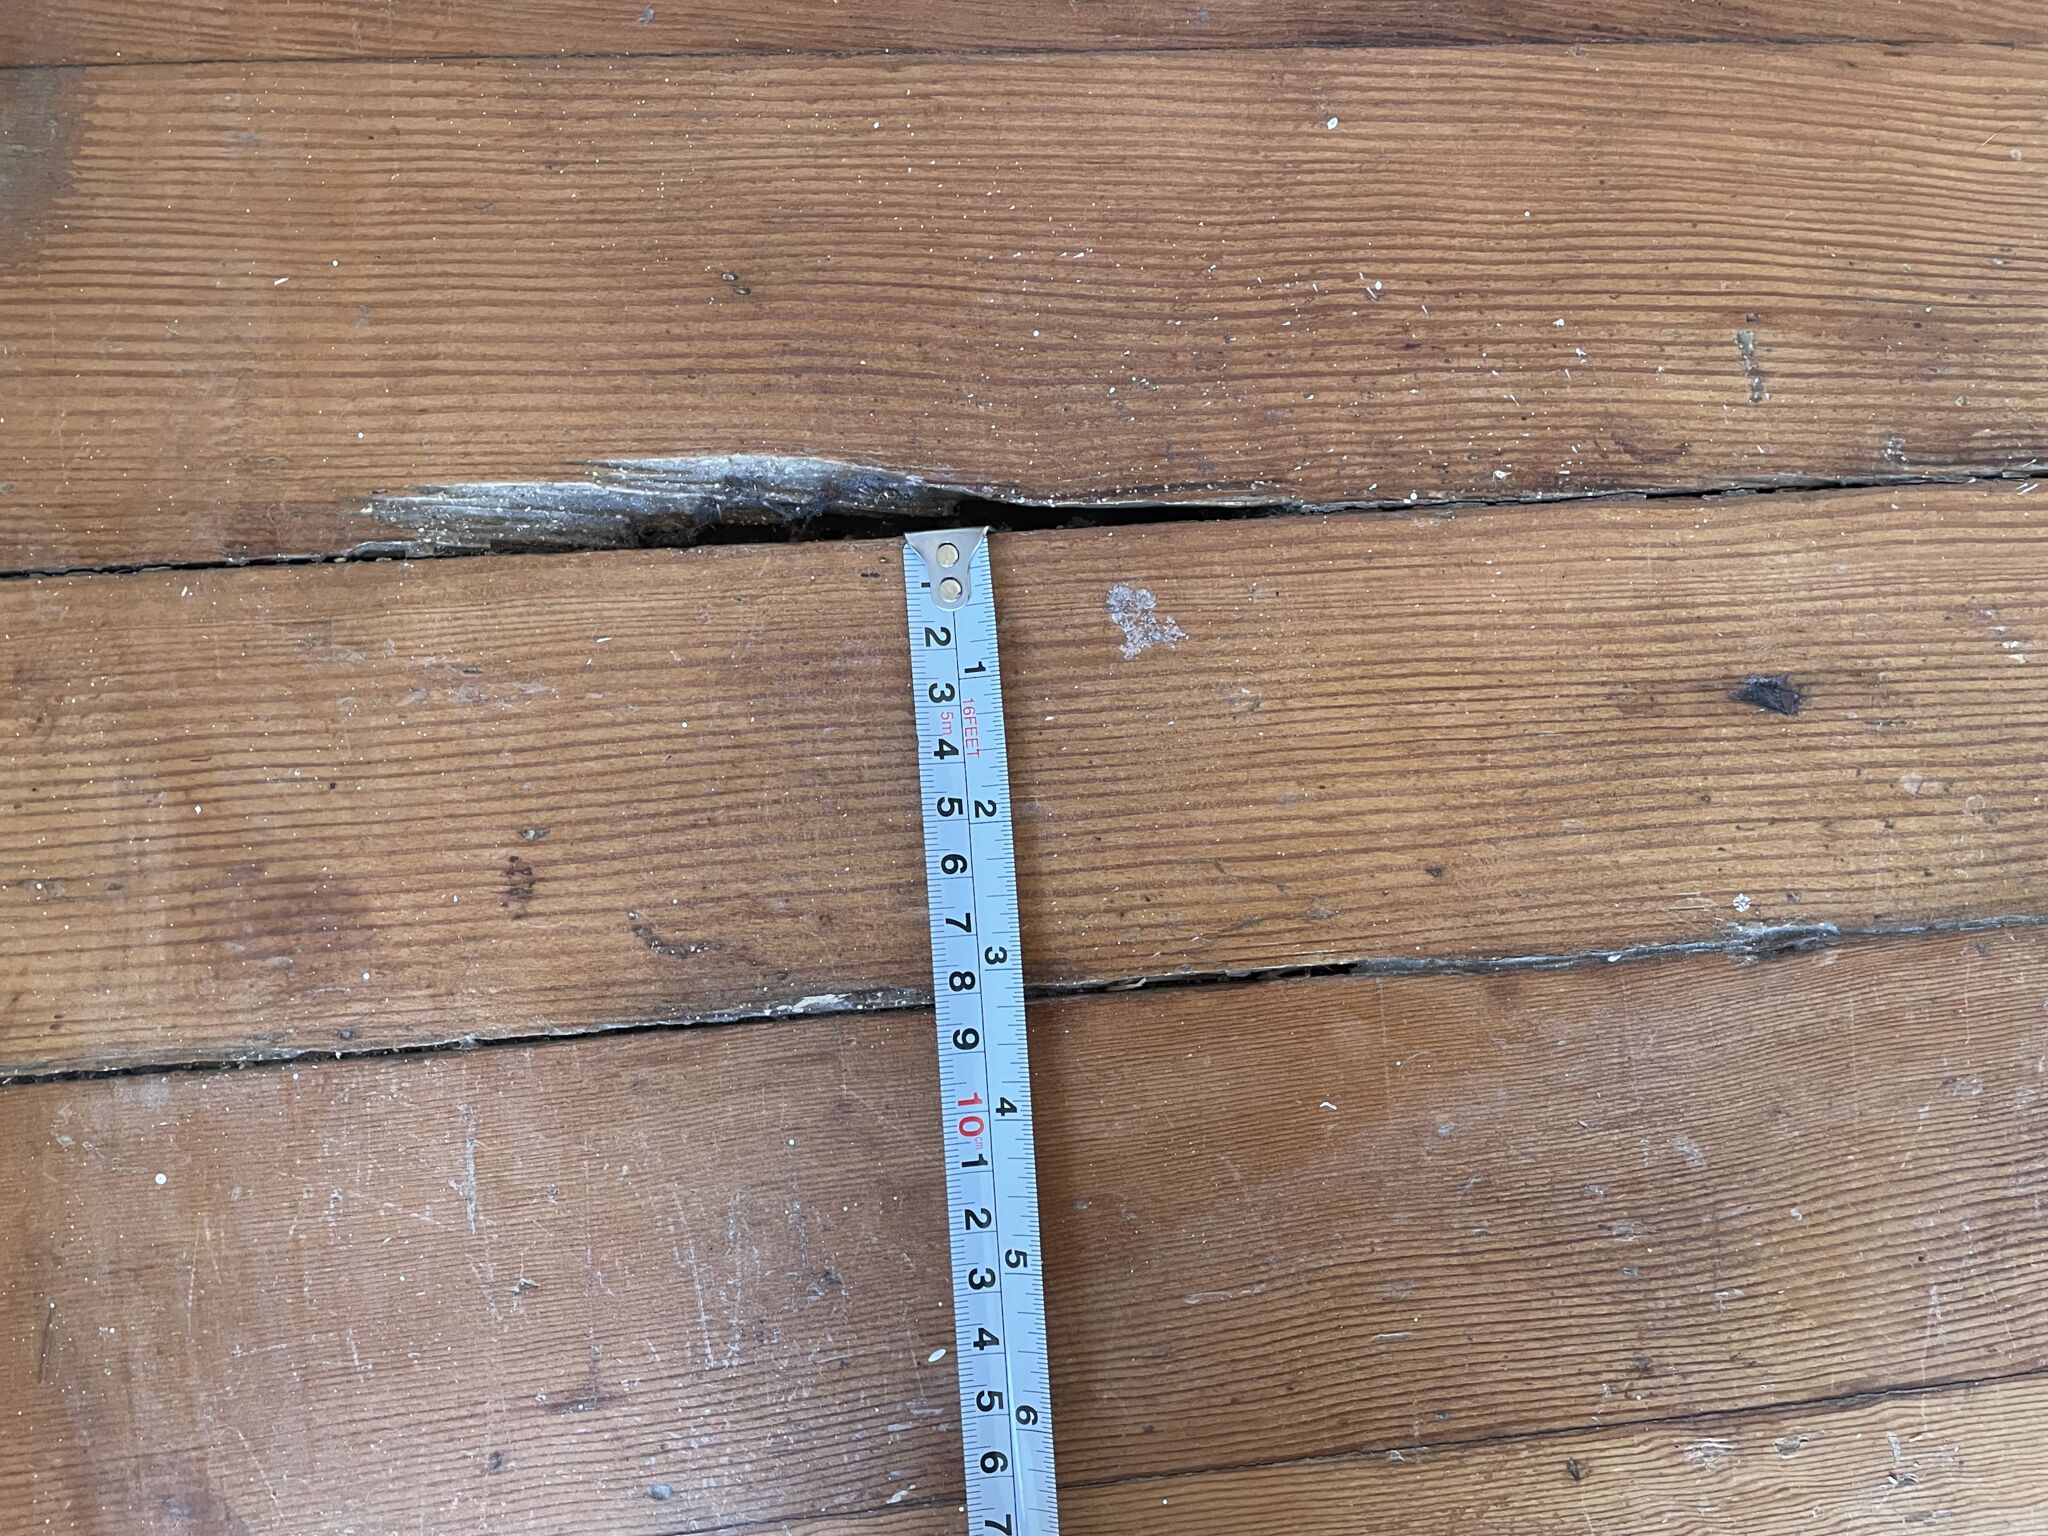
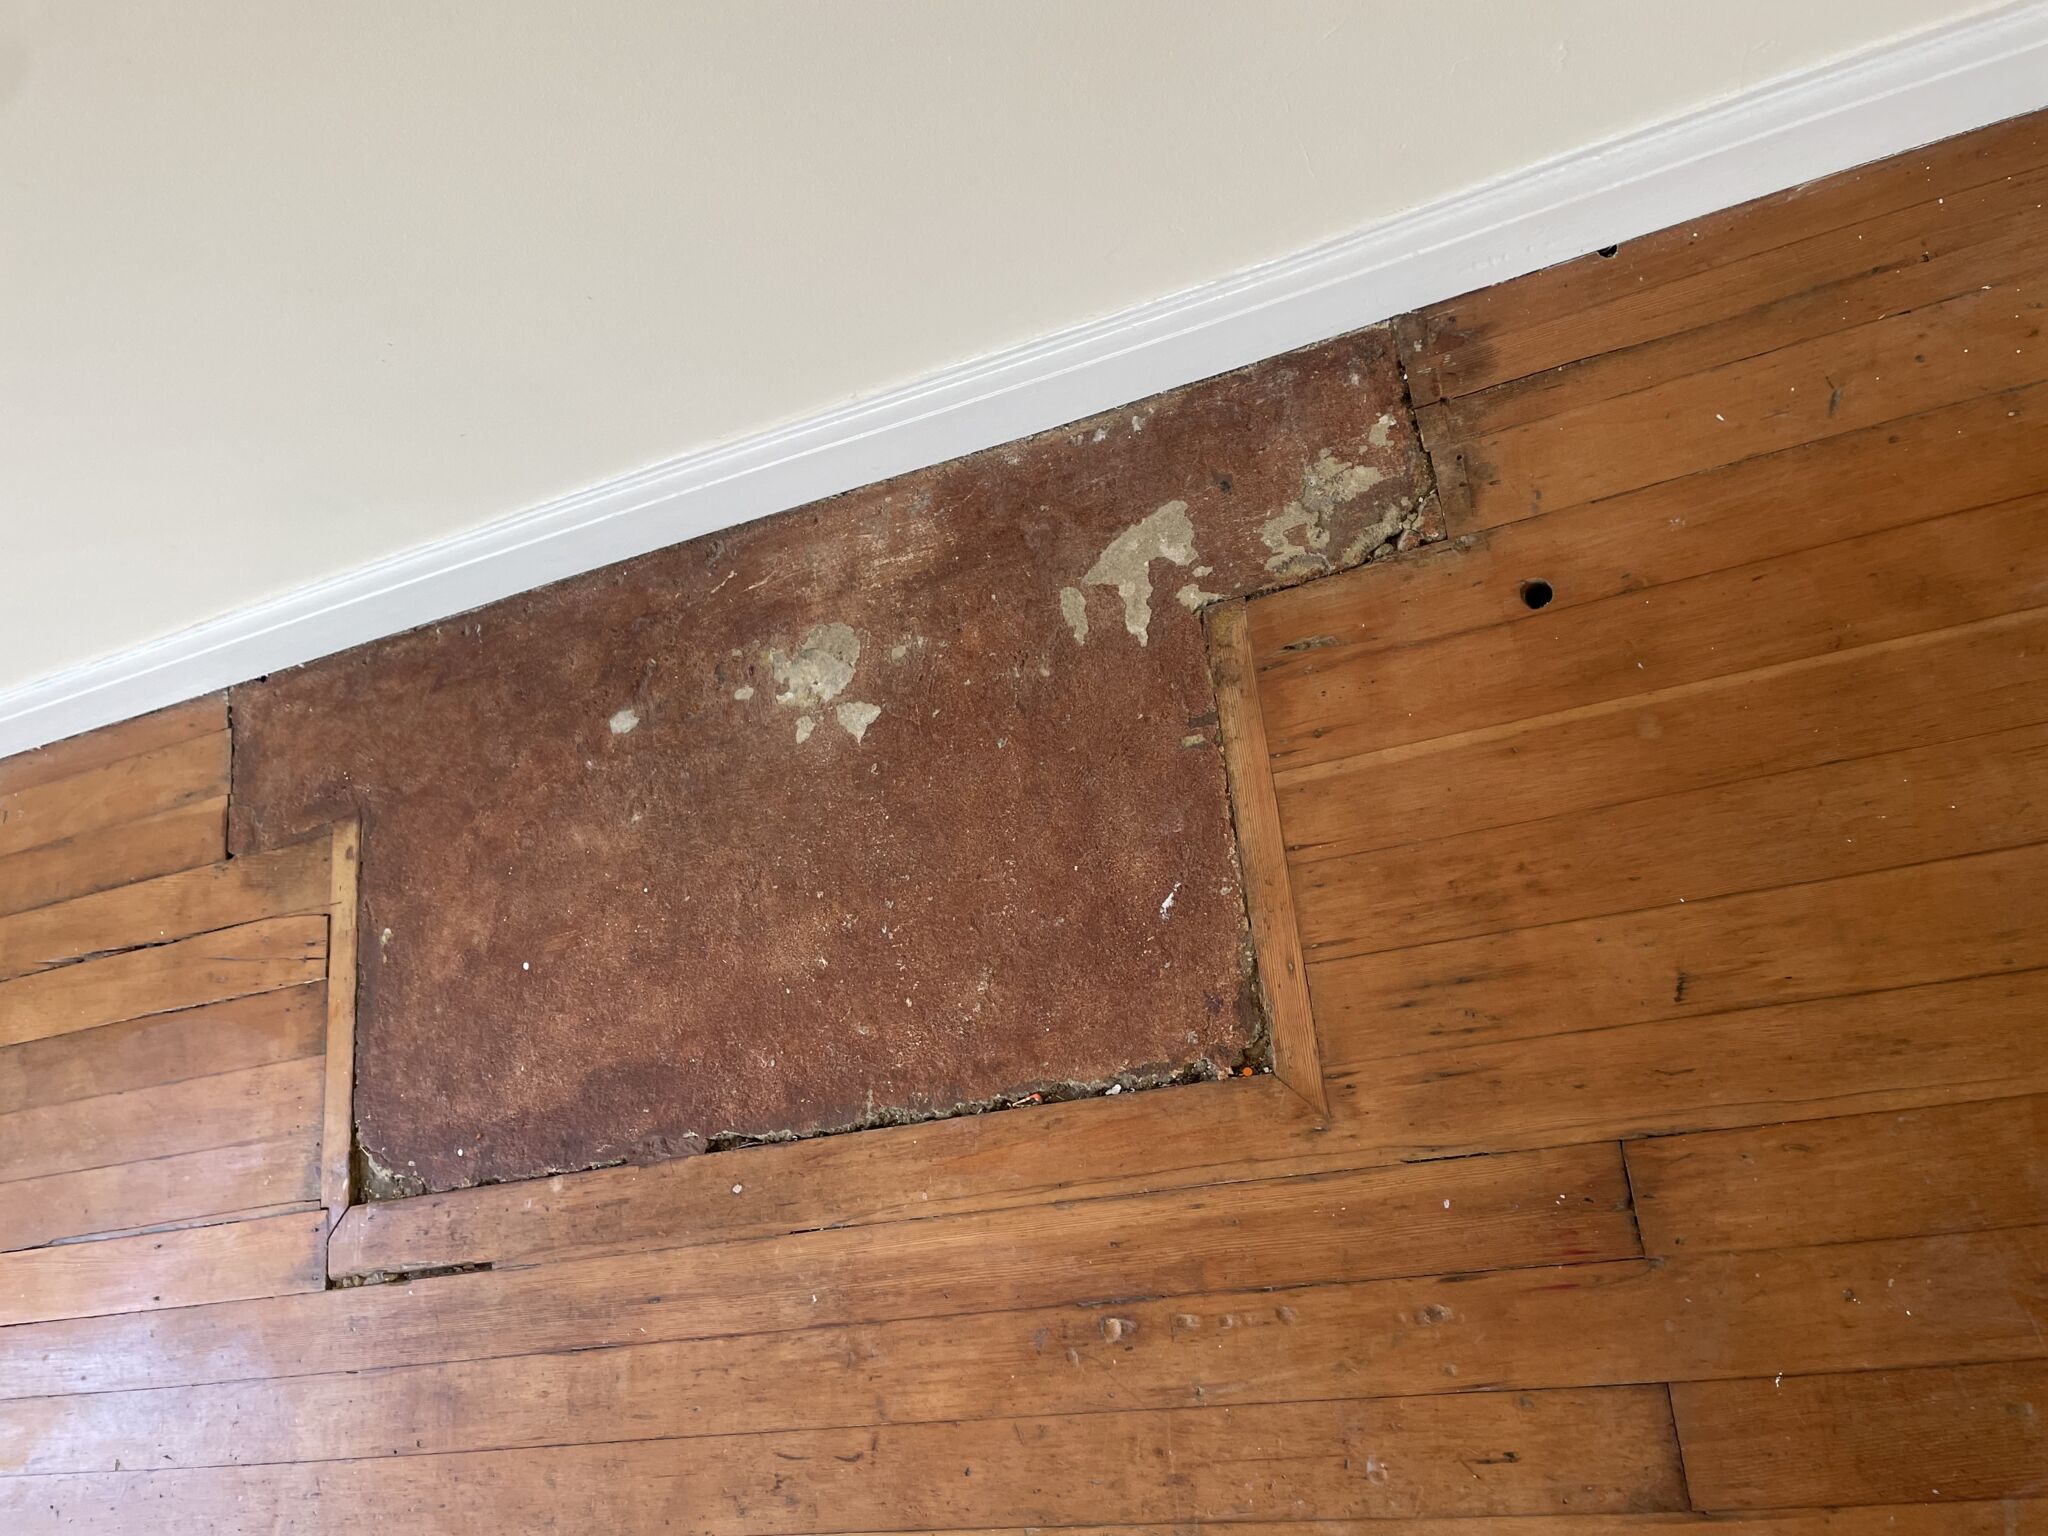
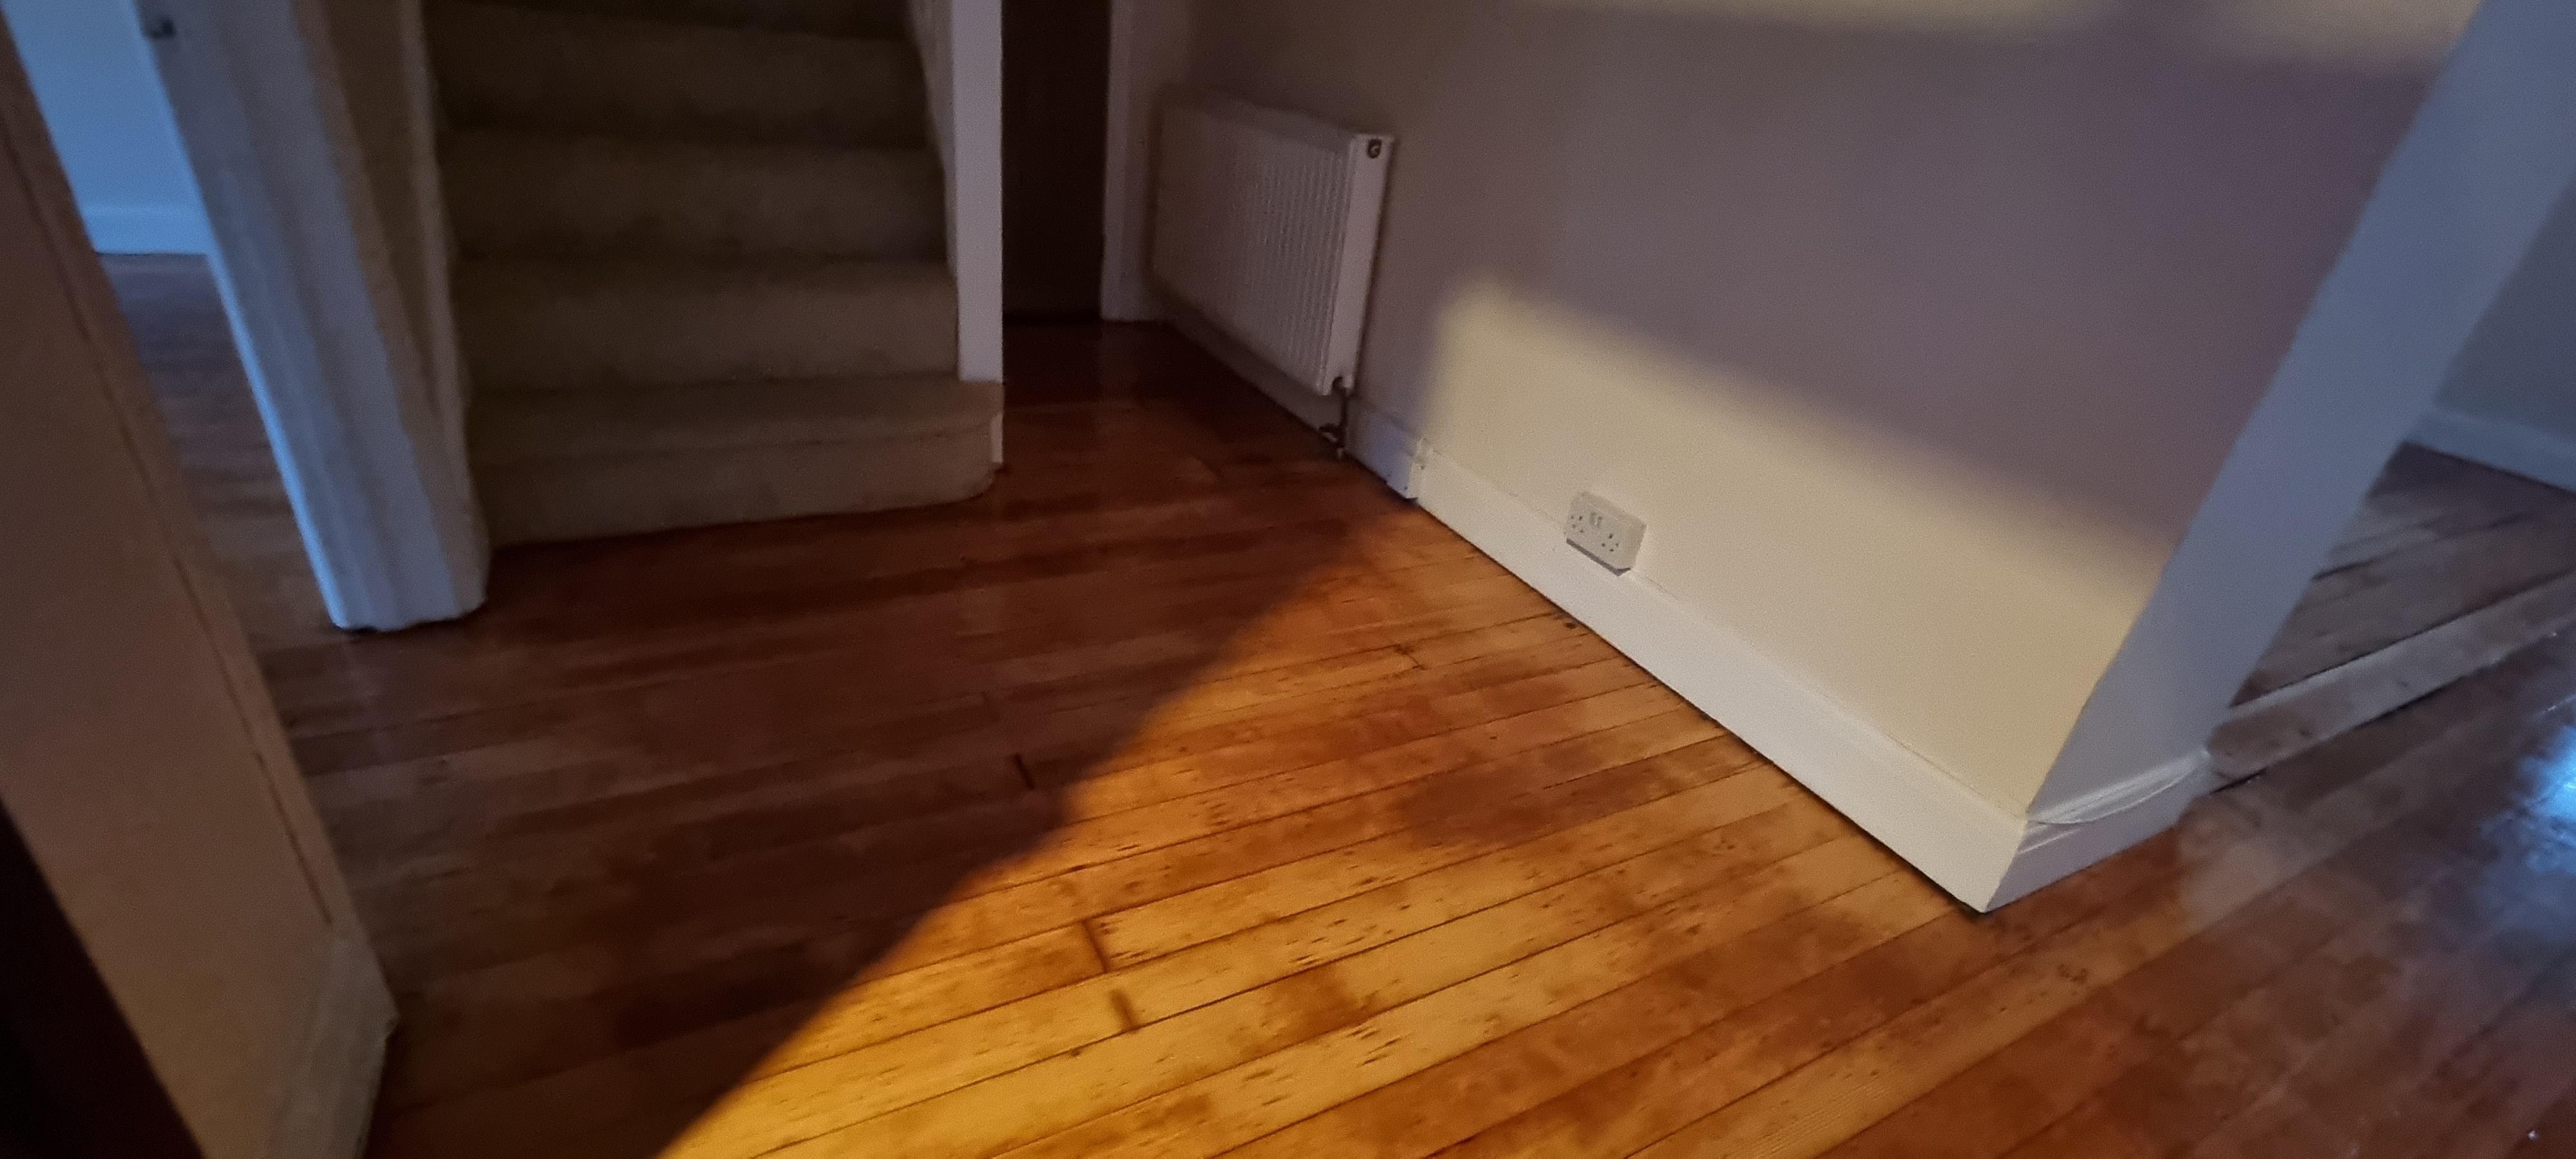
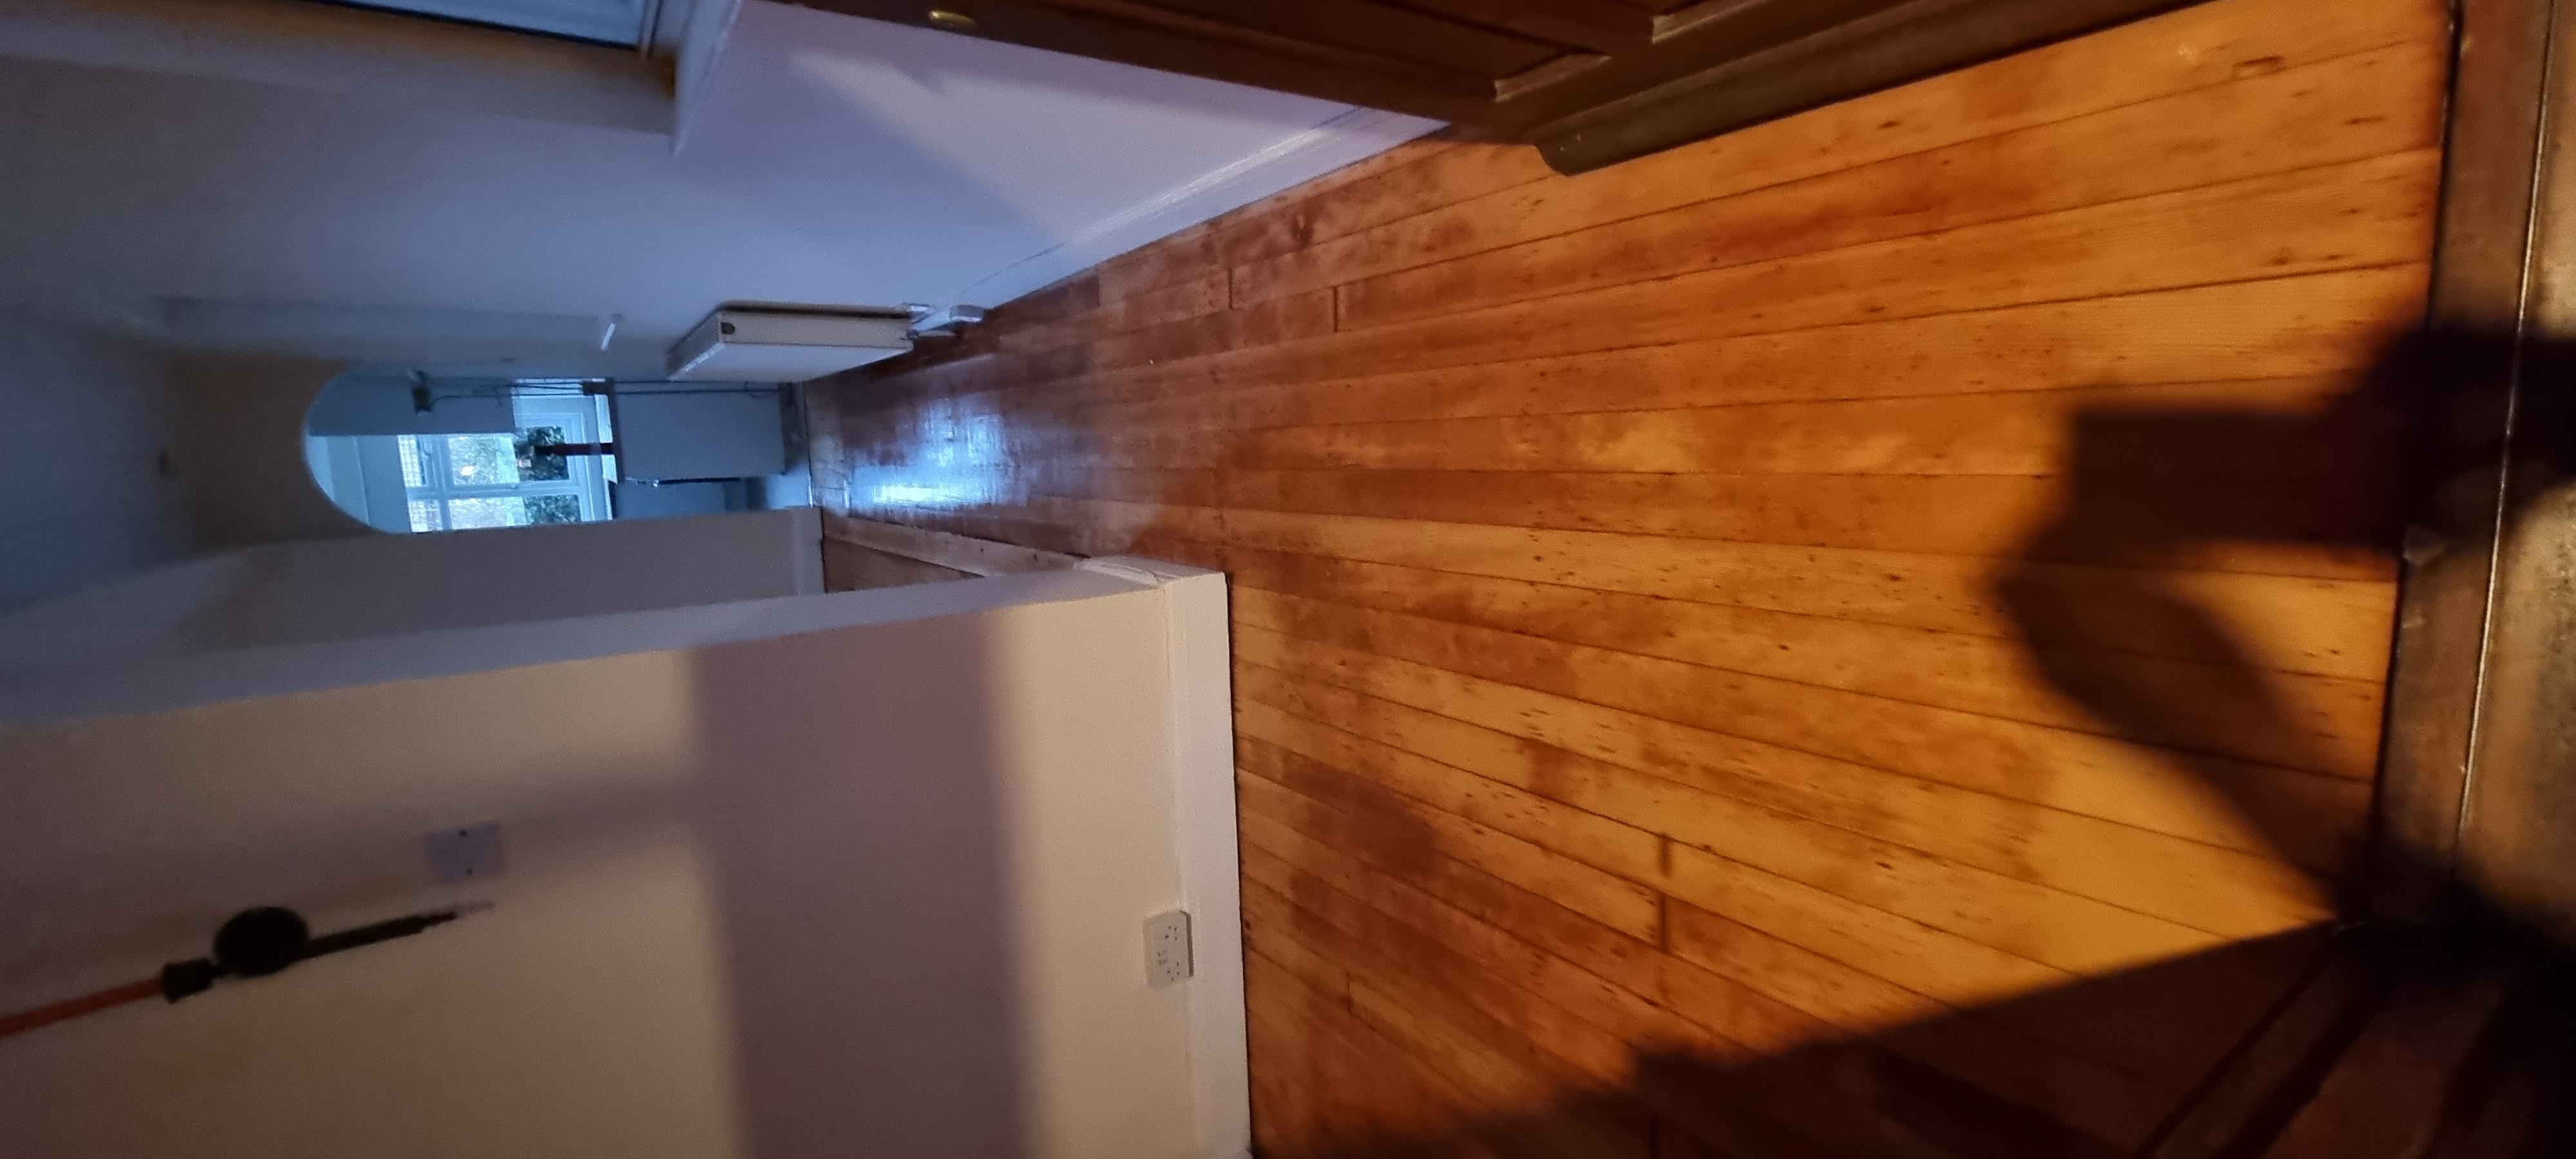
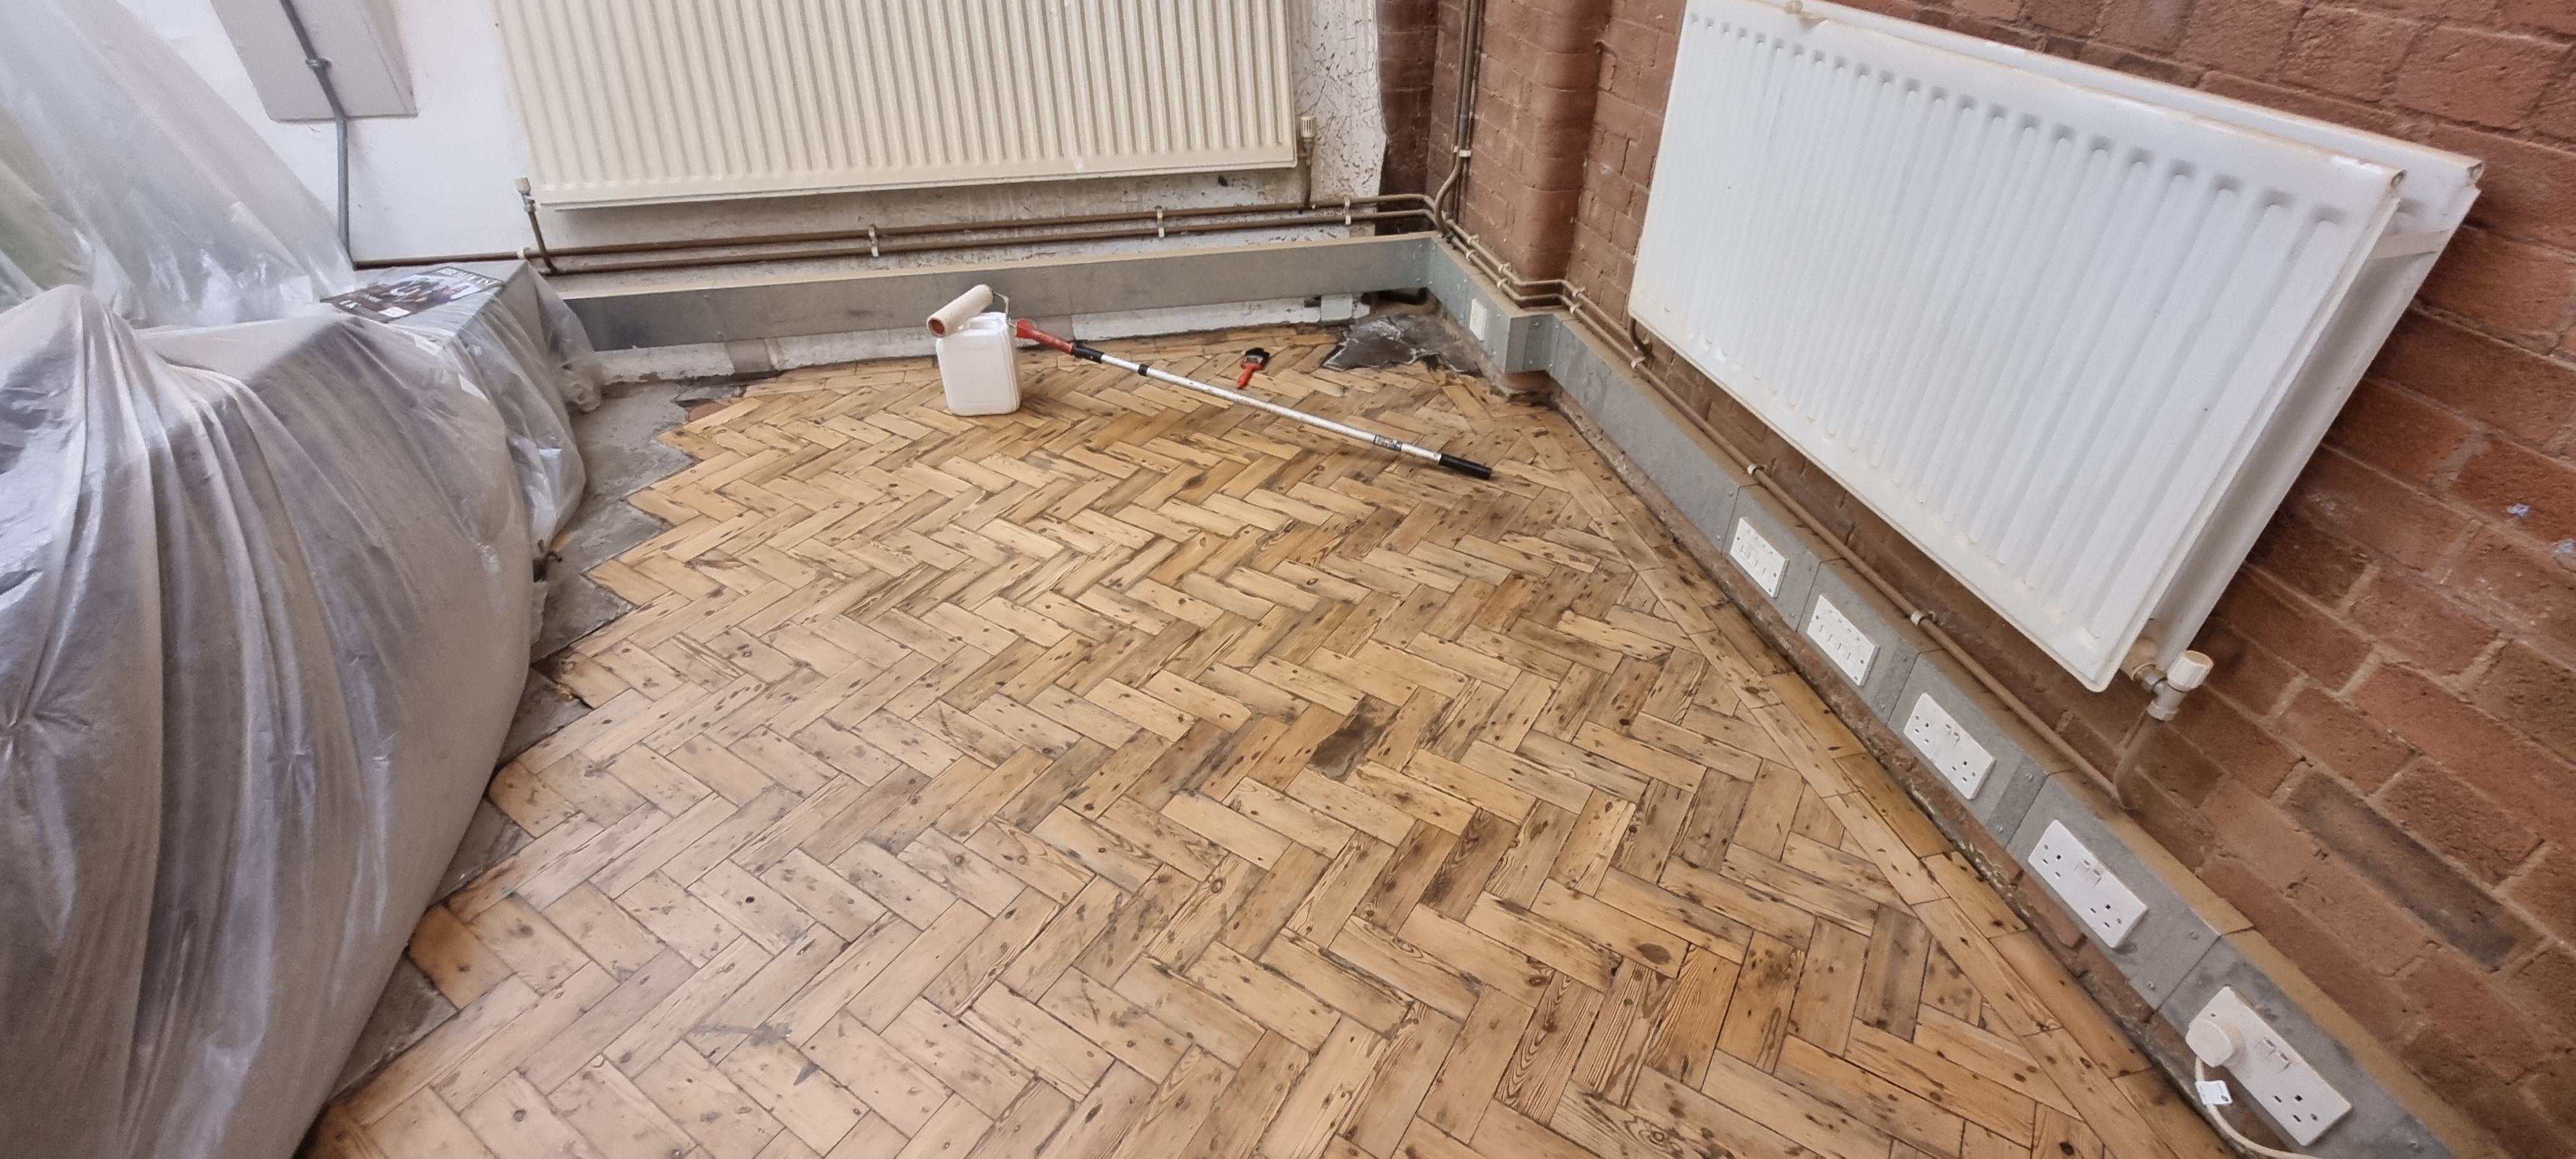
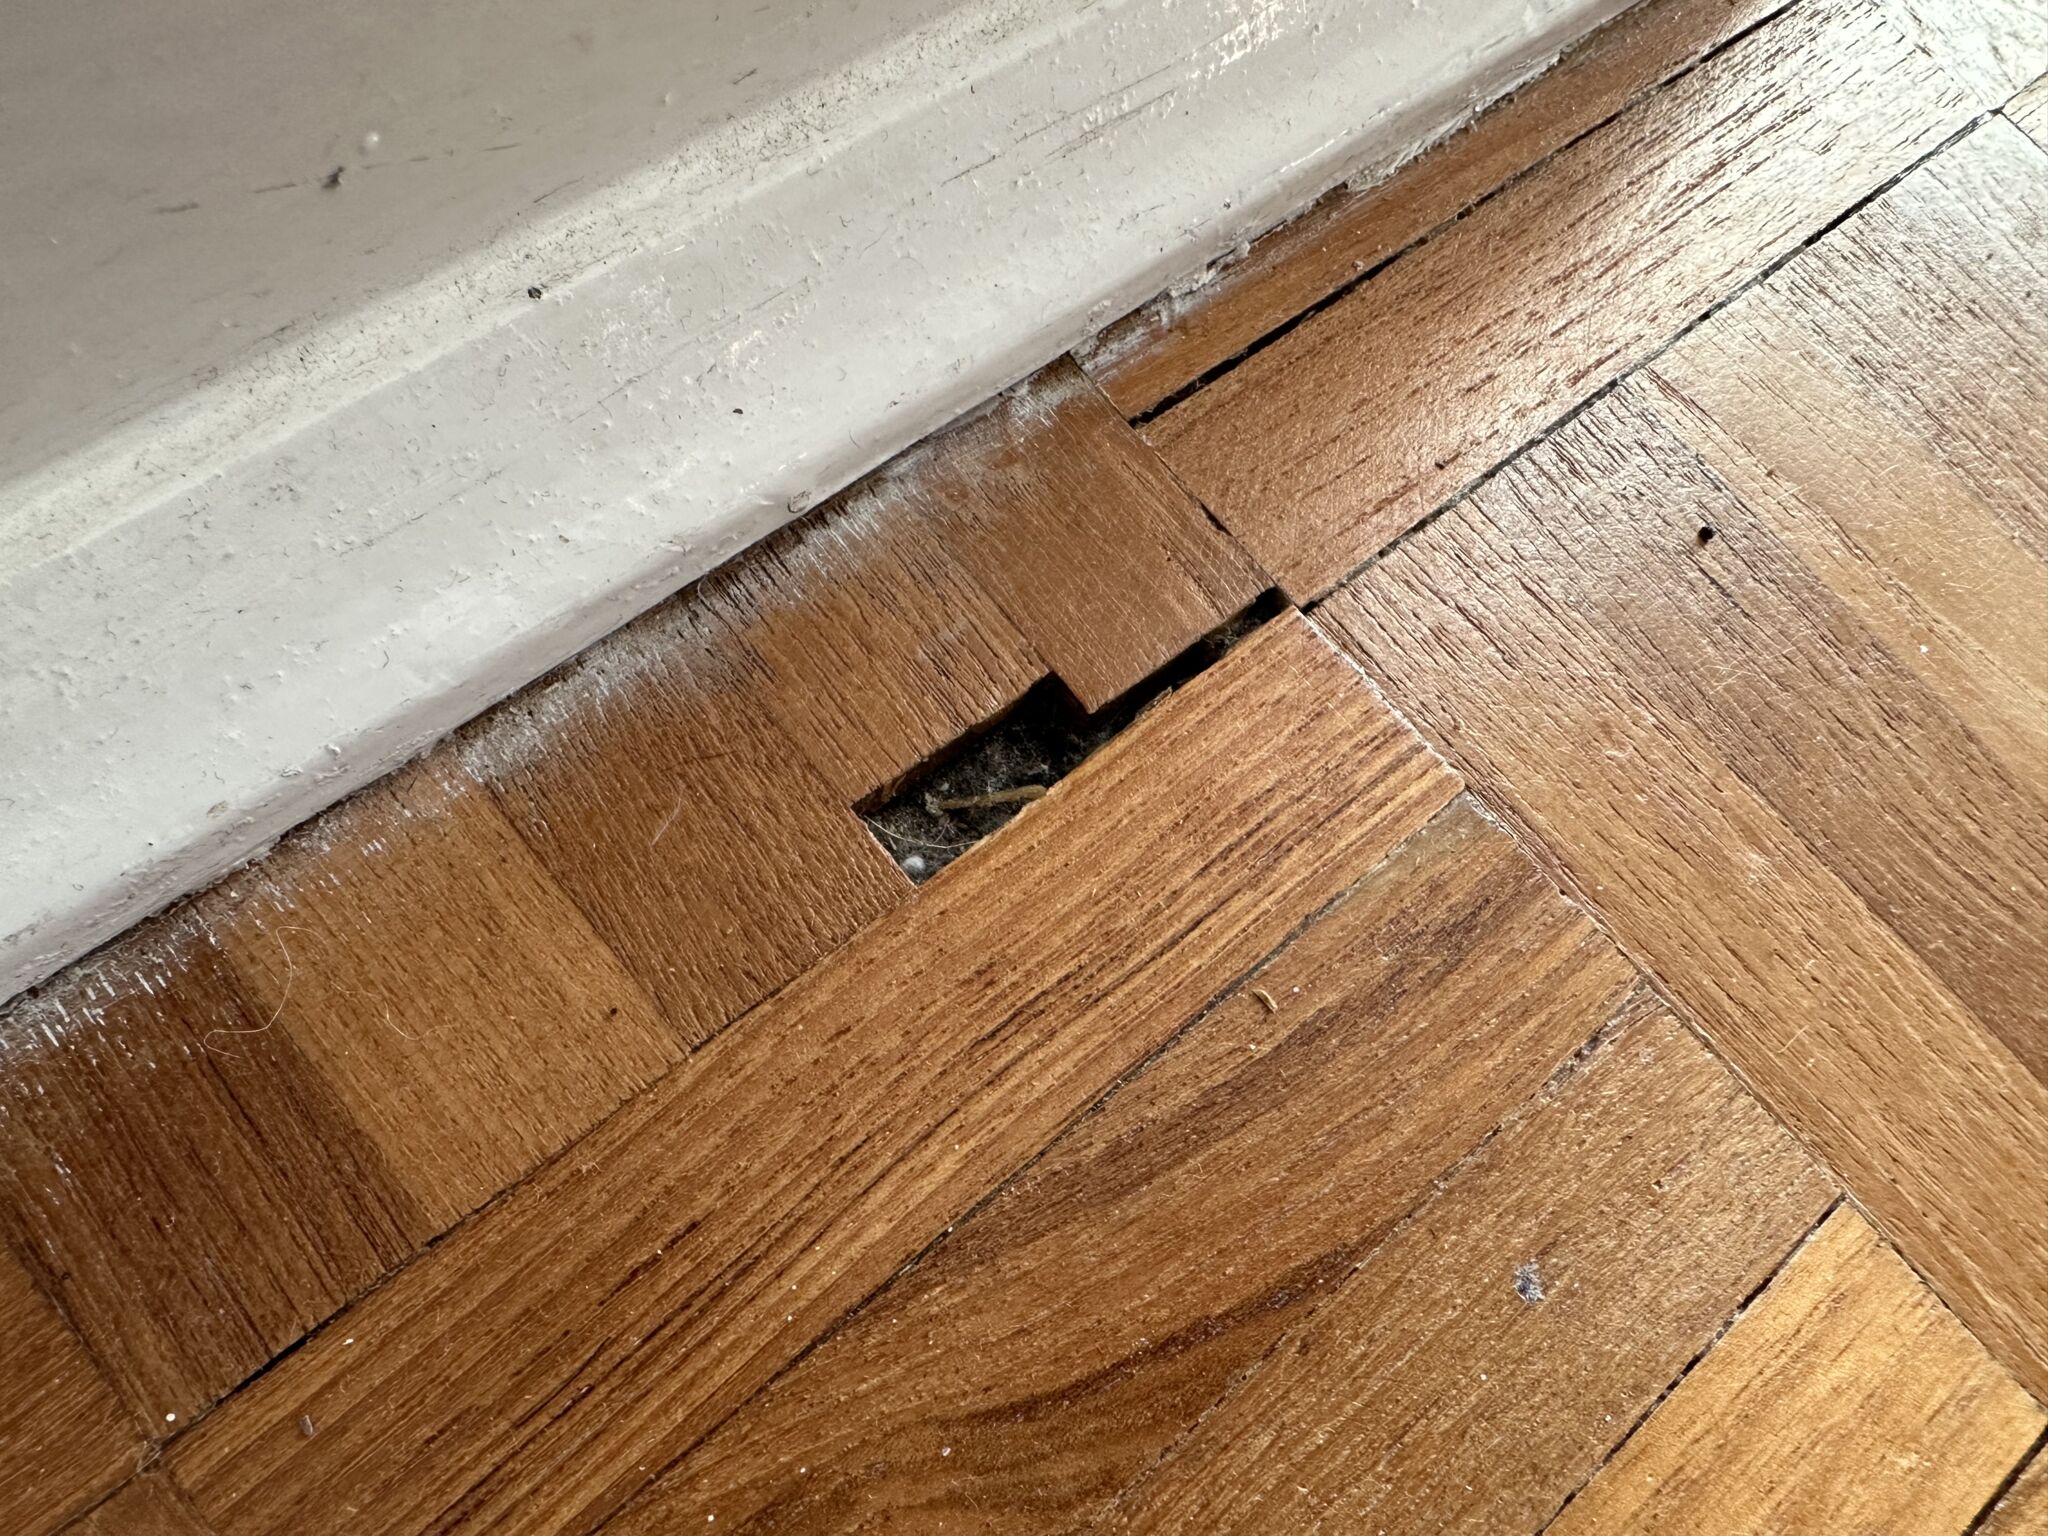
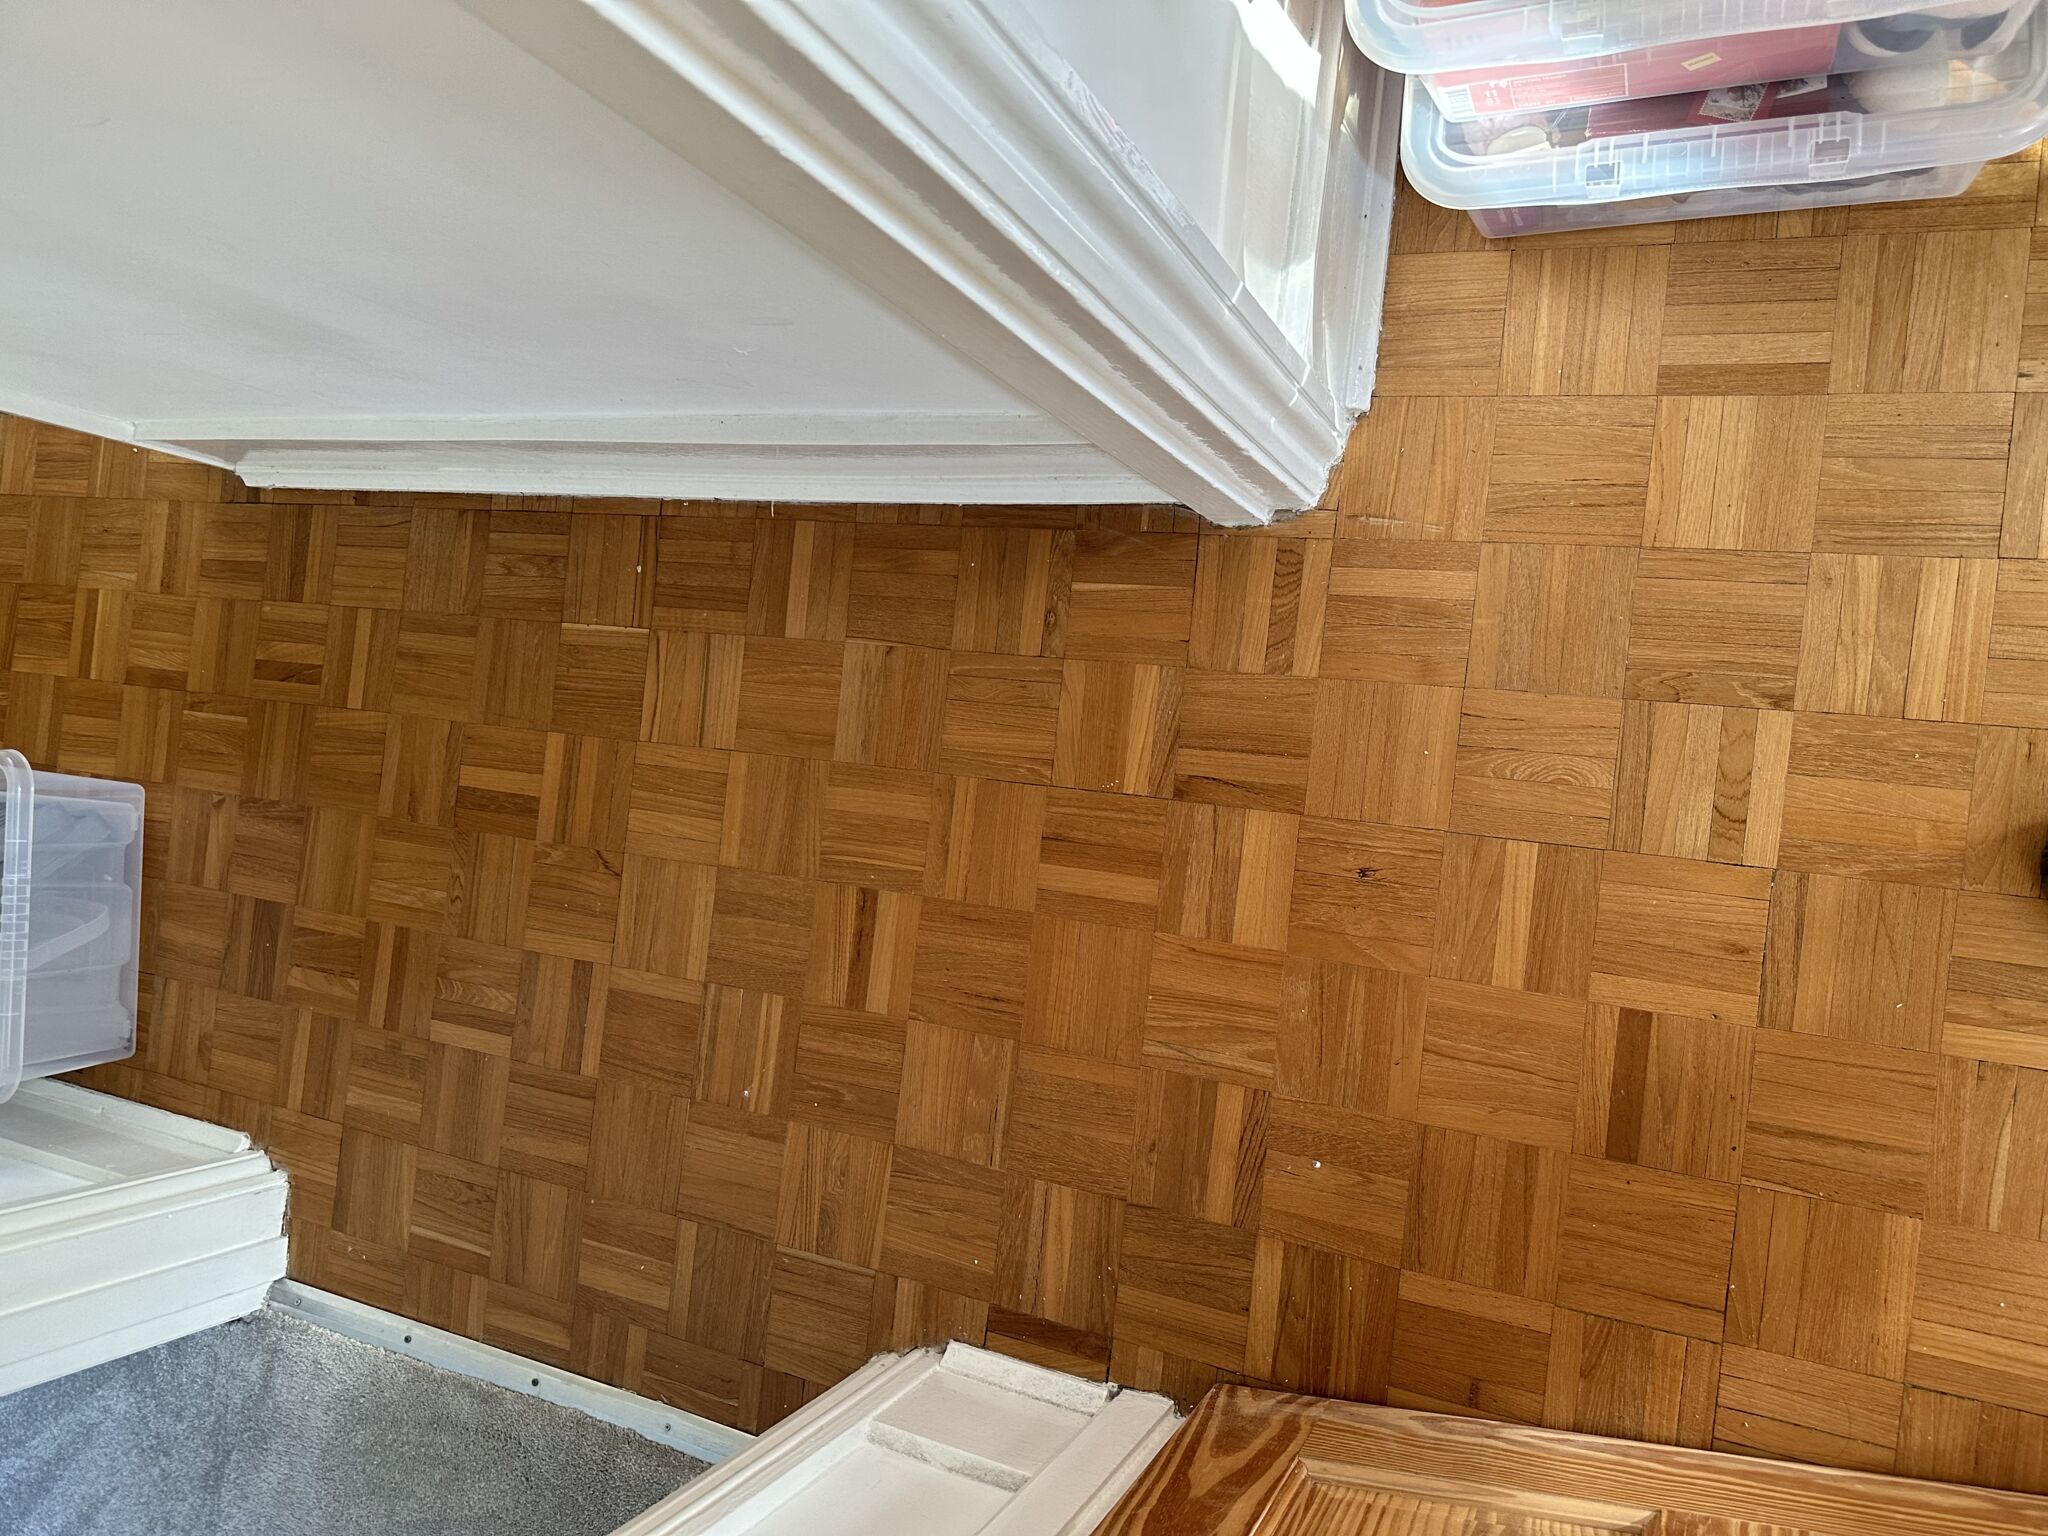
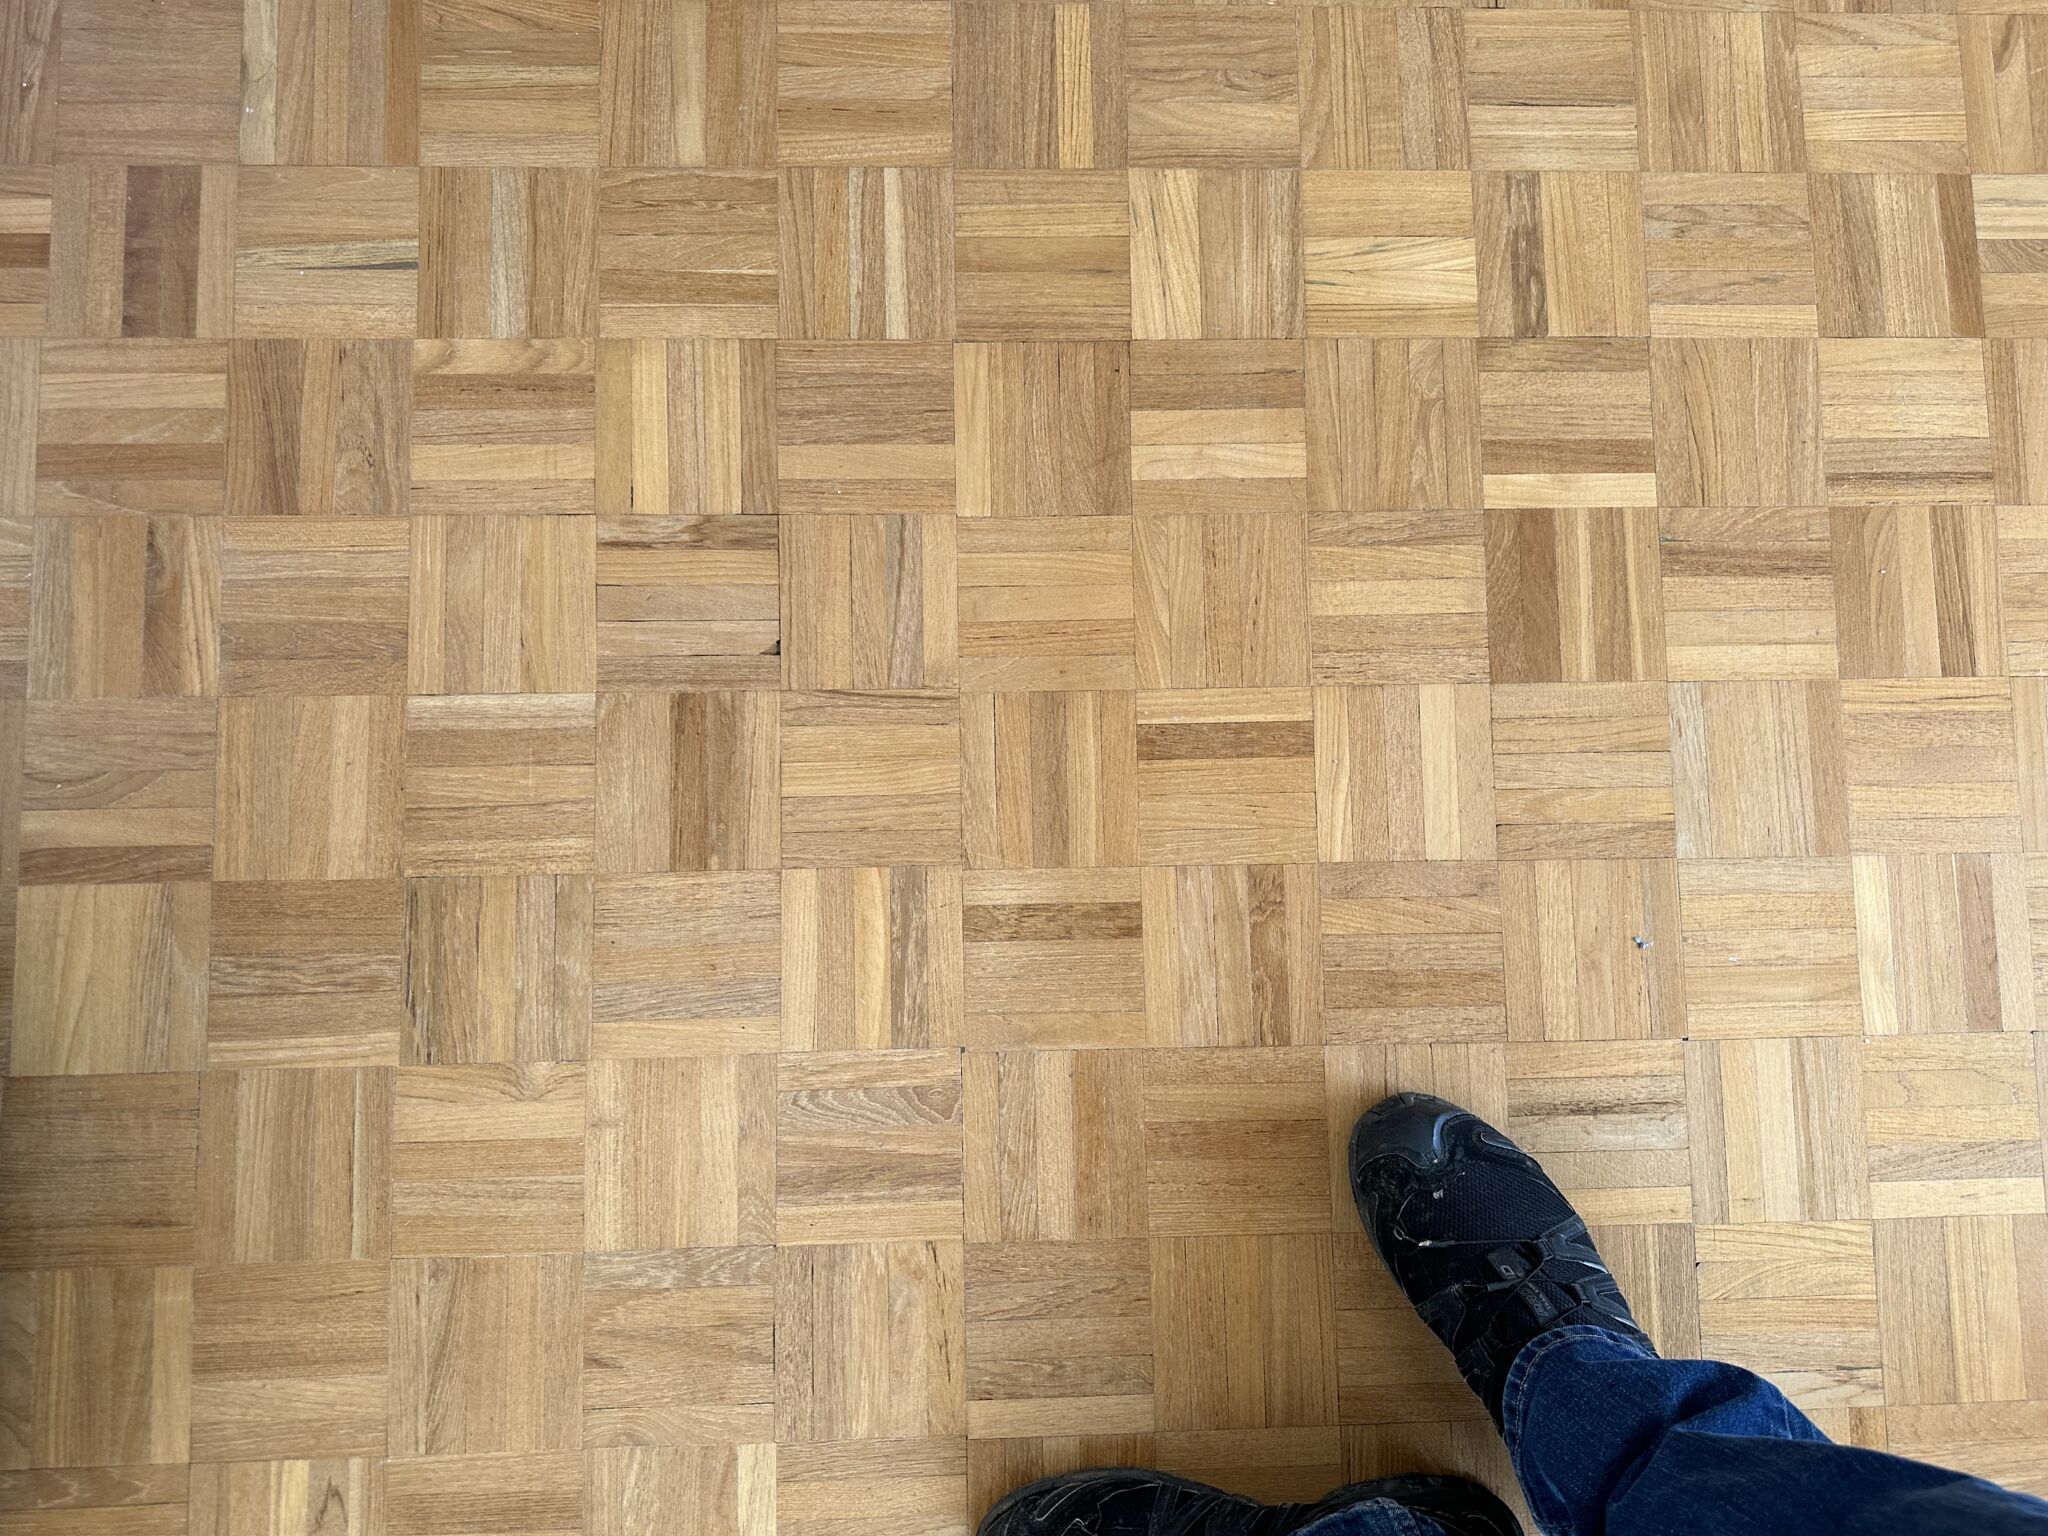
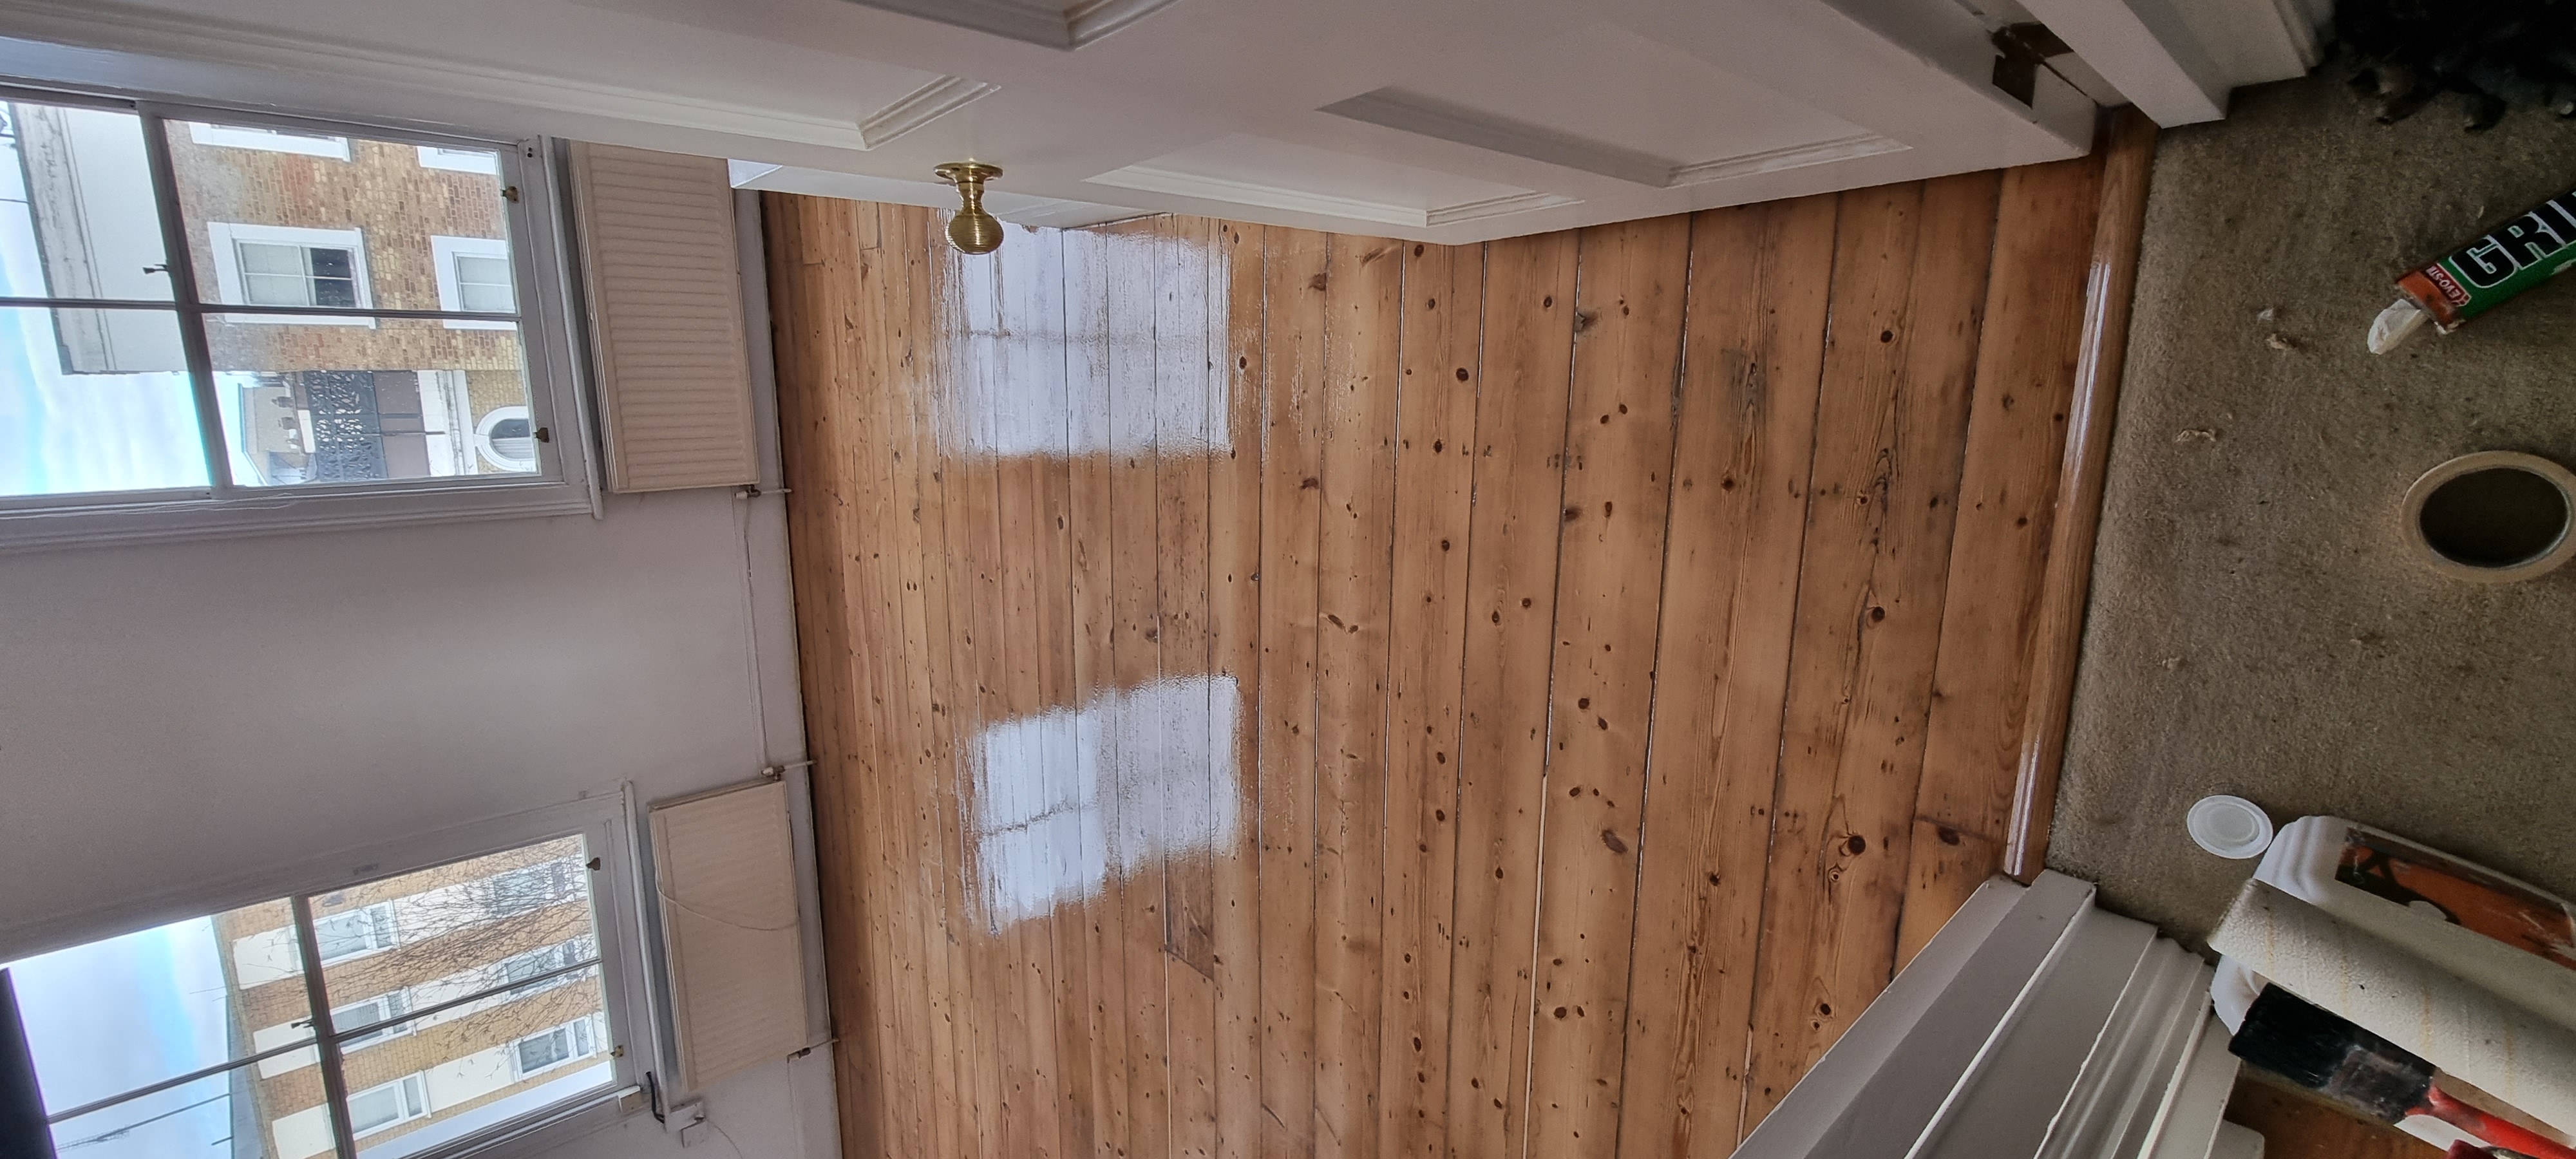
Before work began, the floor showed typical signs of wear. Surface scratches, dull patches, and general finish deterioration were present. A thorough survey was carried out to plan the correct sanding depth, assess board condition, and choose the most appropriate finish for the space.
Survey photos showing the floor condition before work:
Our Approach
The following services were carried out as part of this project:
- Furniture Moving
- Gap Filling
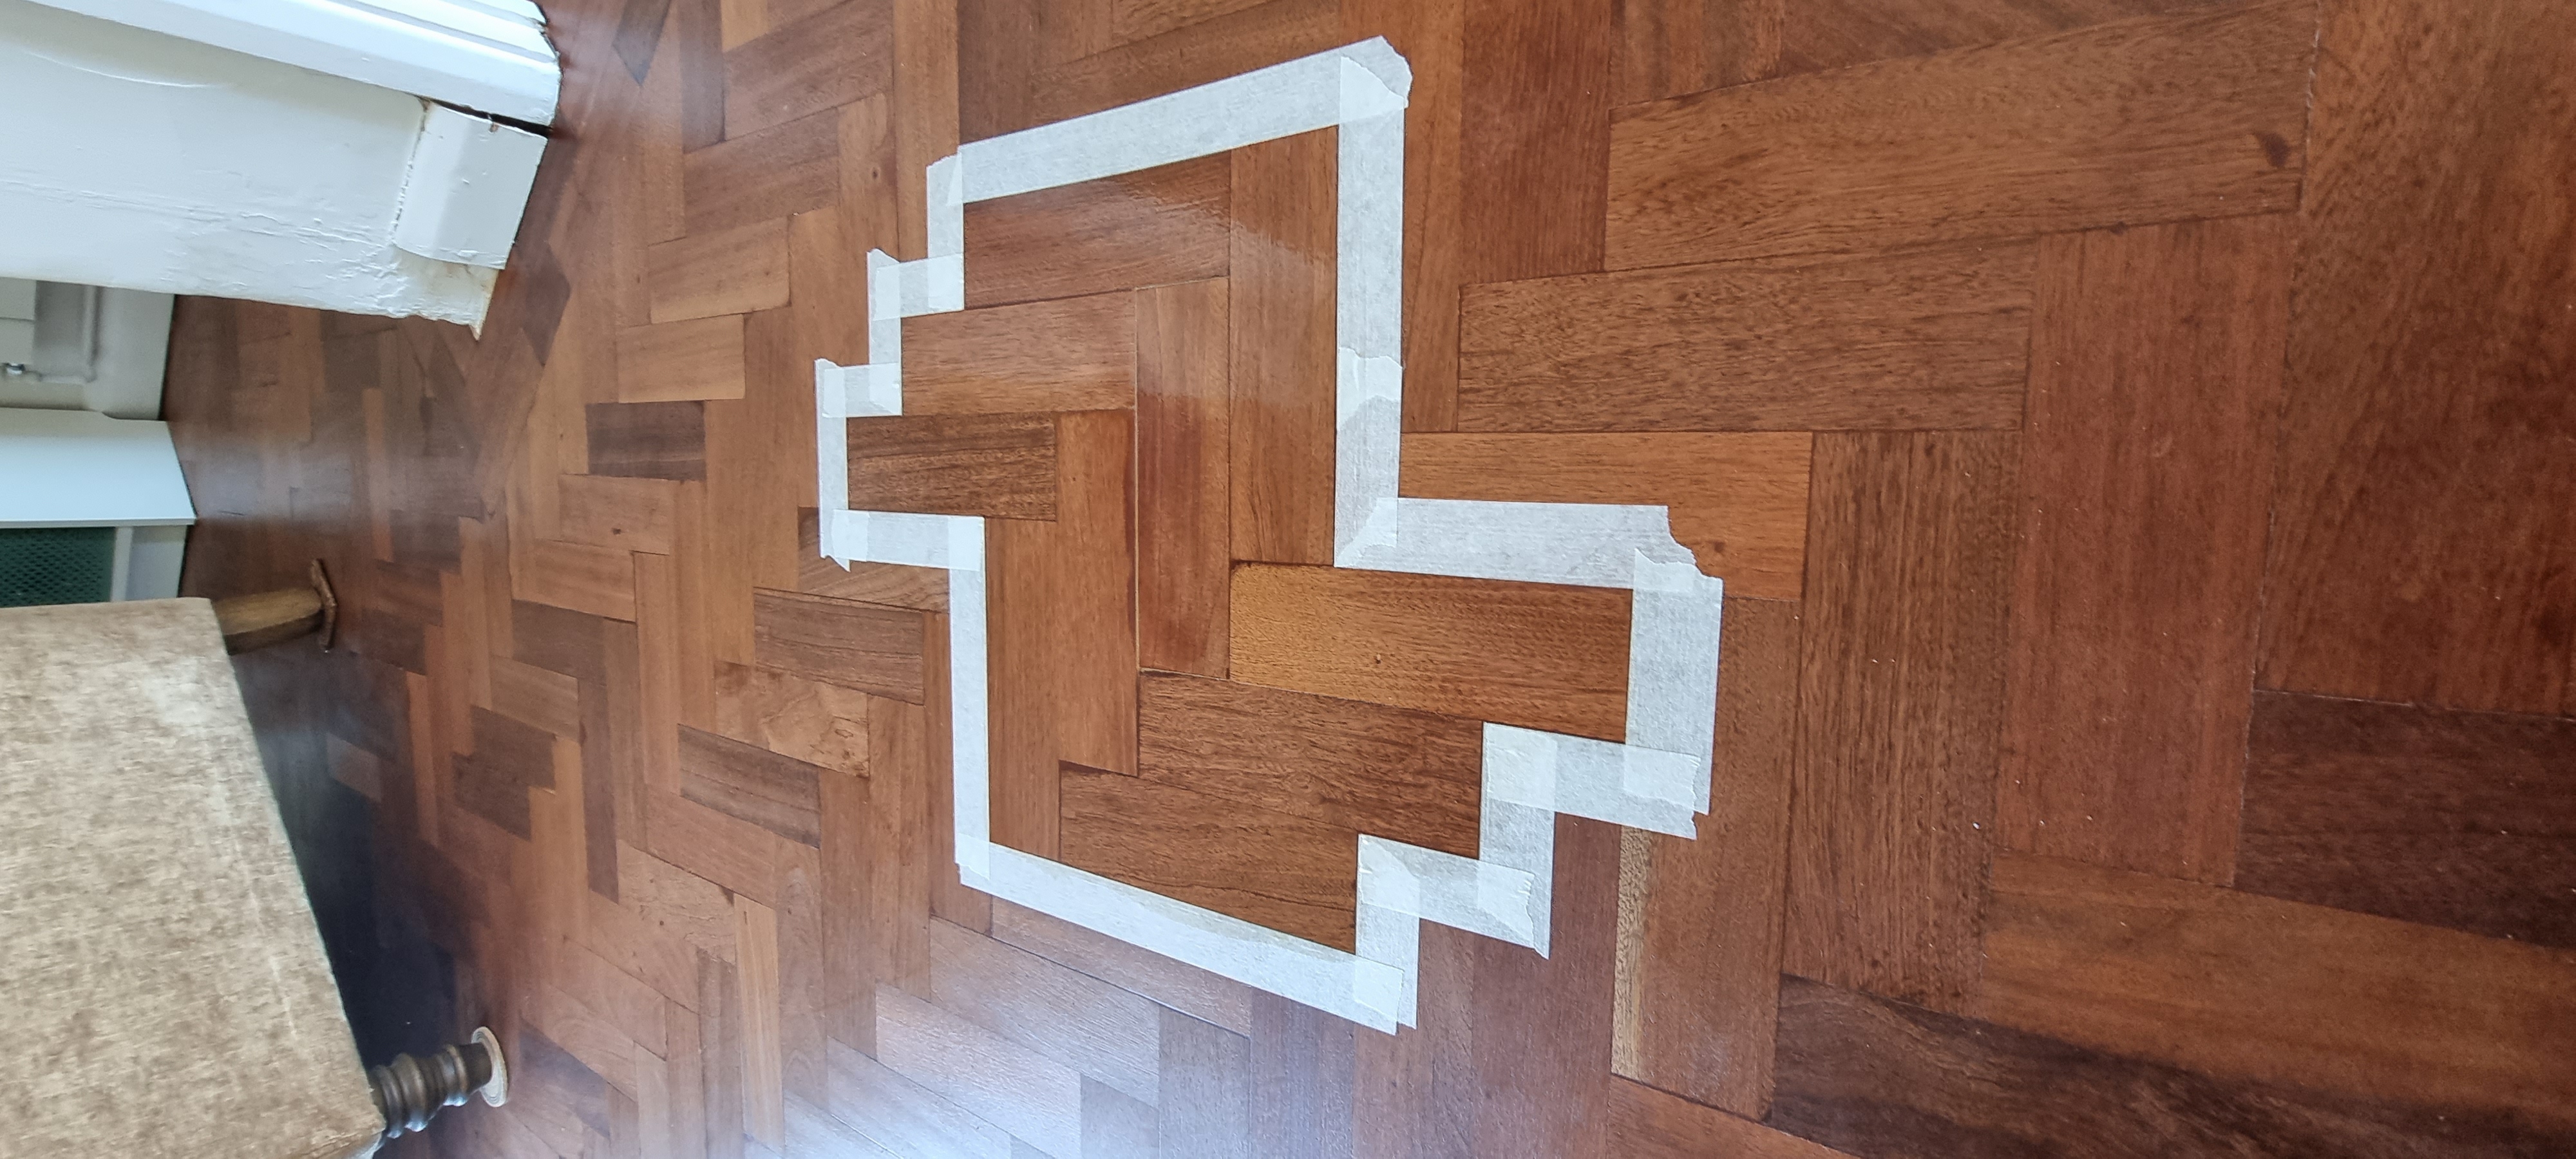
- Parquet - Sand, Buff & Lacquer
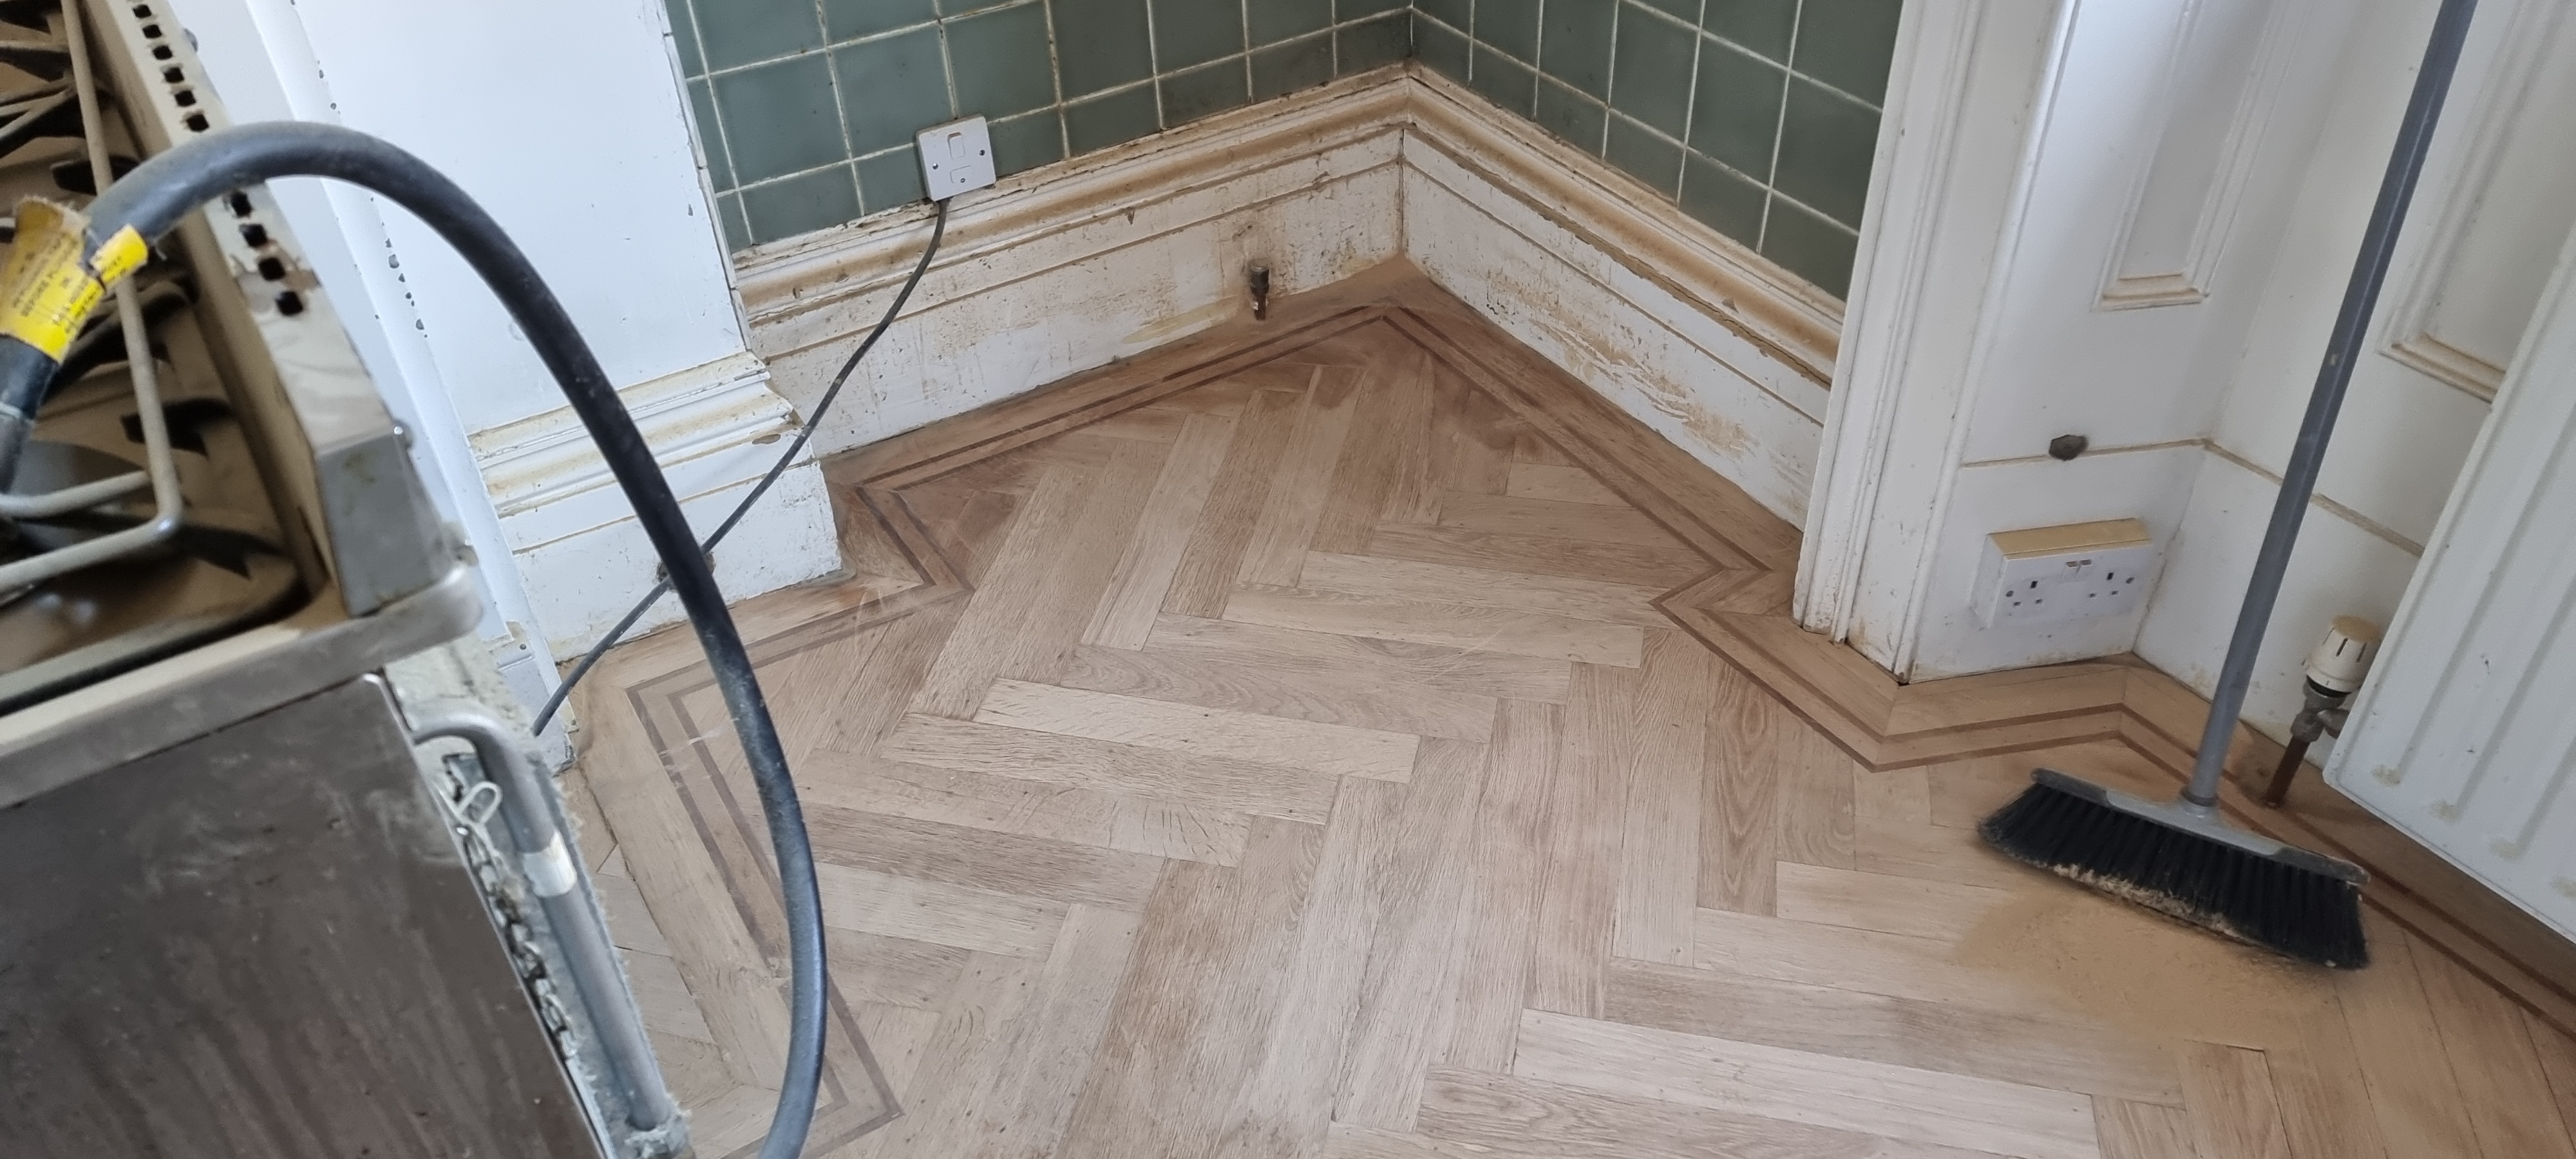
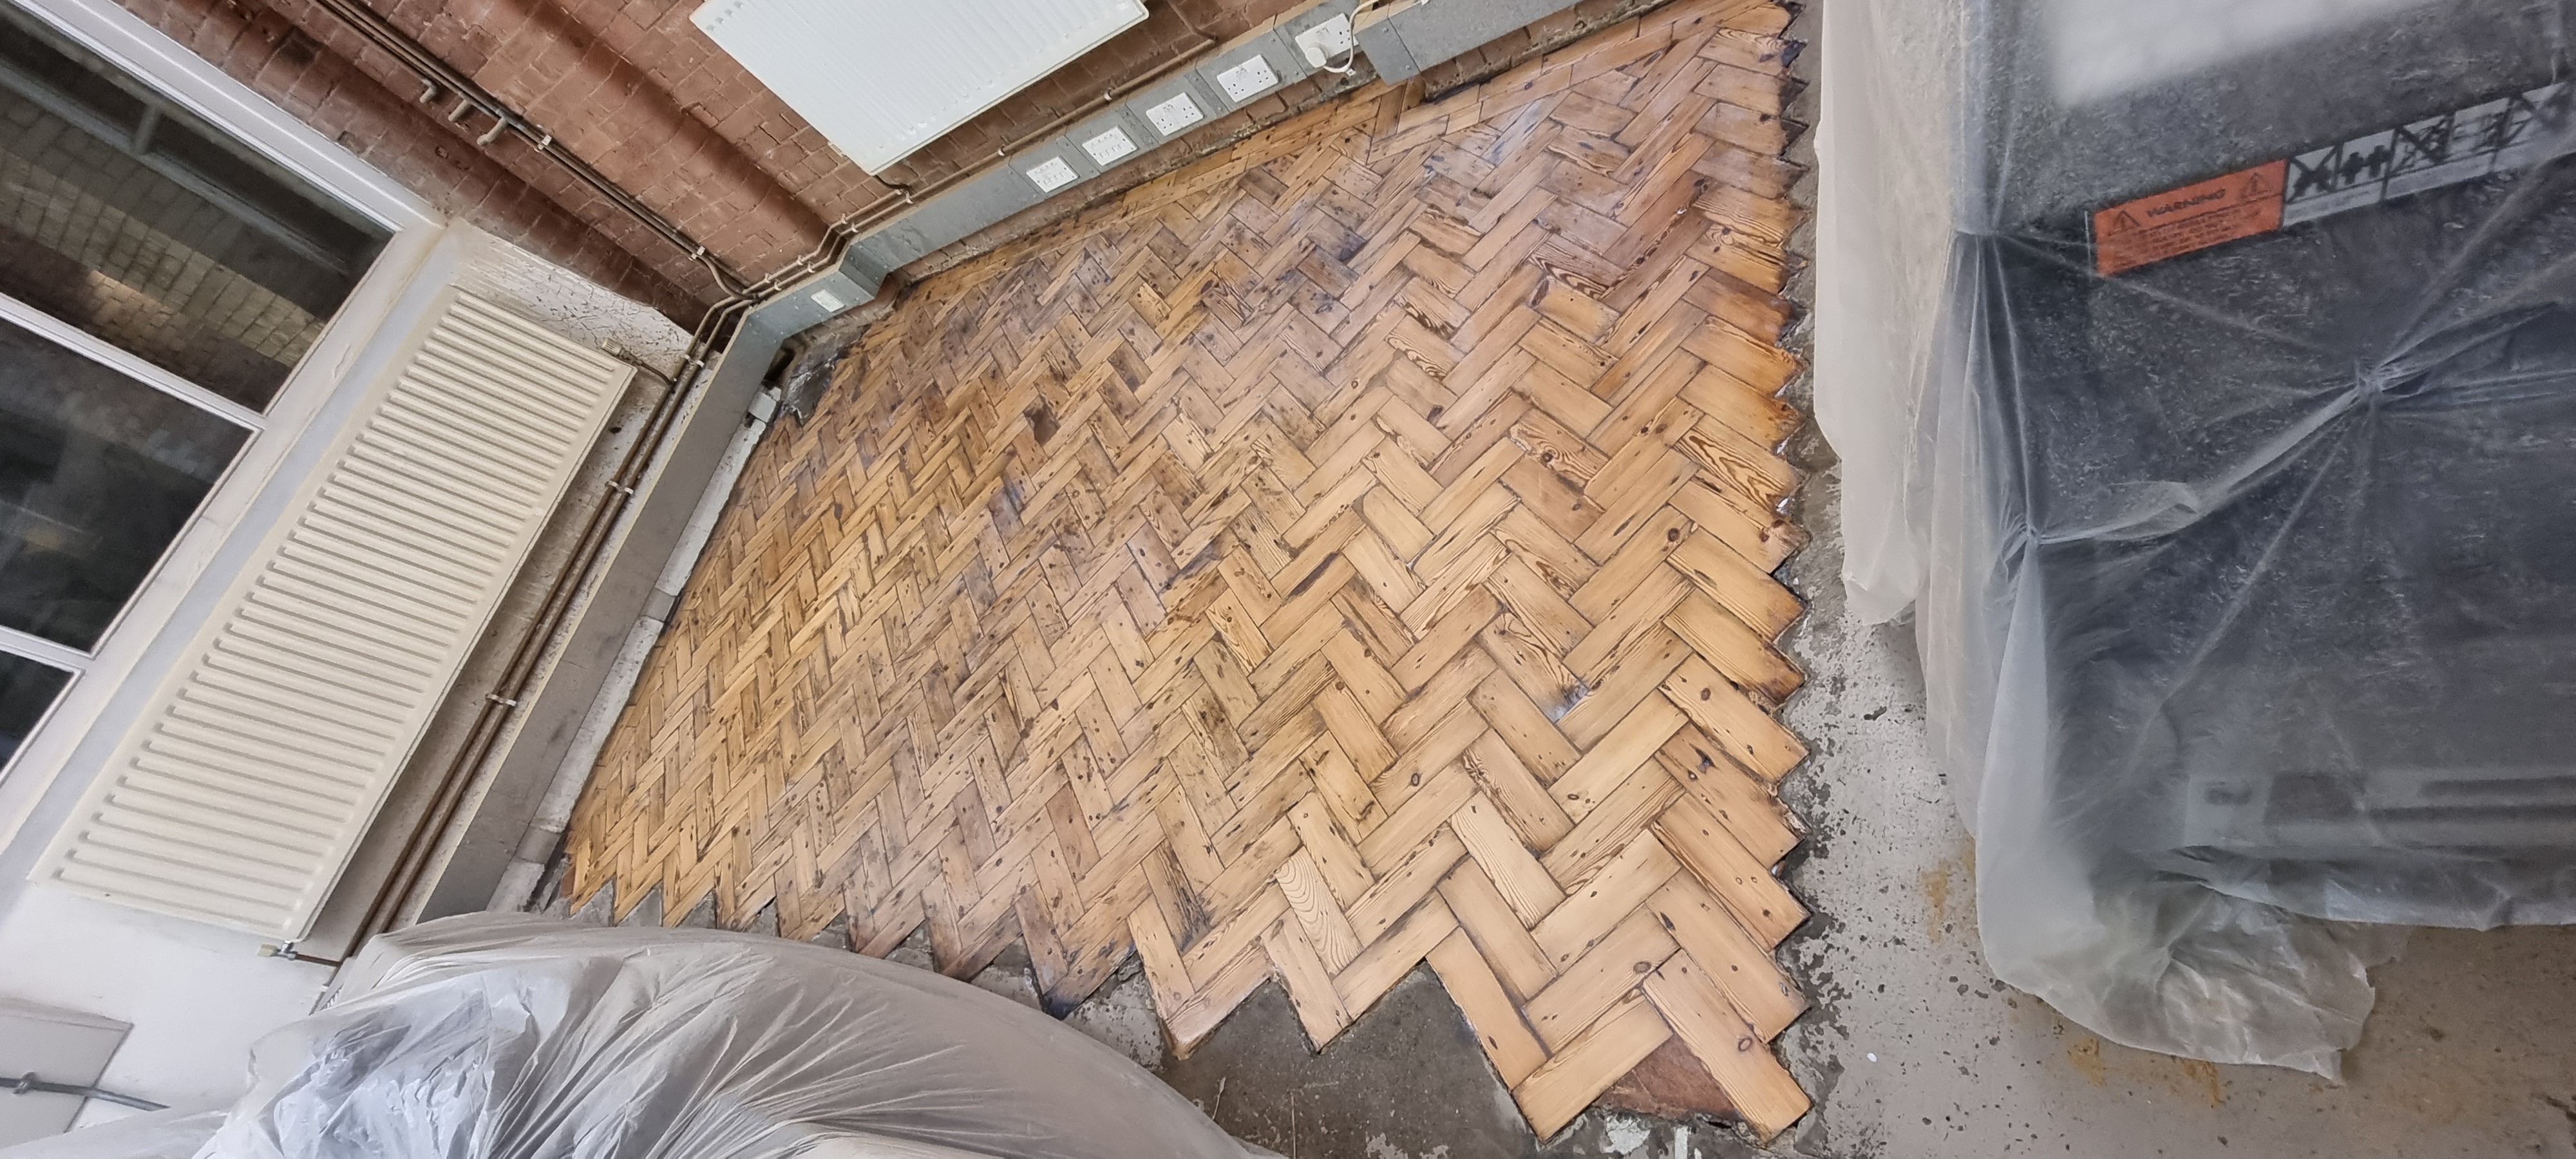
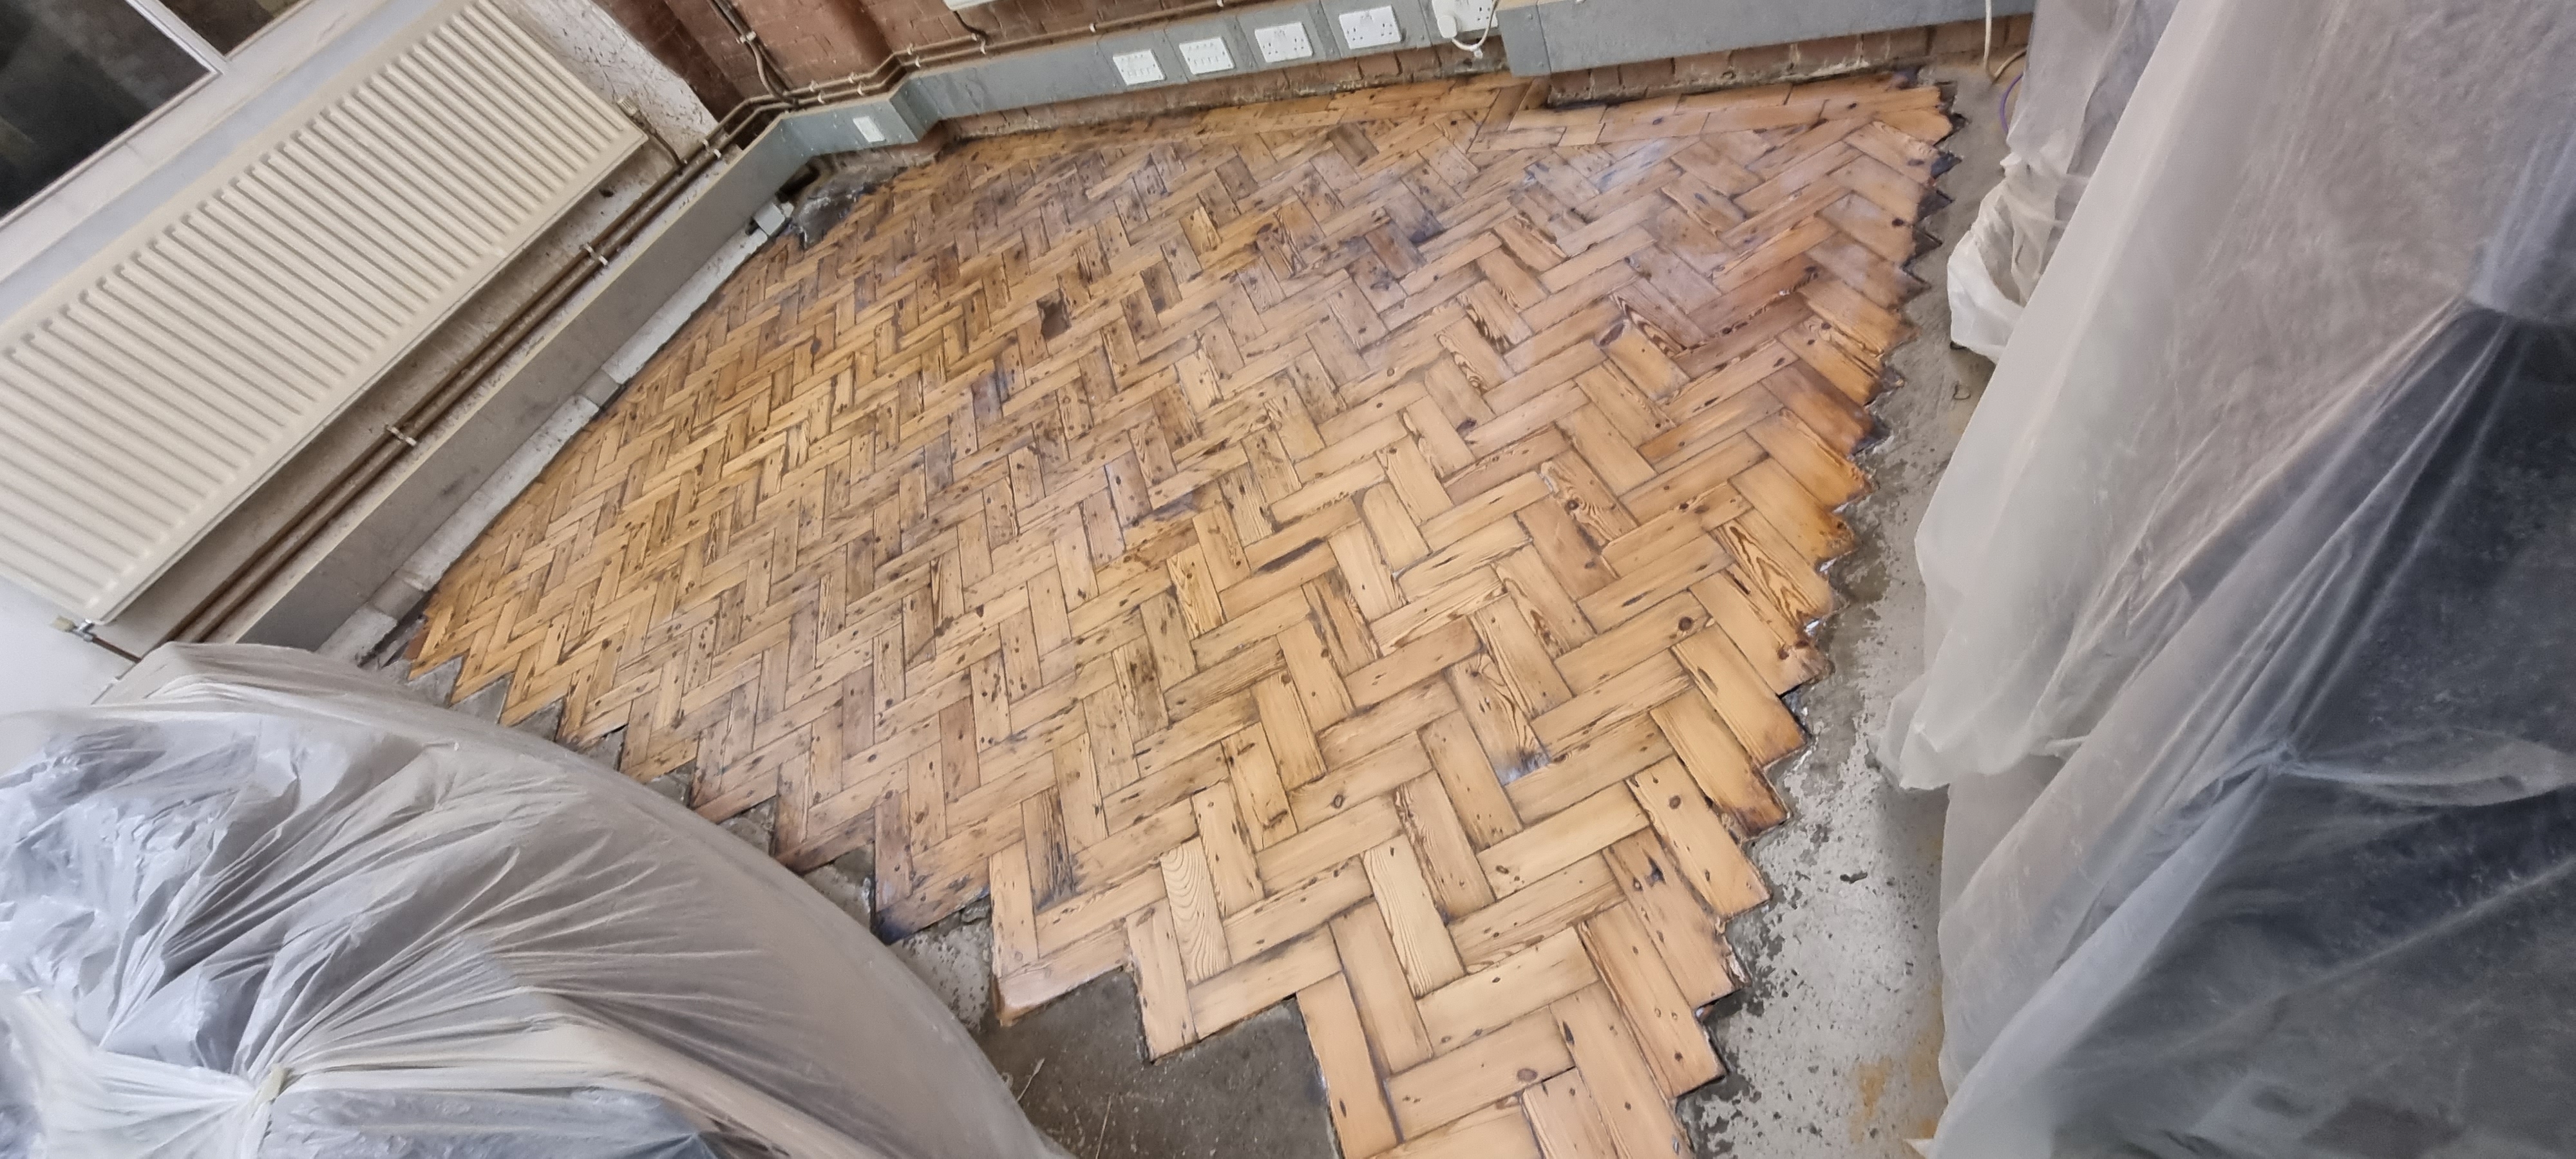
- EXTEND THE HERRINGBONE PATTERN IN THE FIREPLACE BY USING THE EXISITNG BORDER AND INSTALLING CUT TO SIZE BLOCKS.
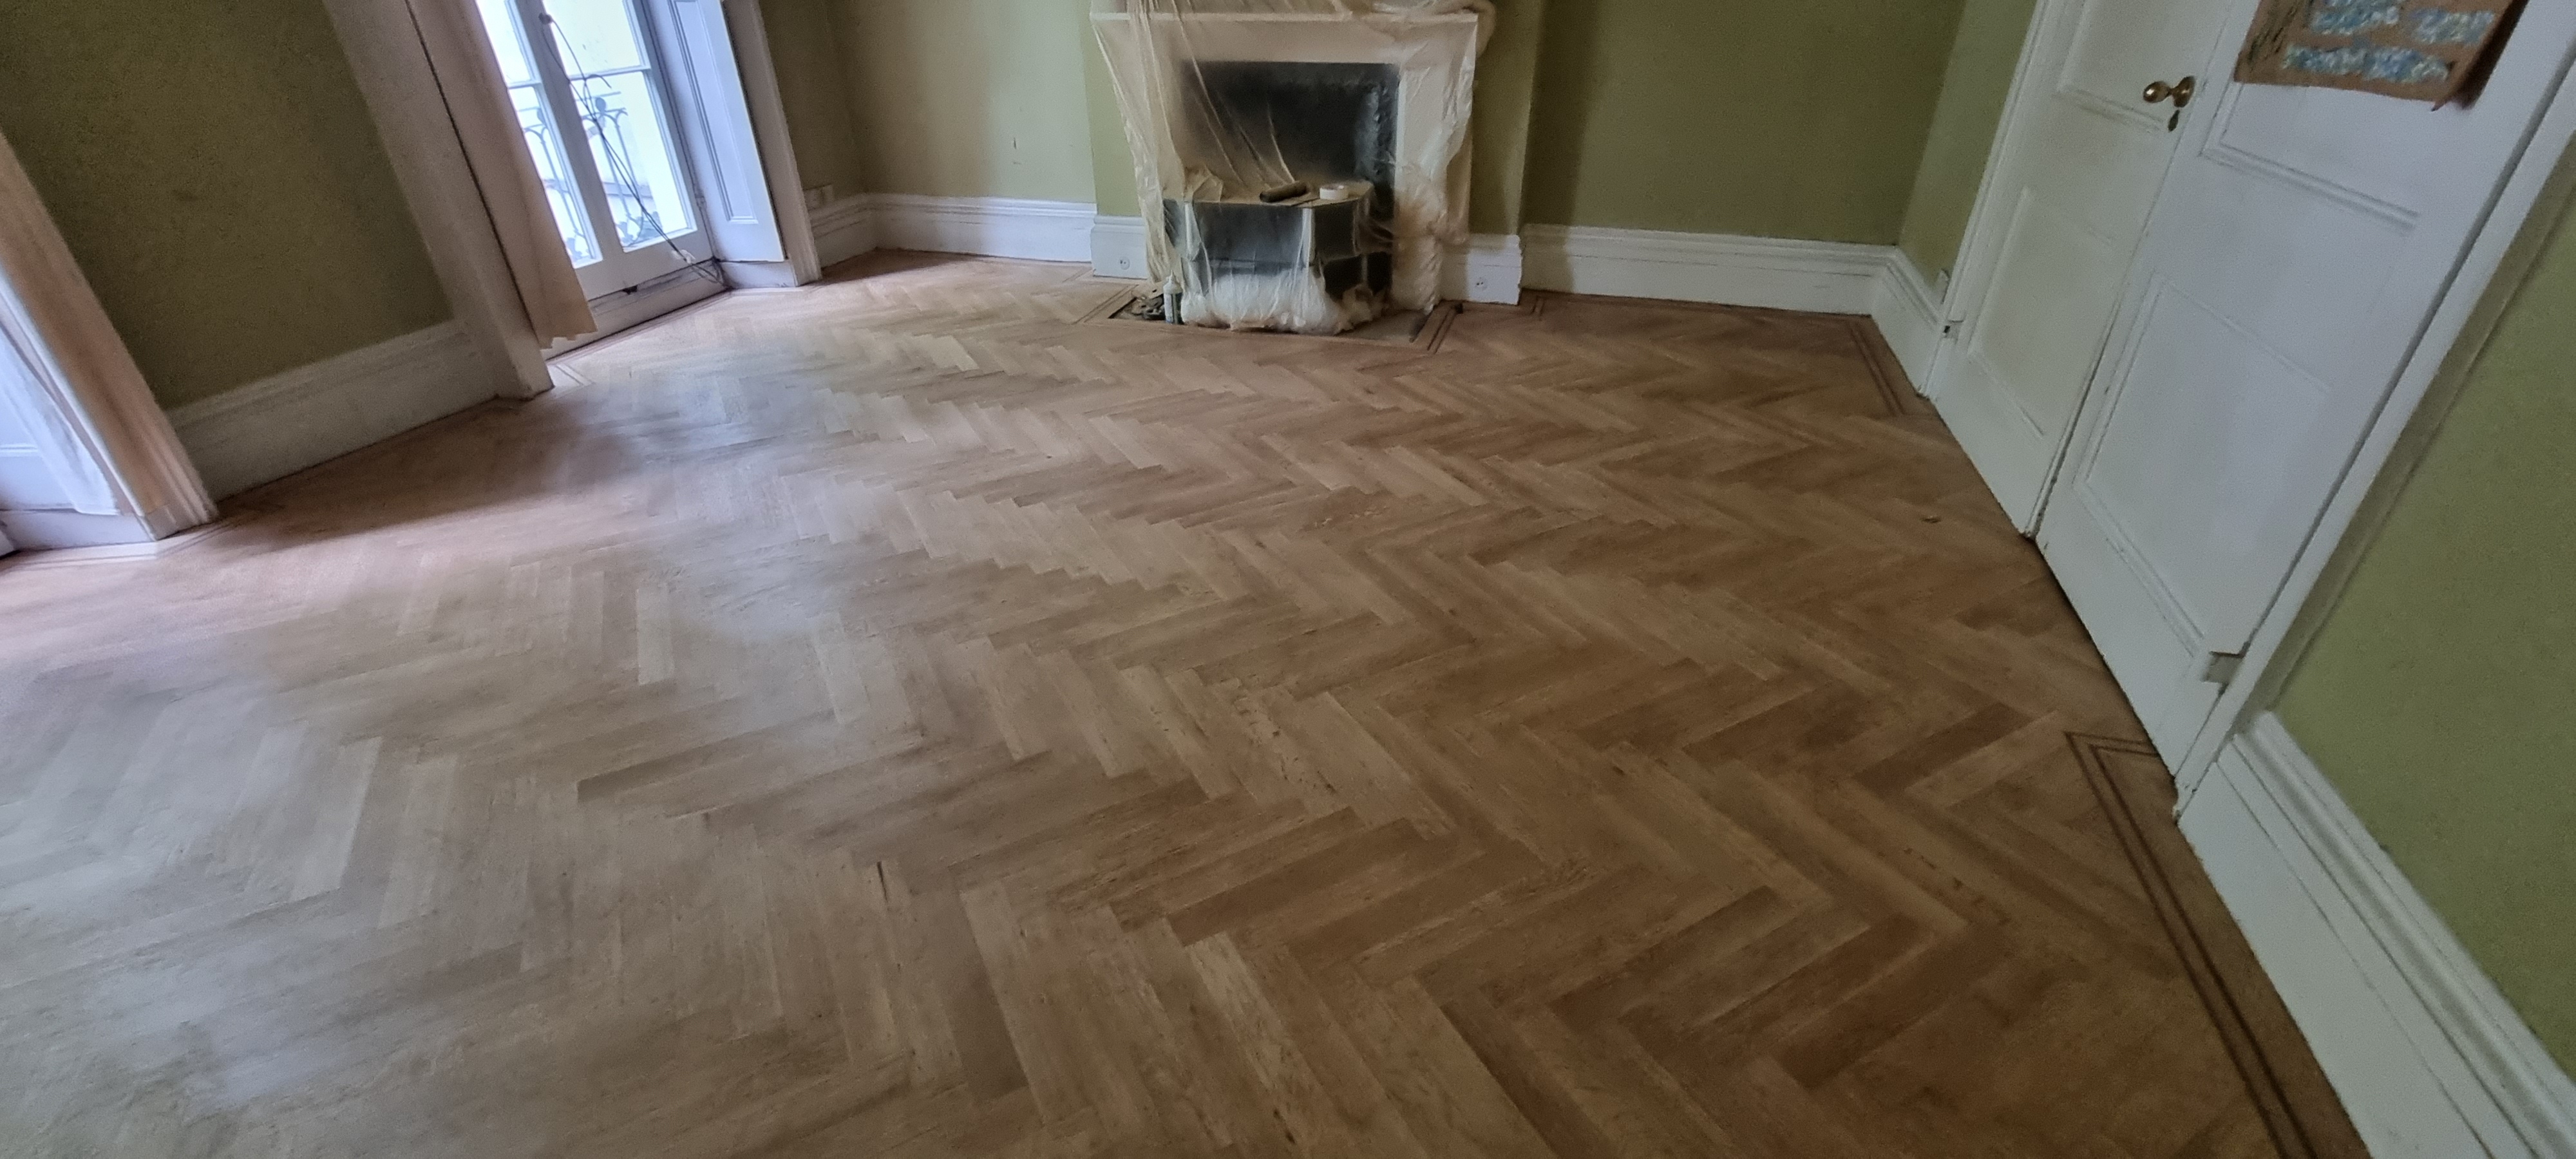
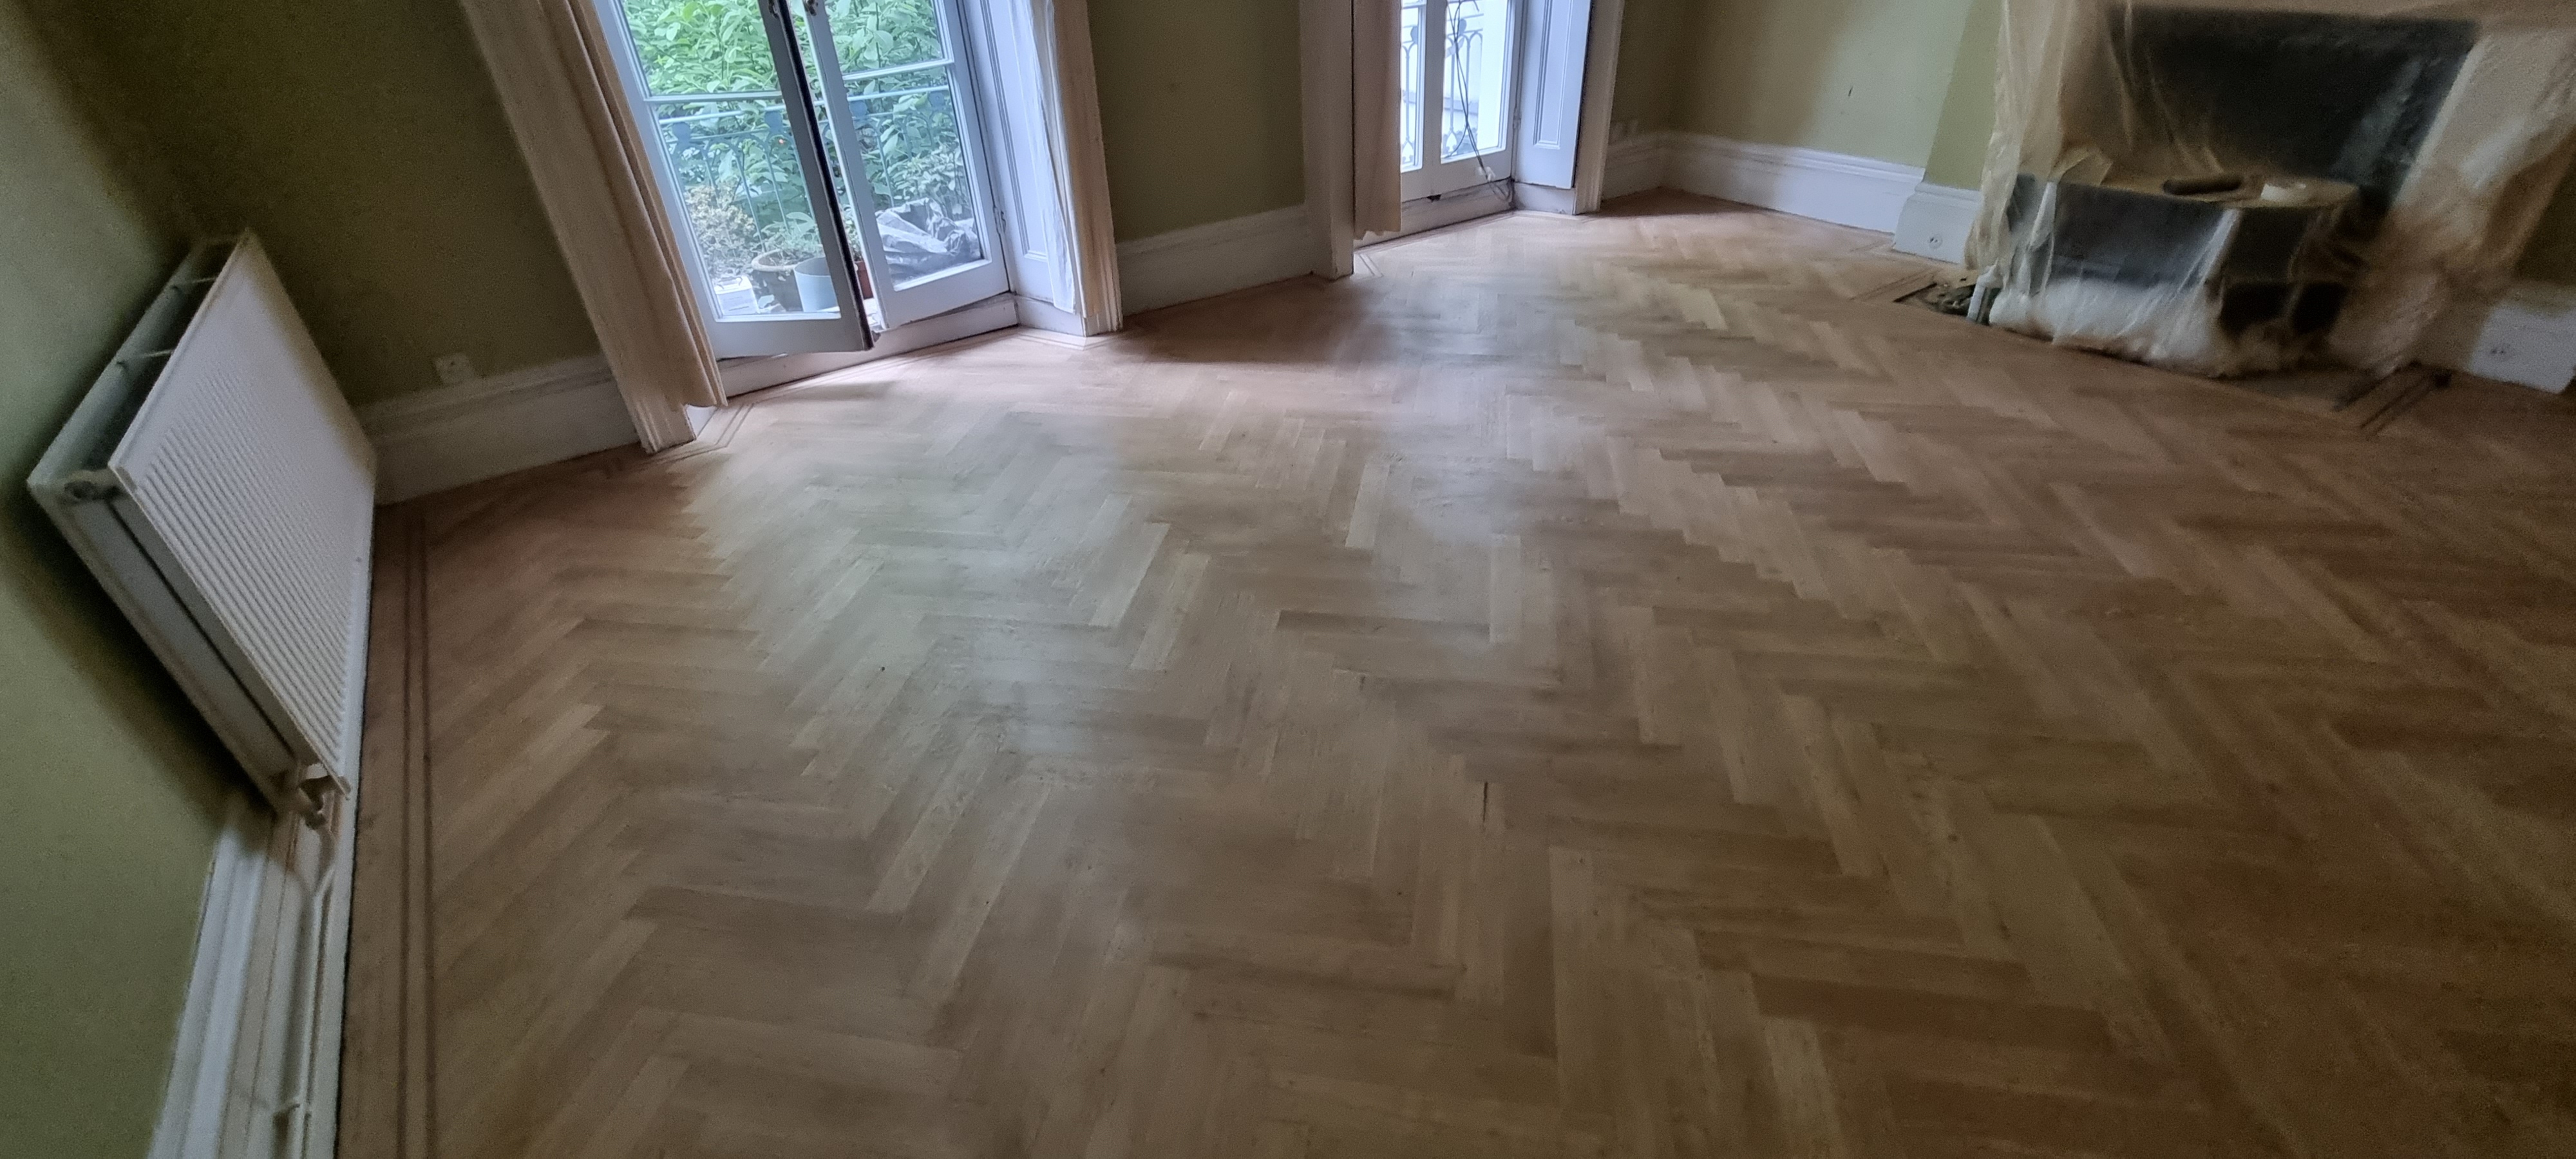
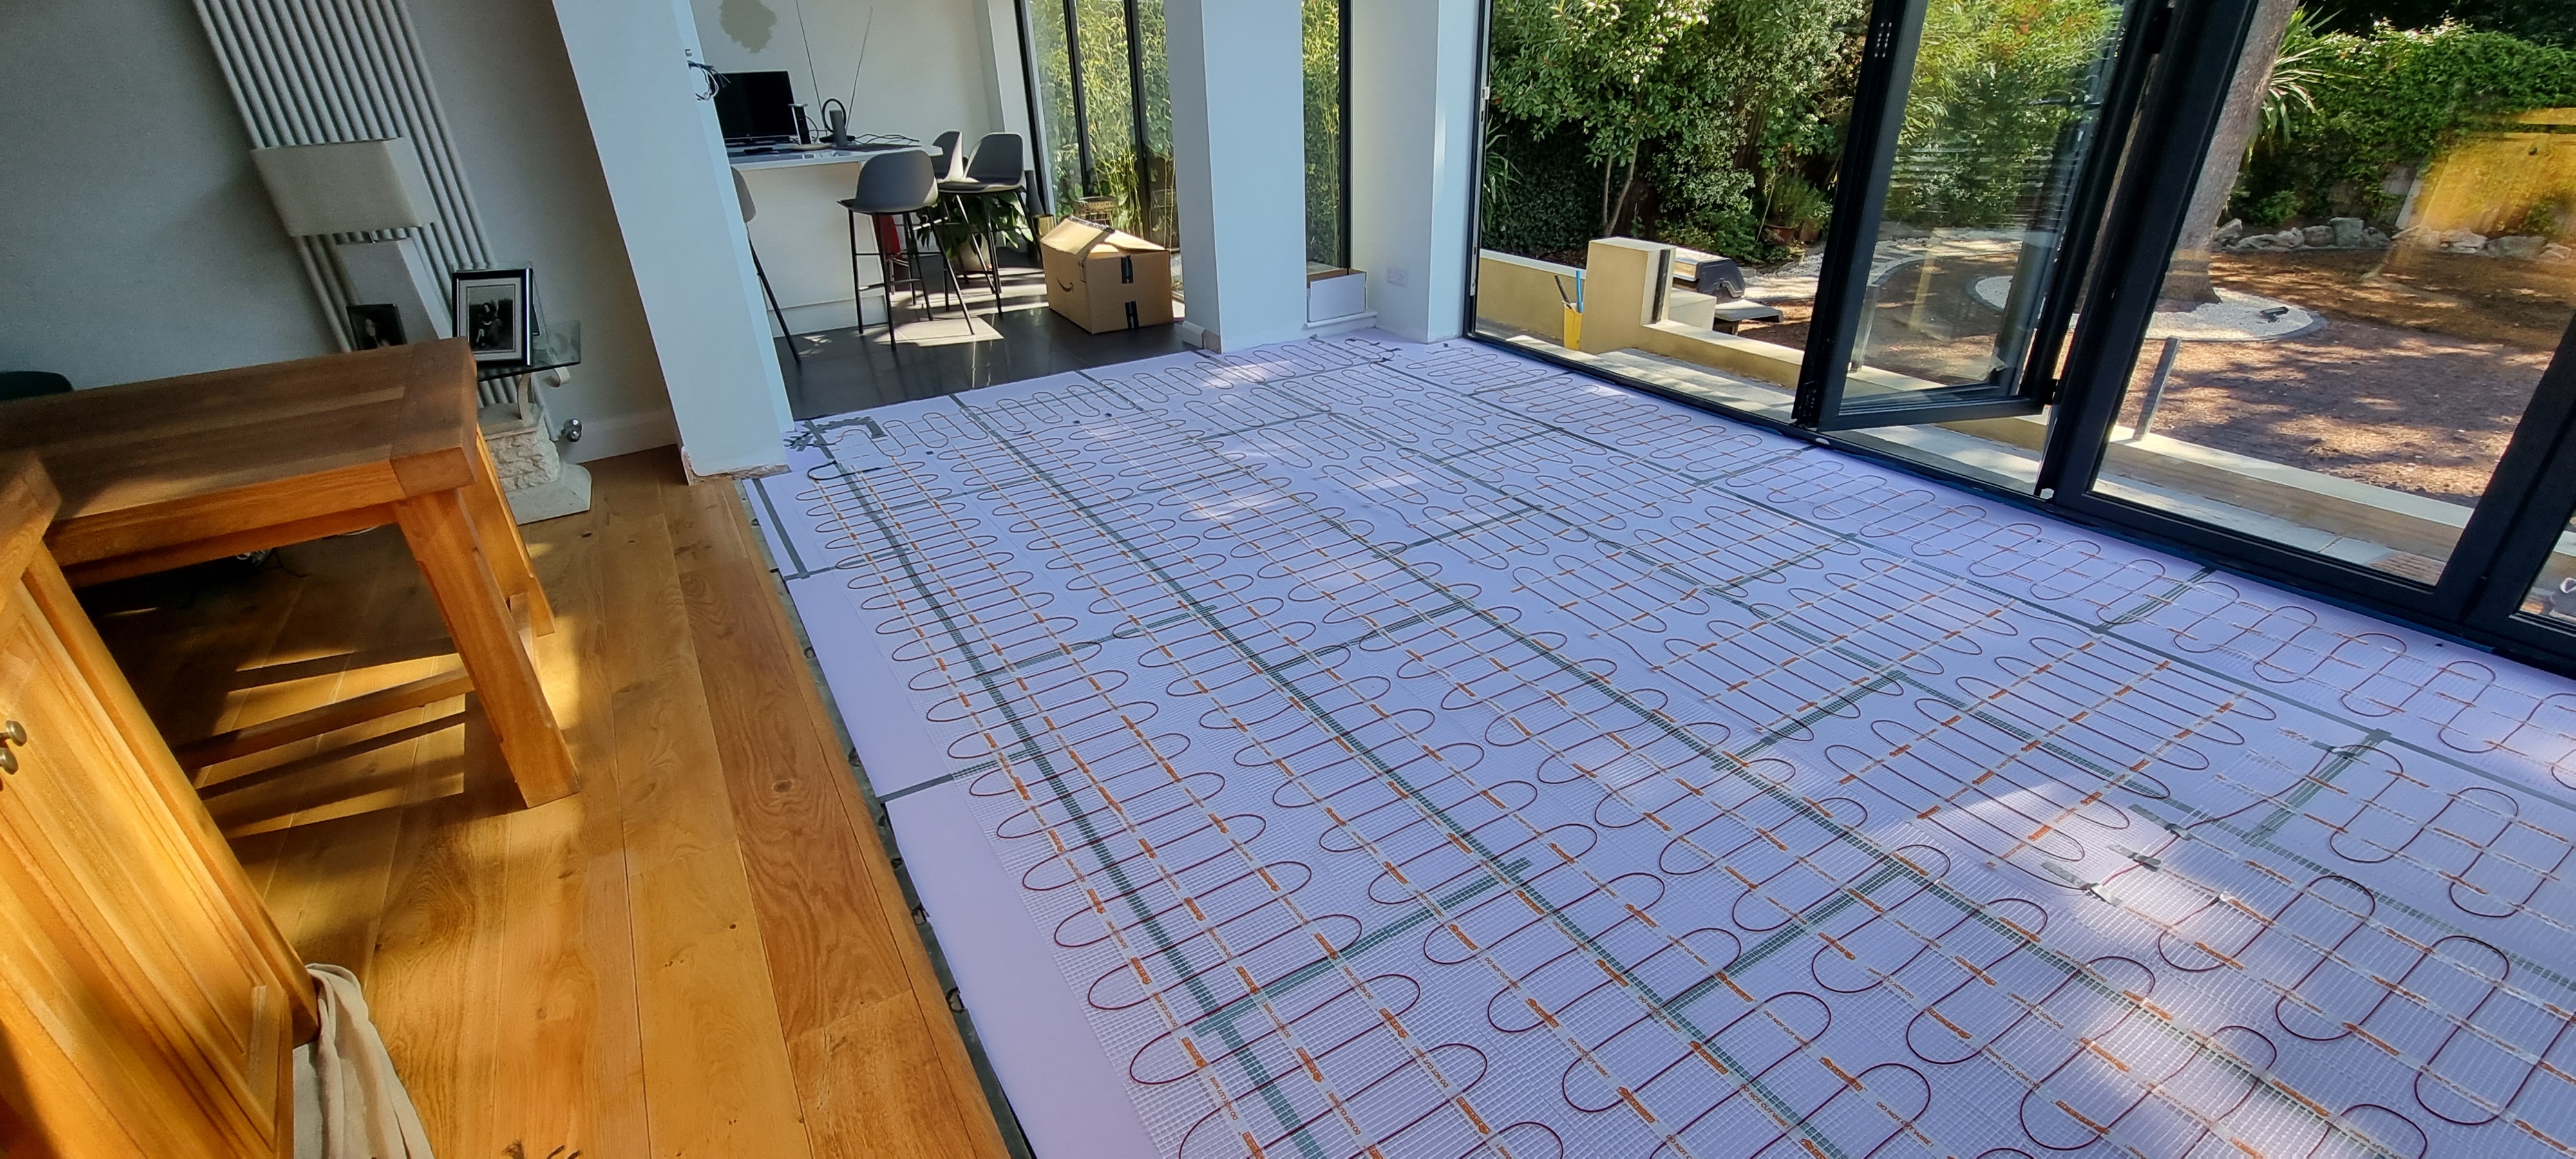
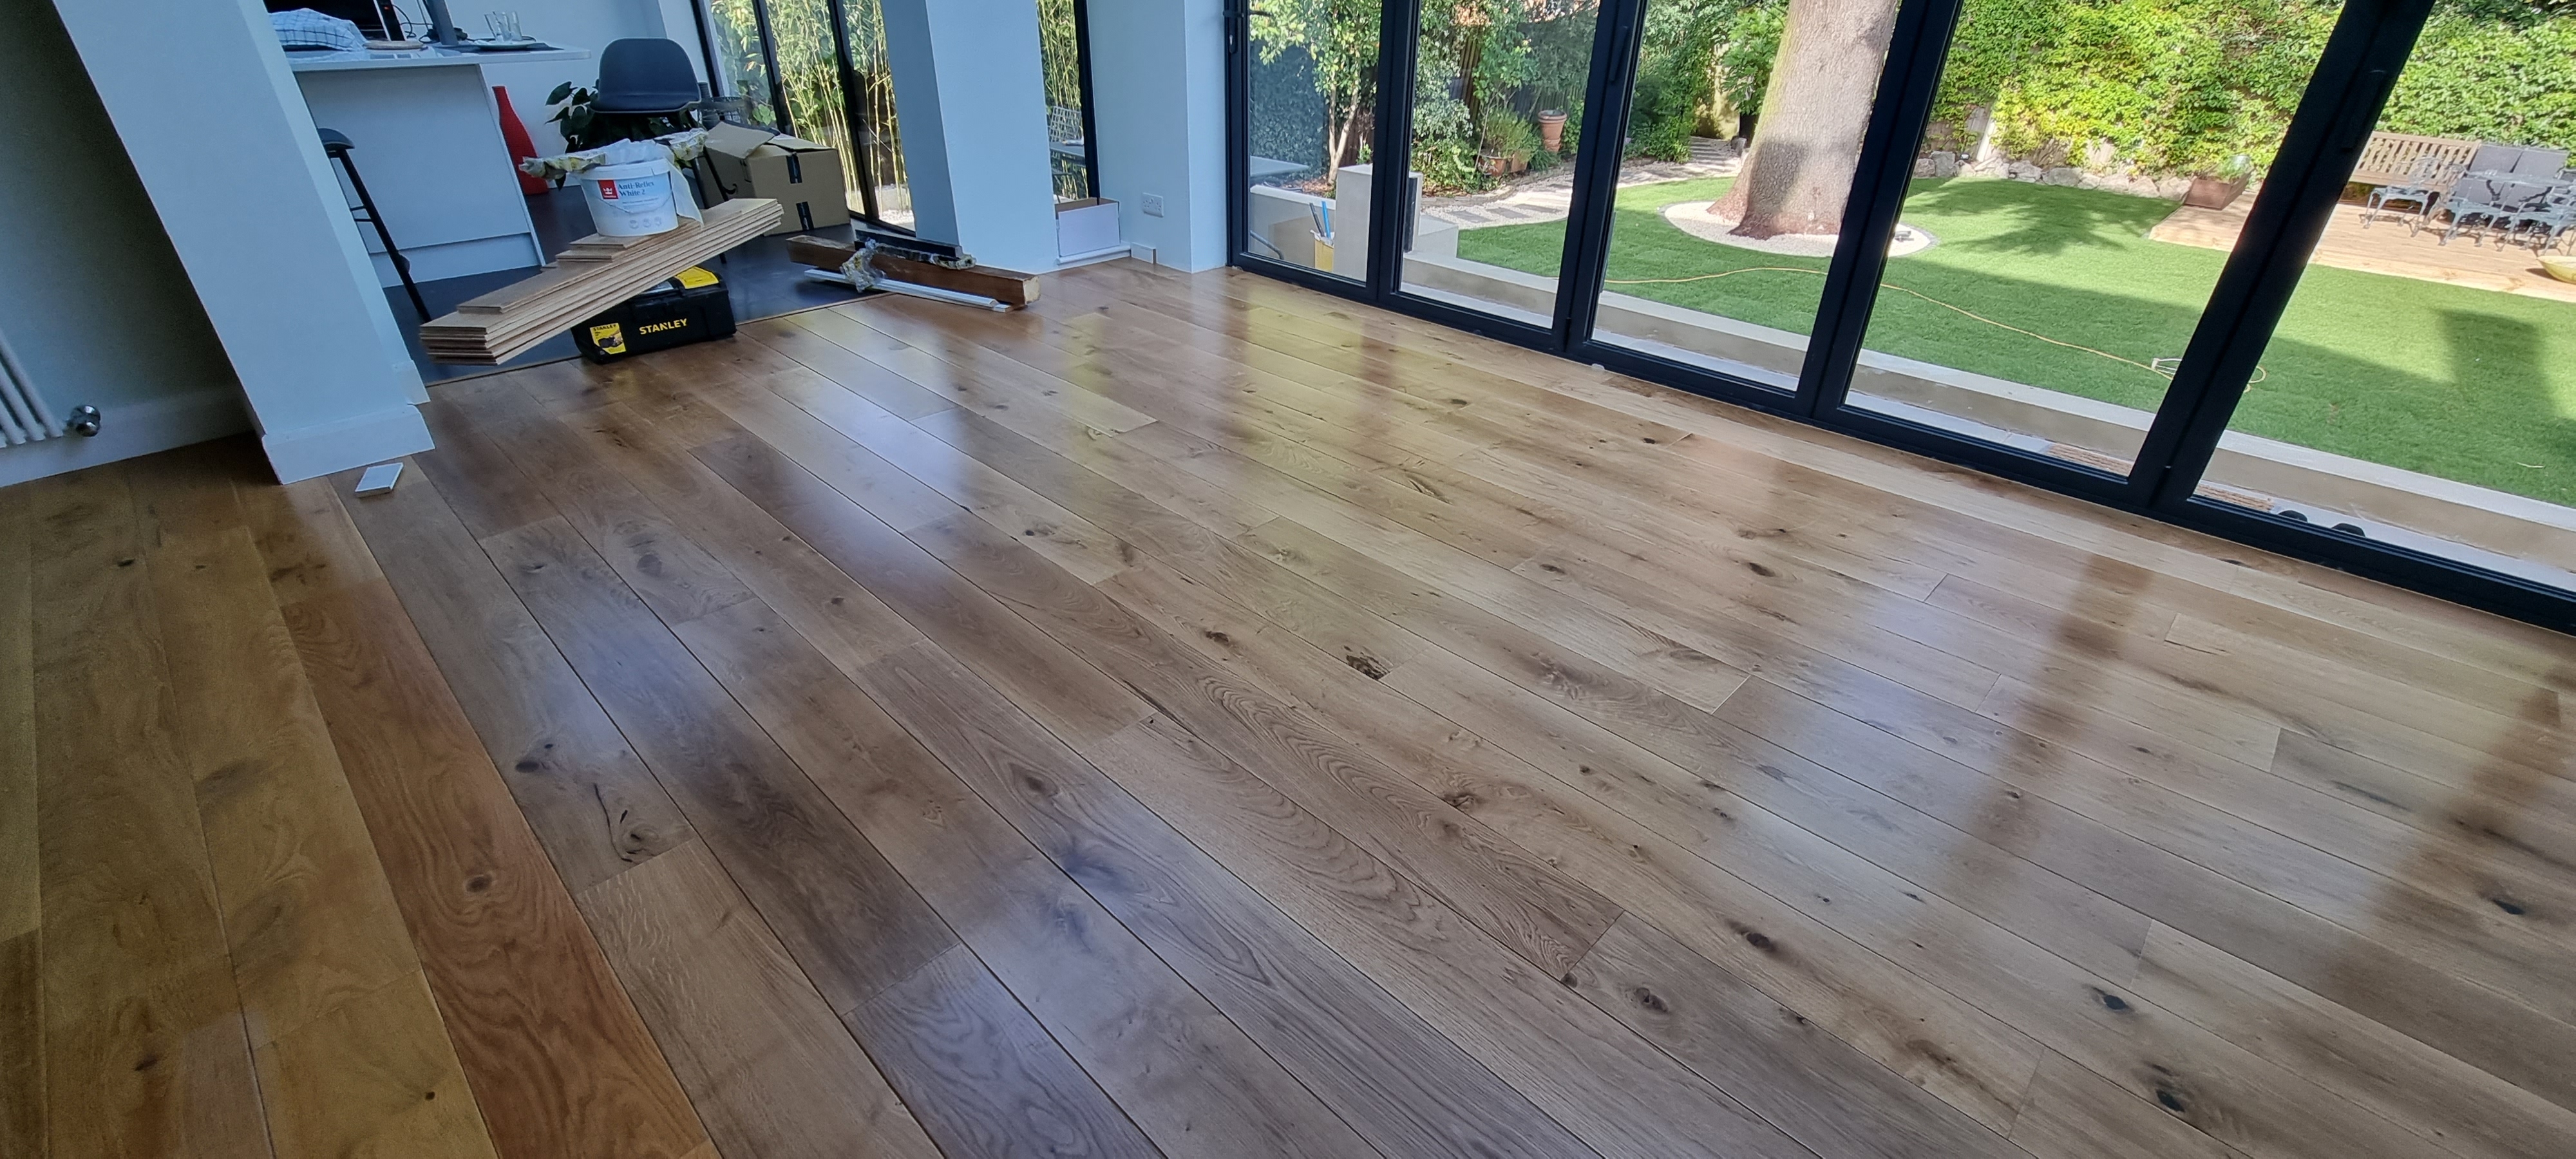
The Result
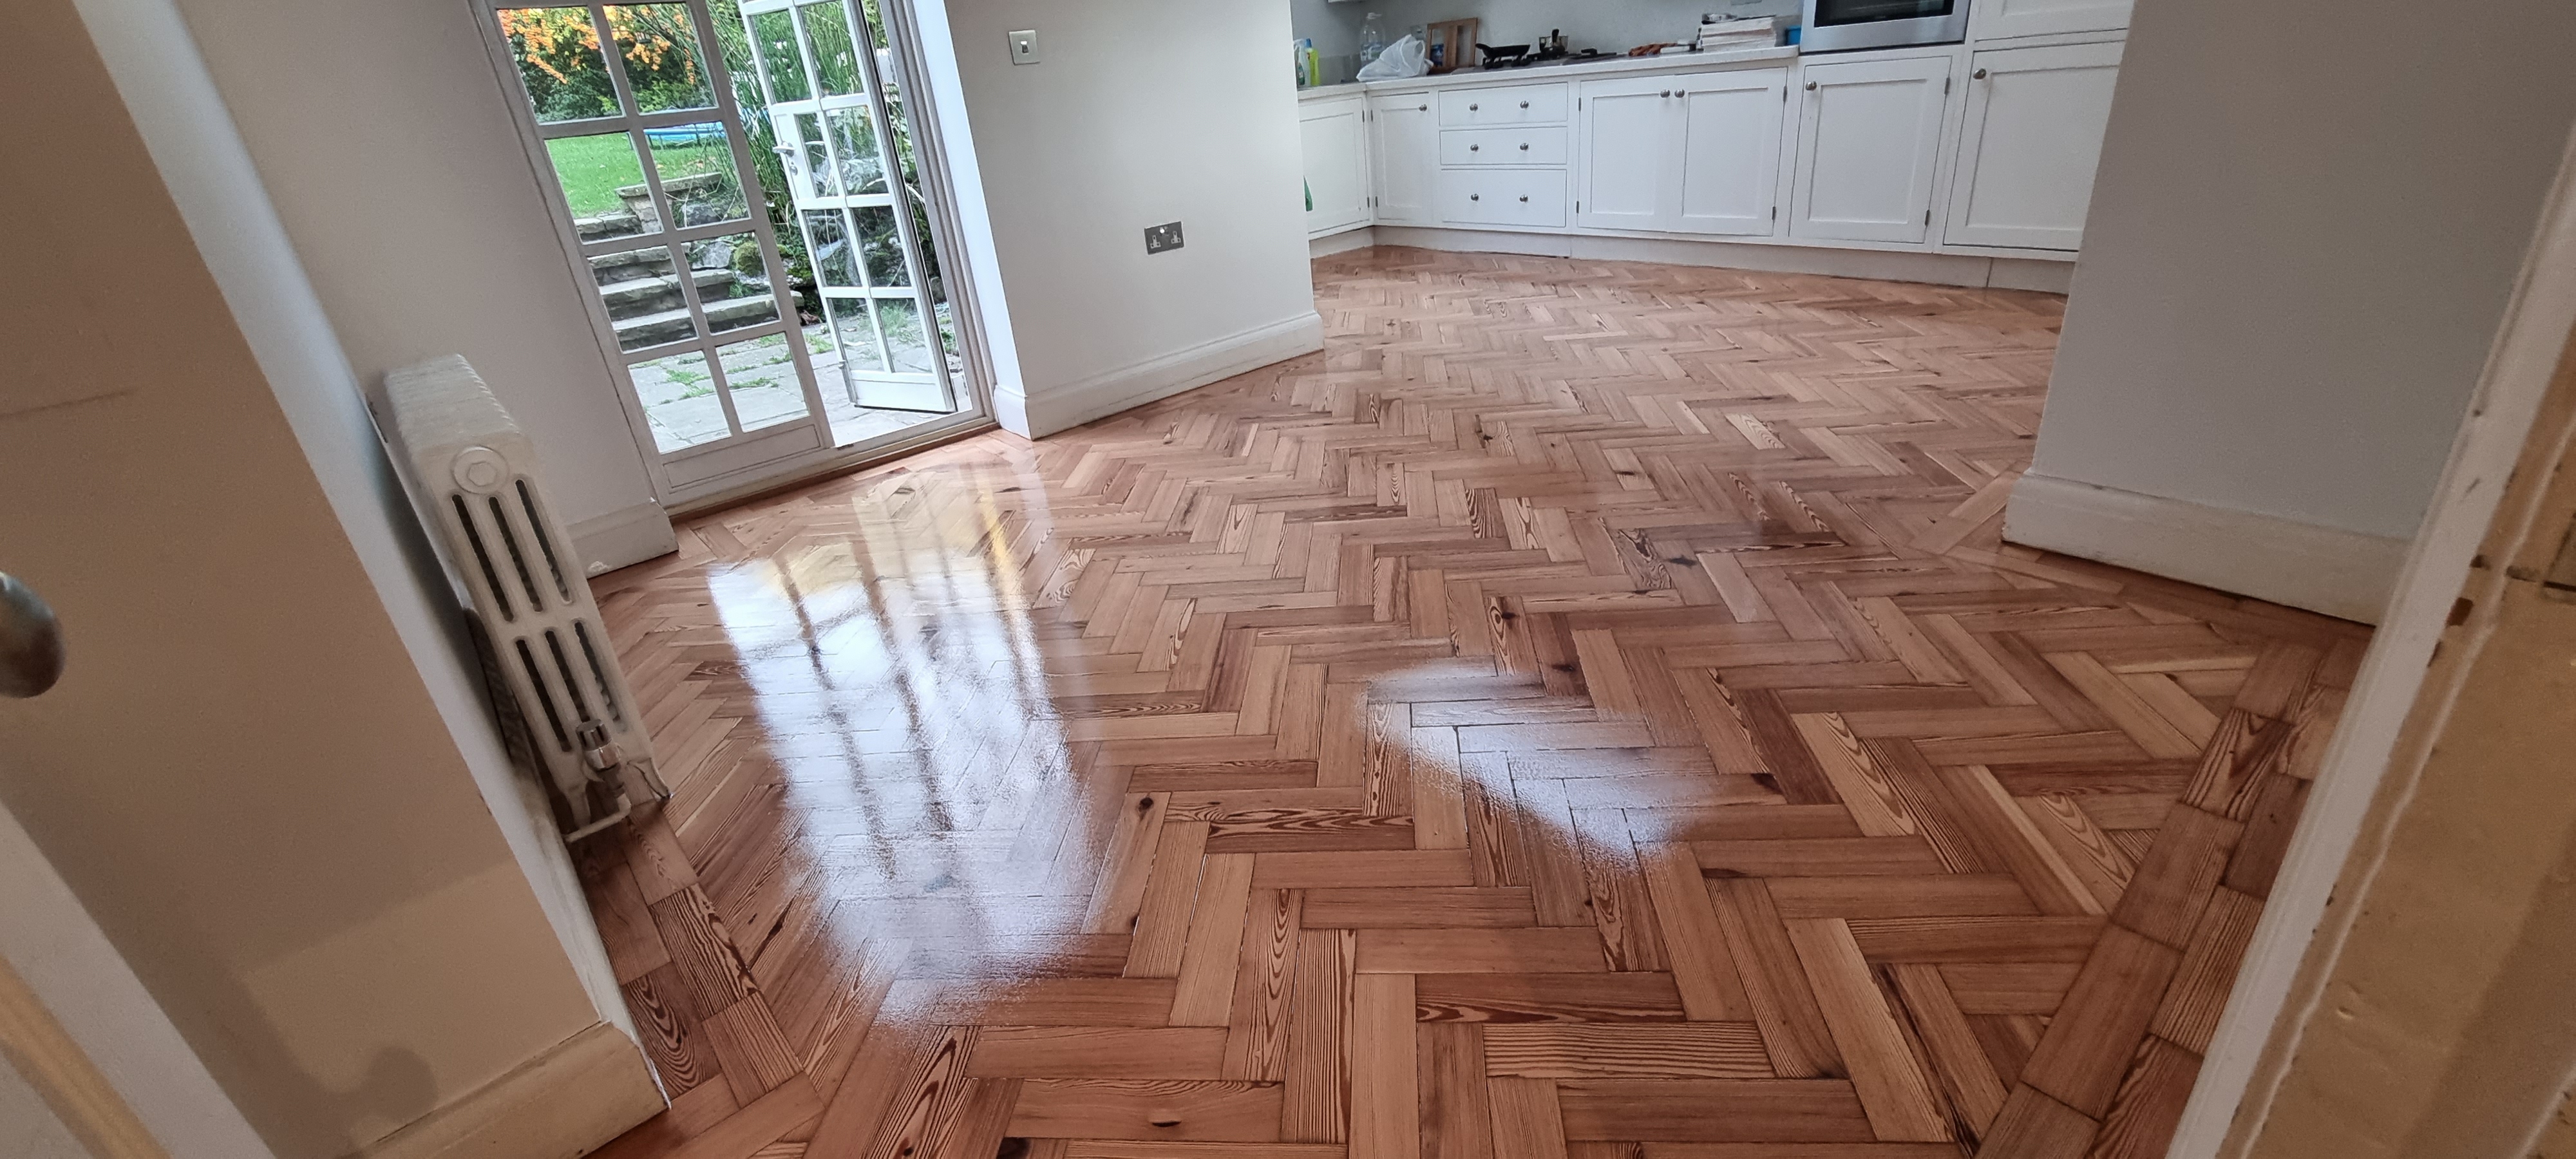
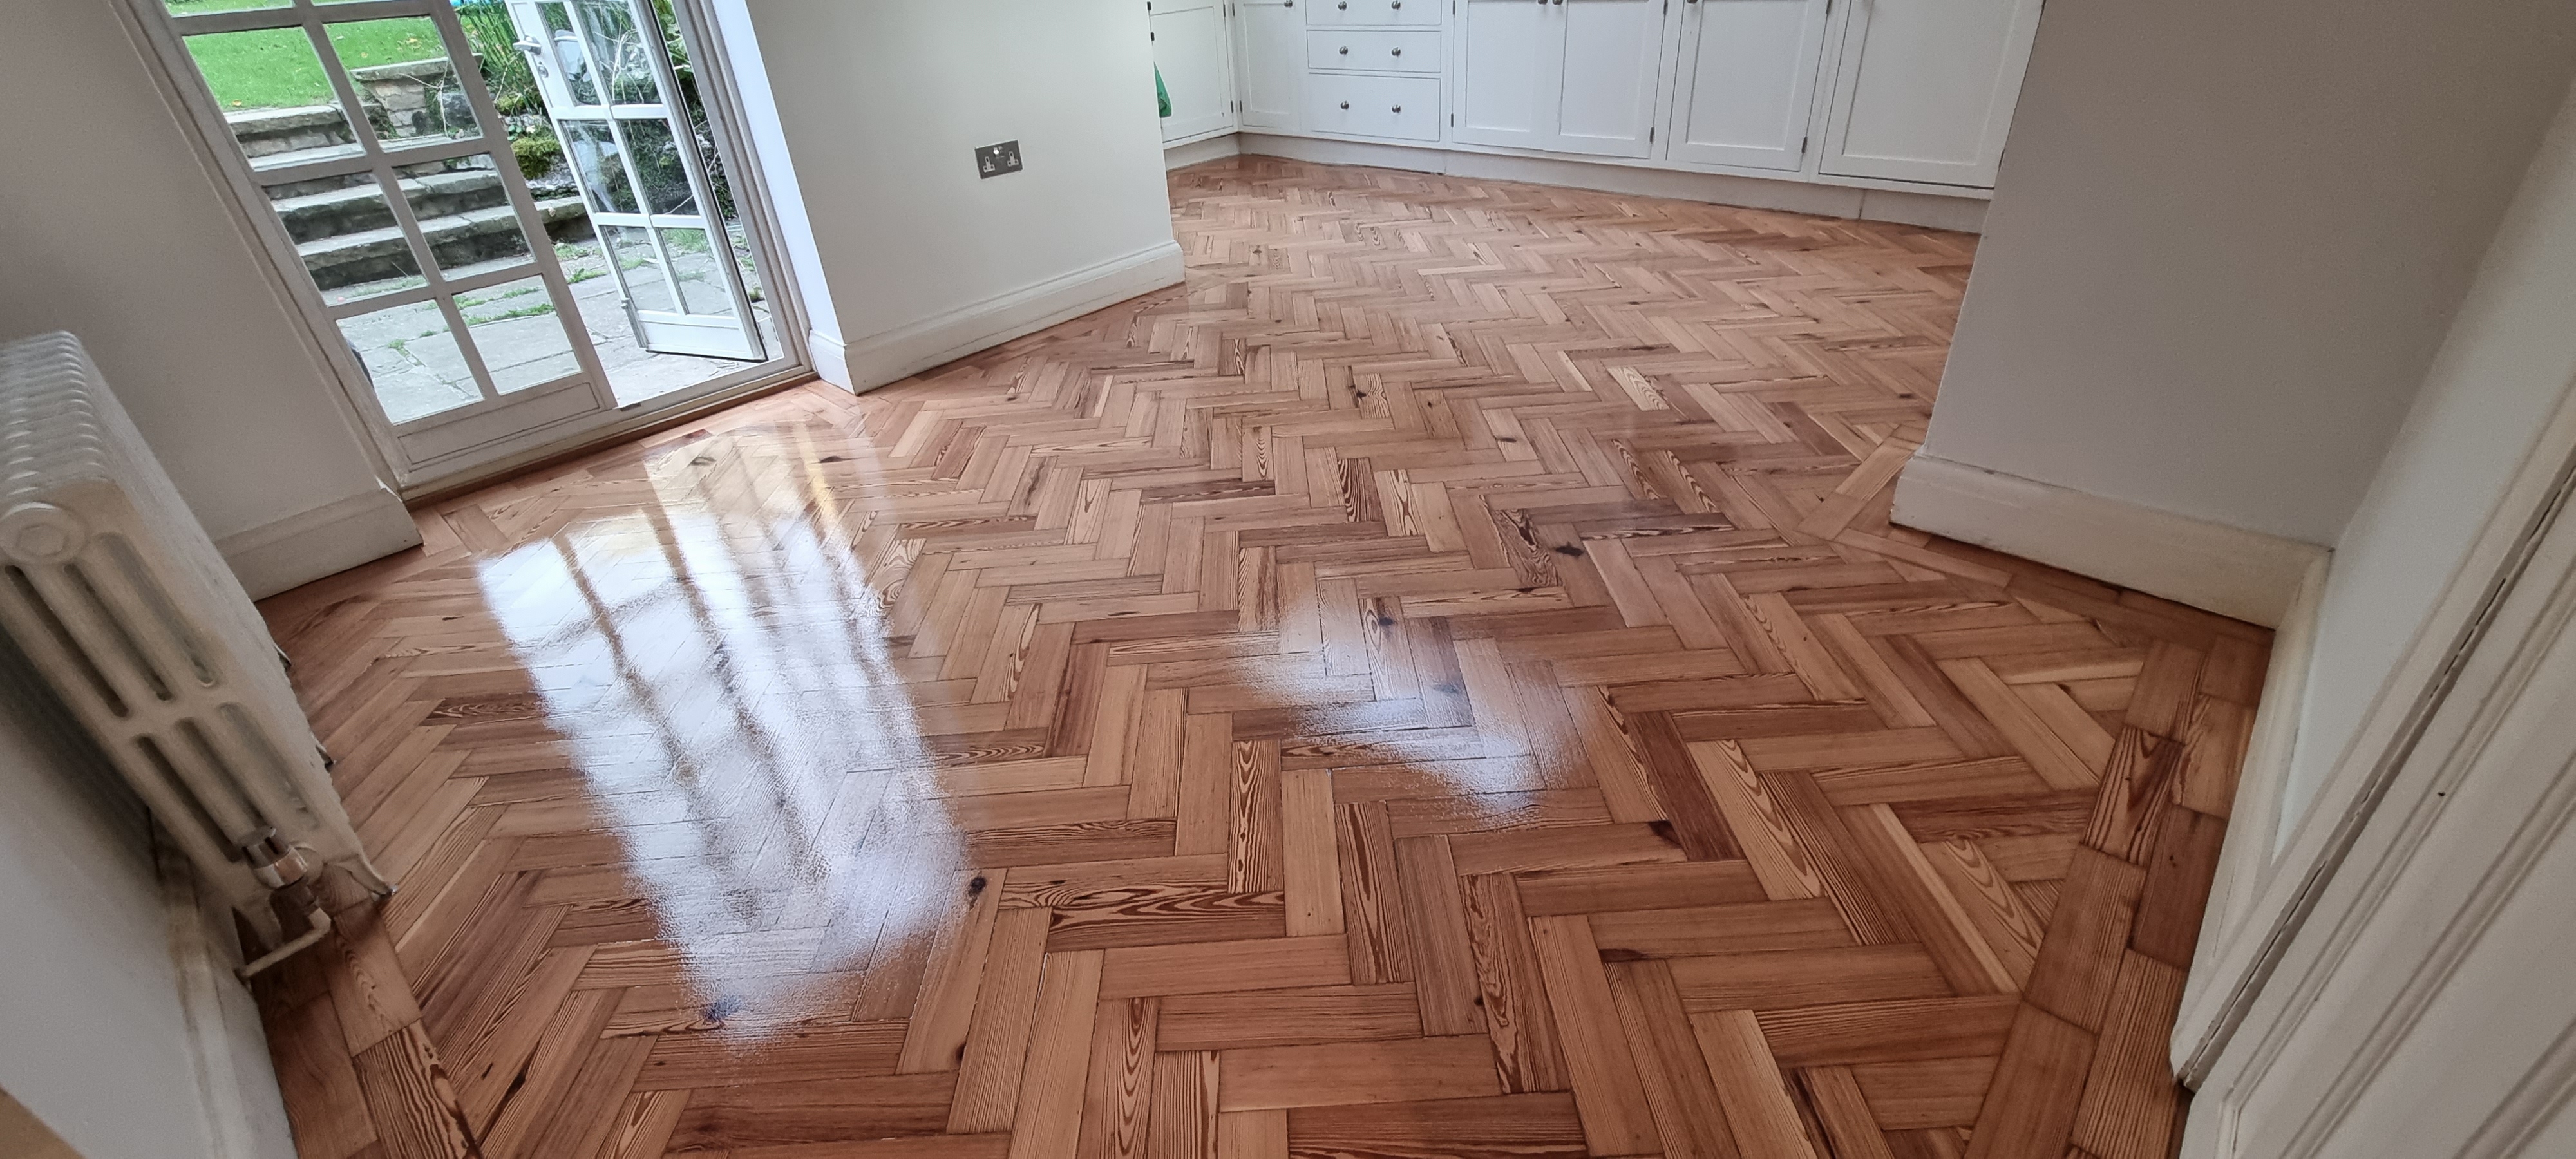
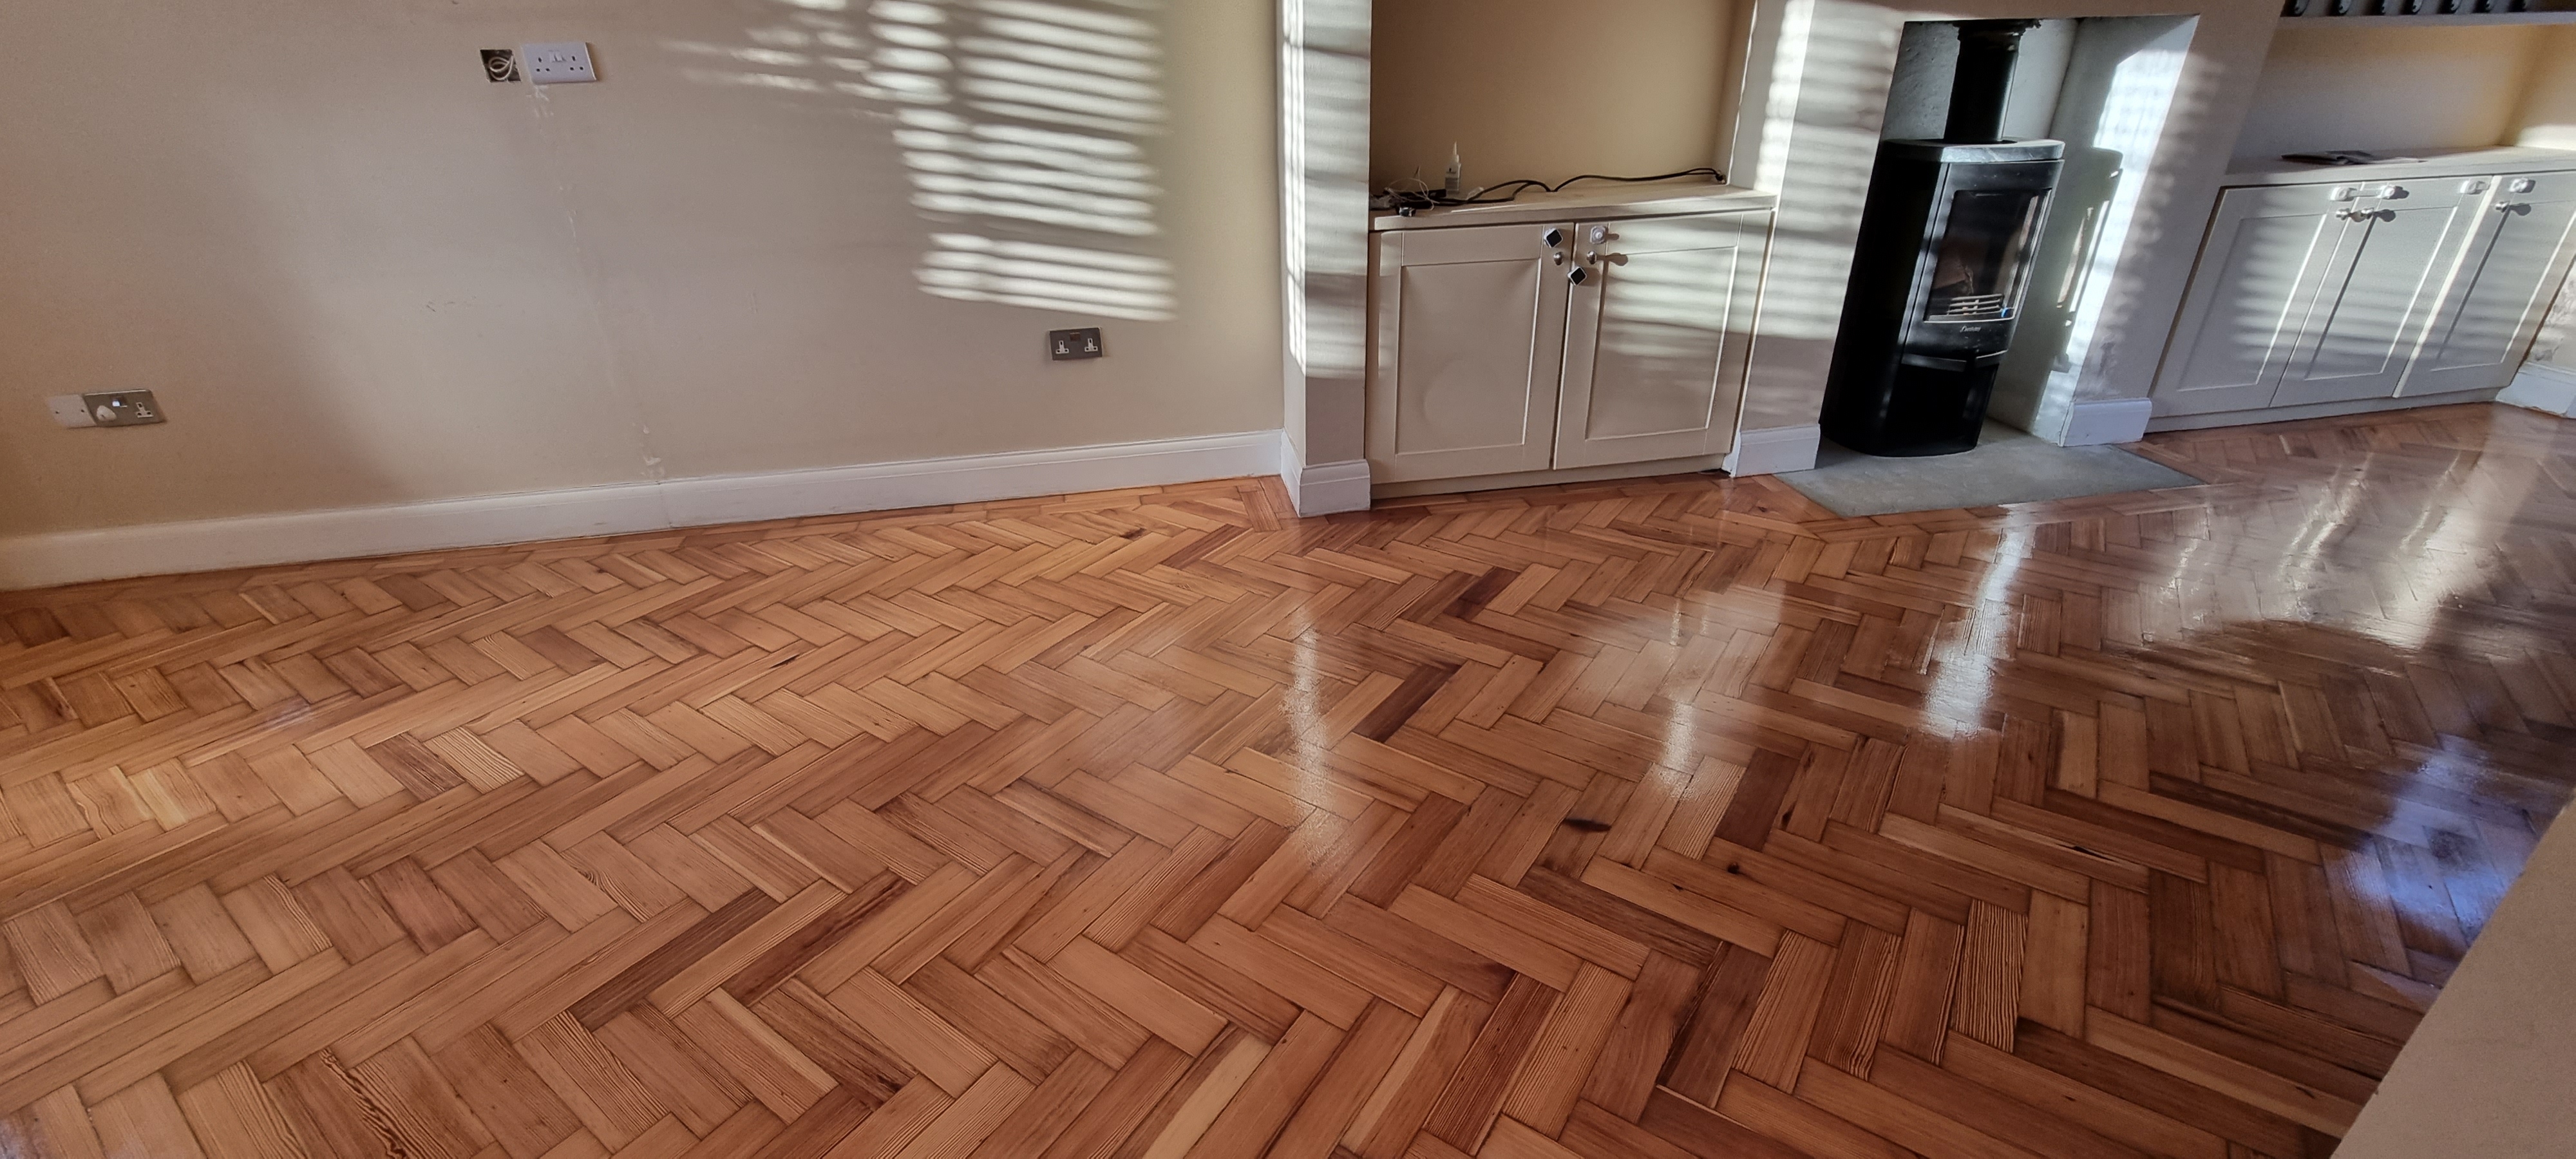
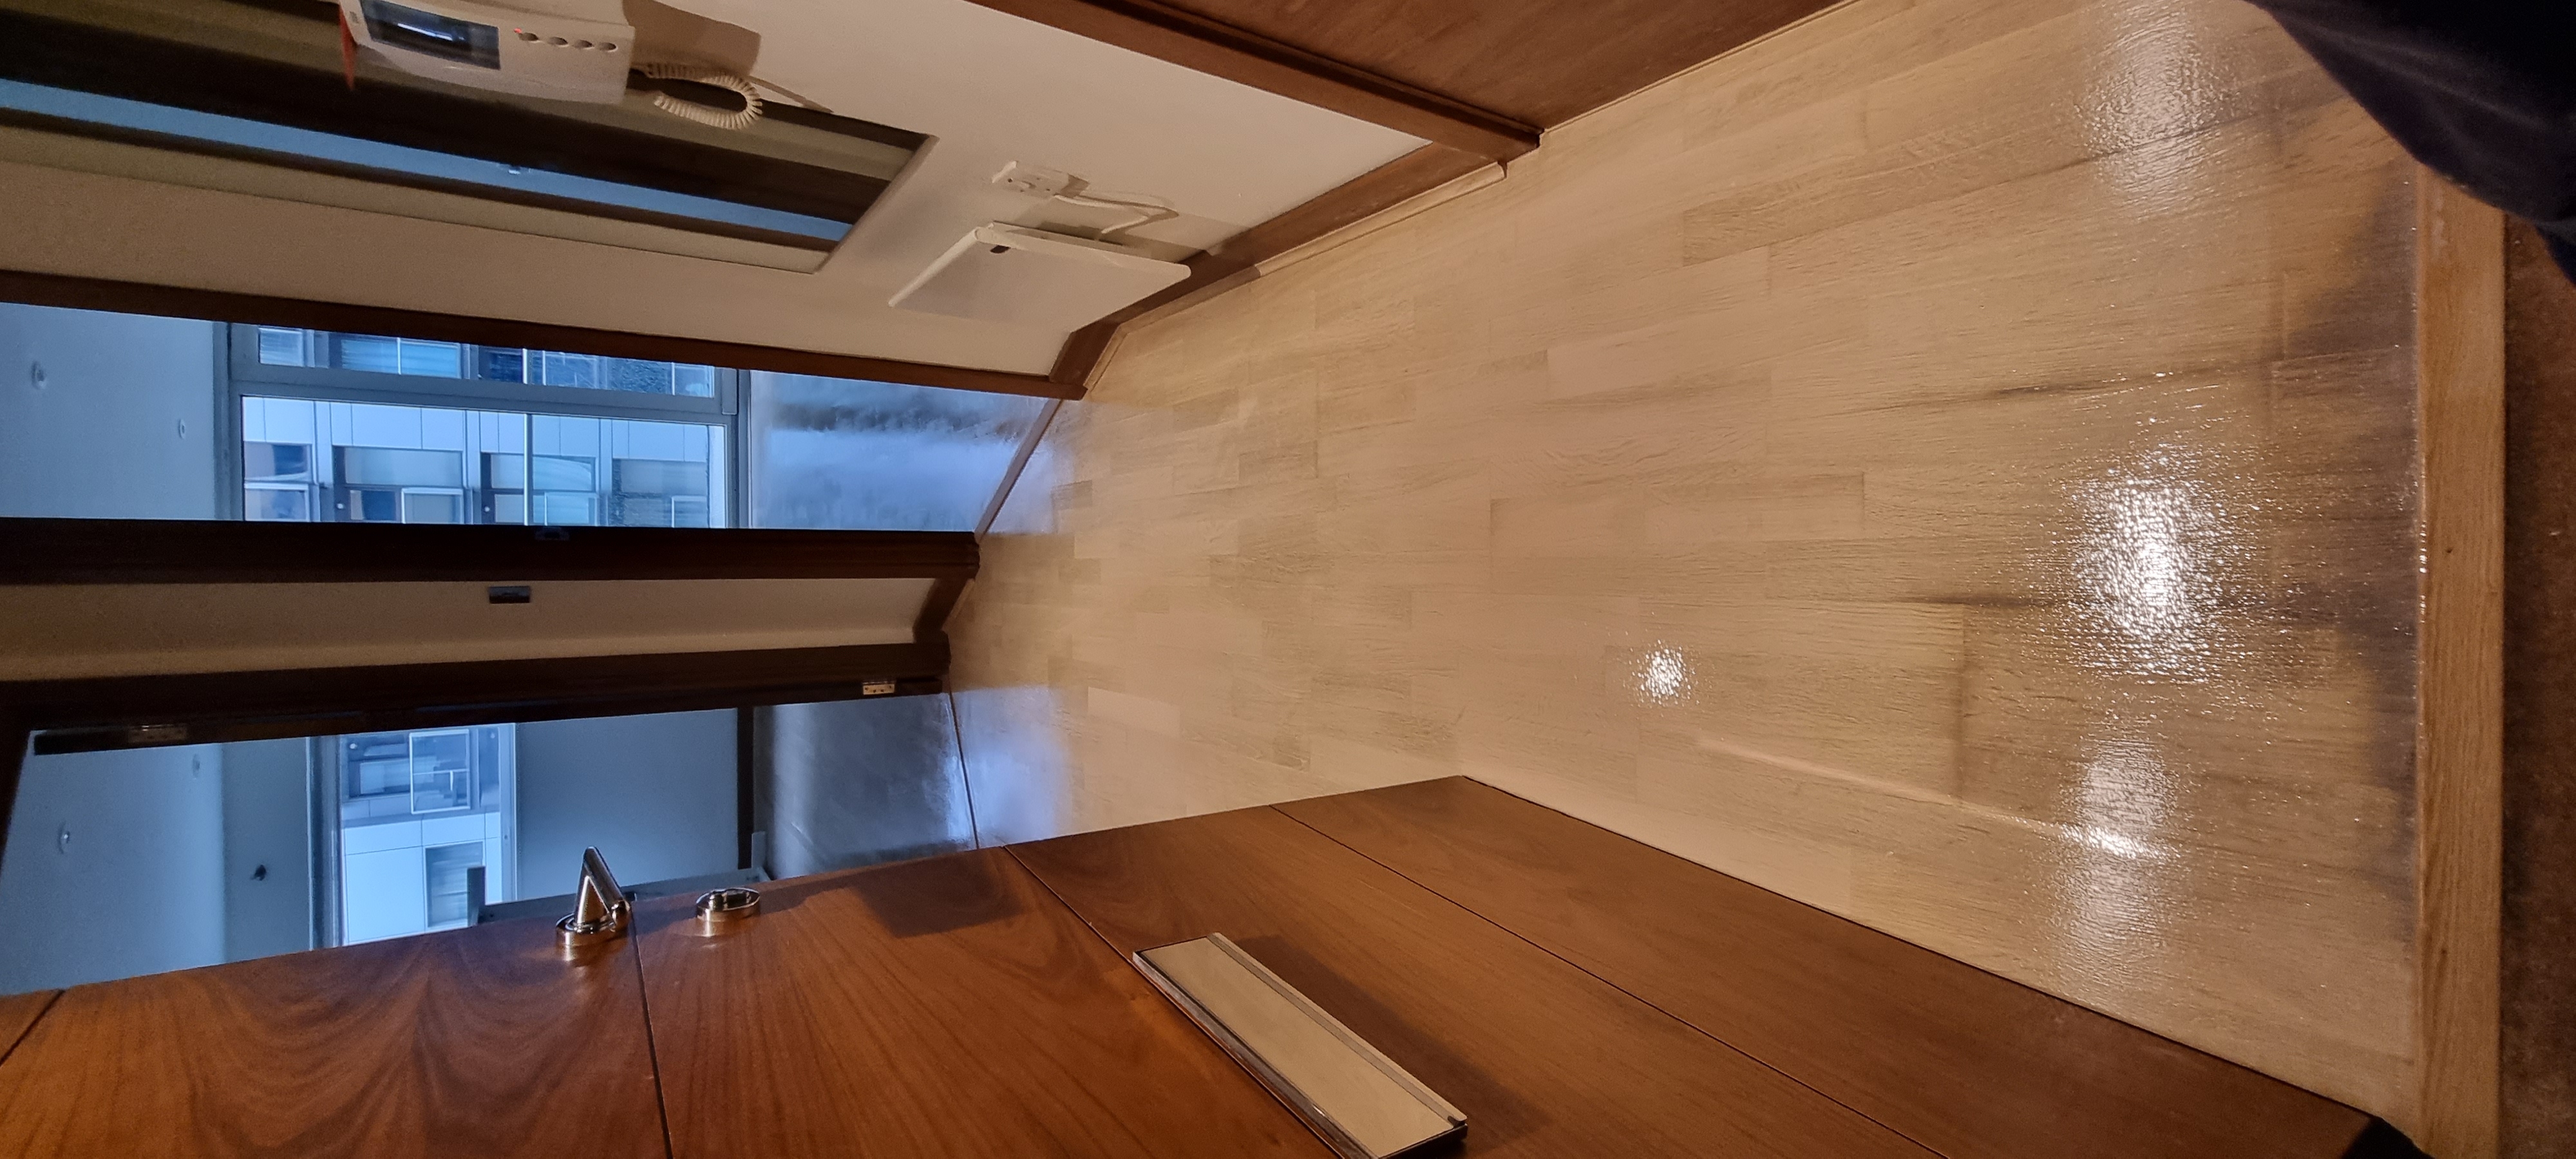
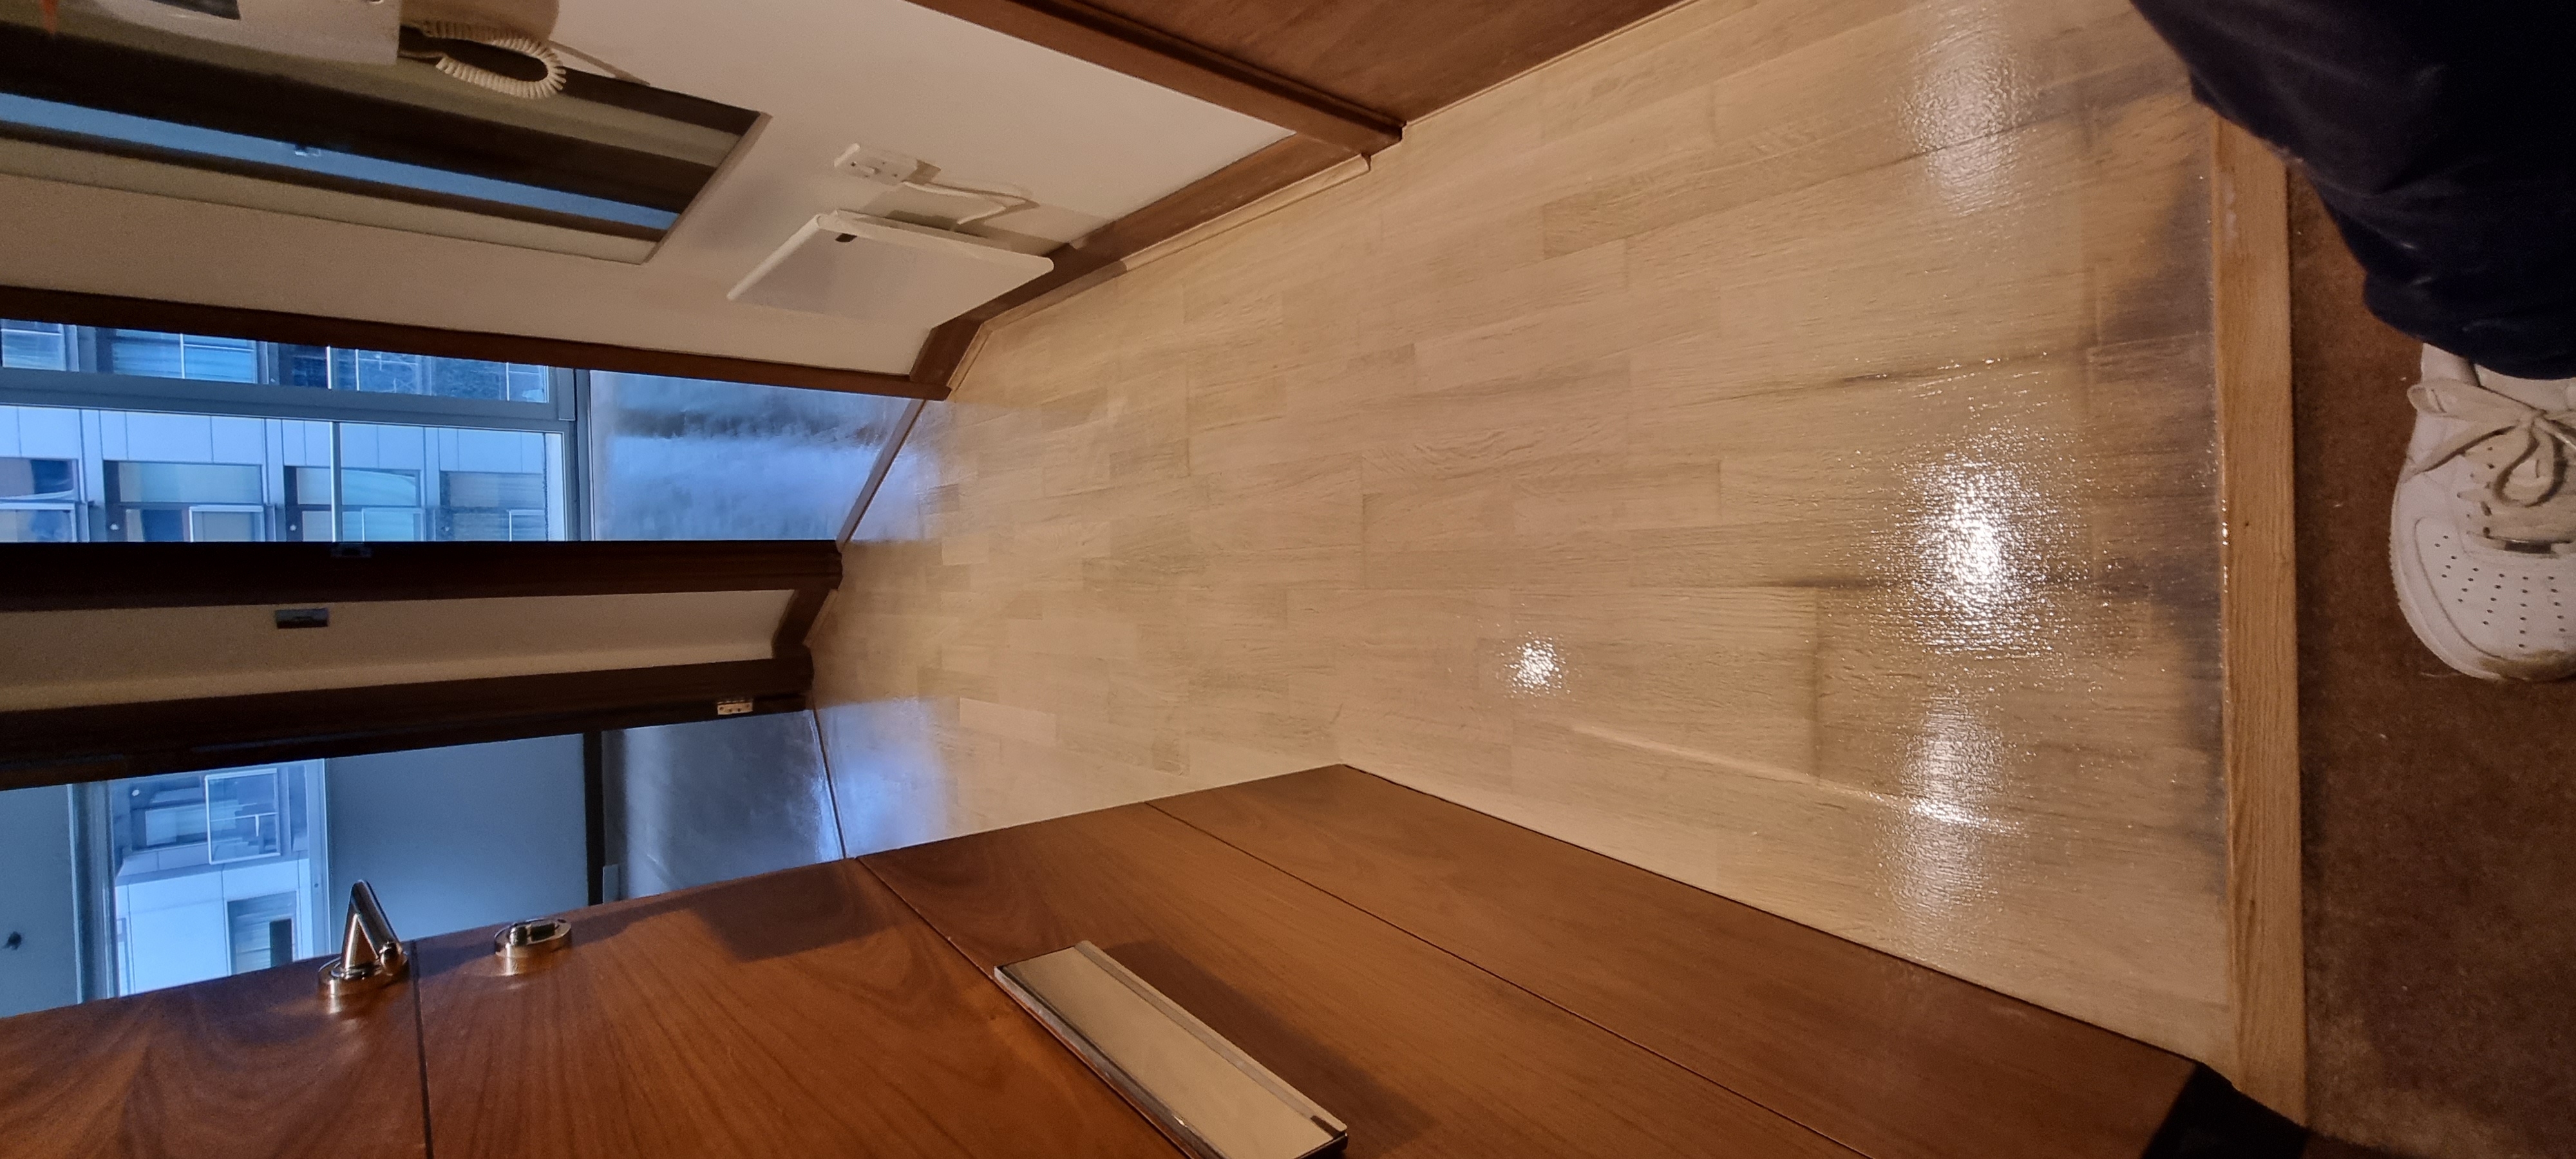
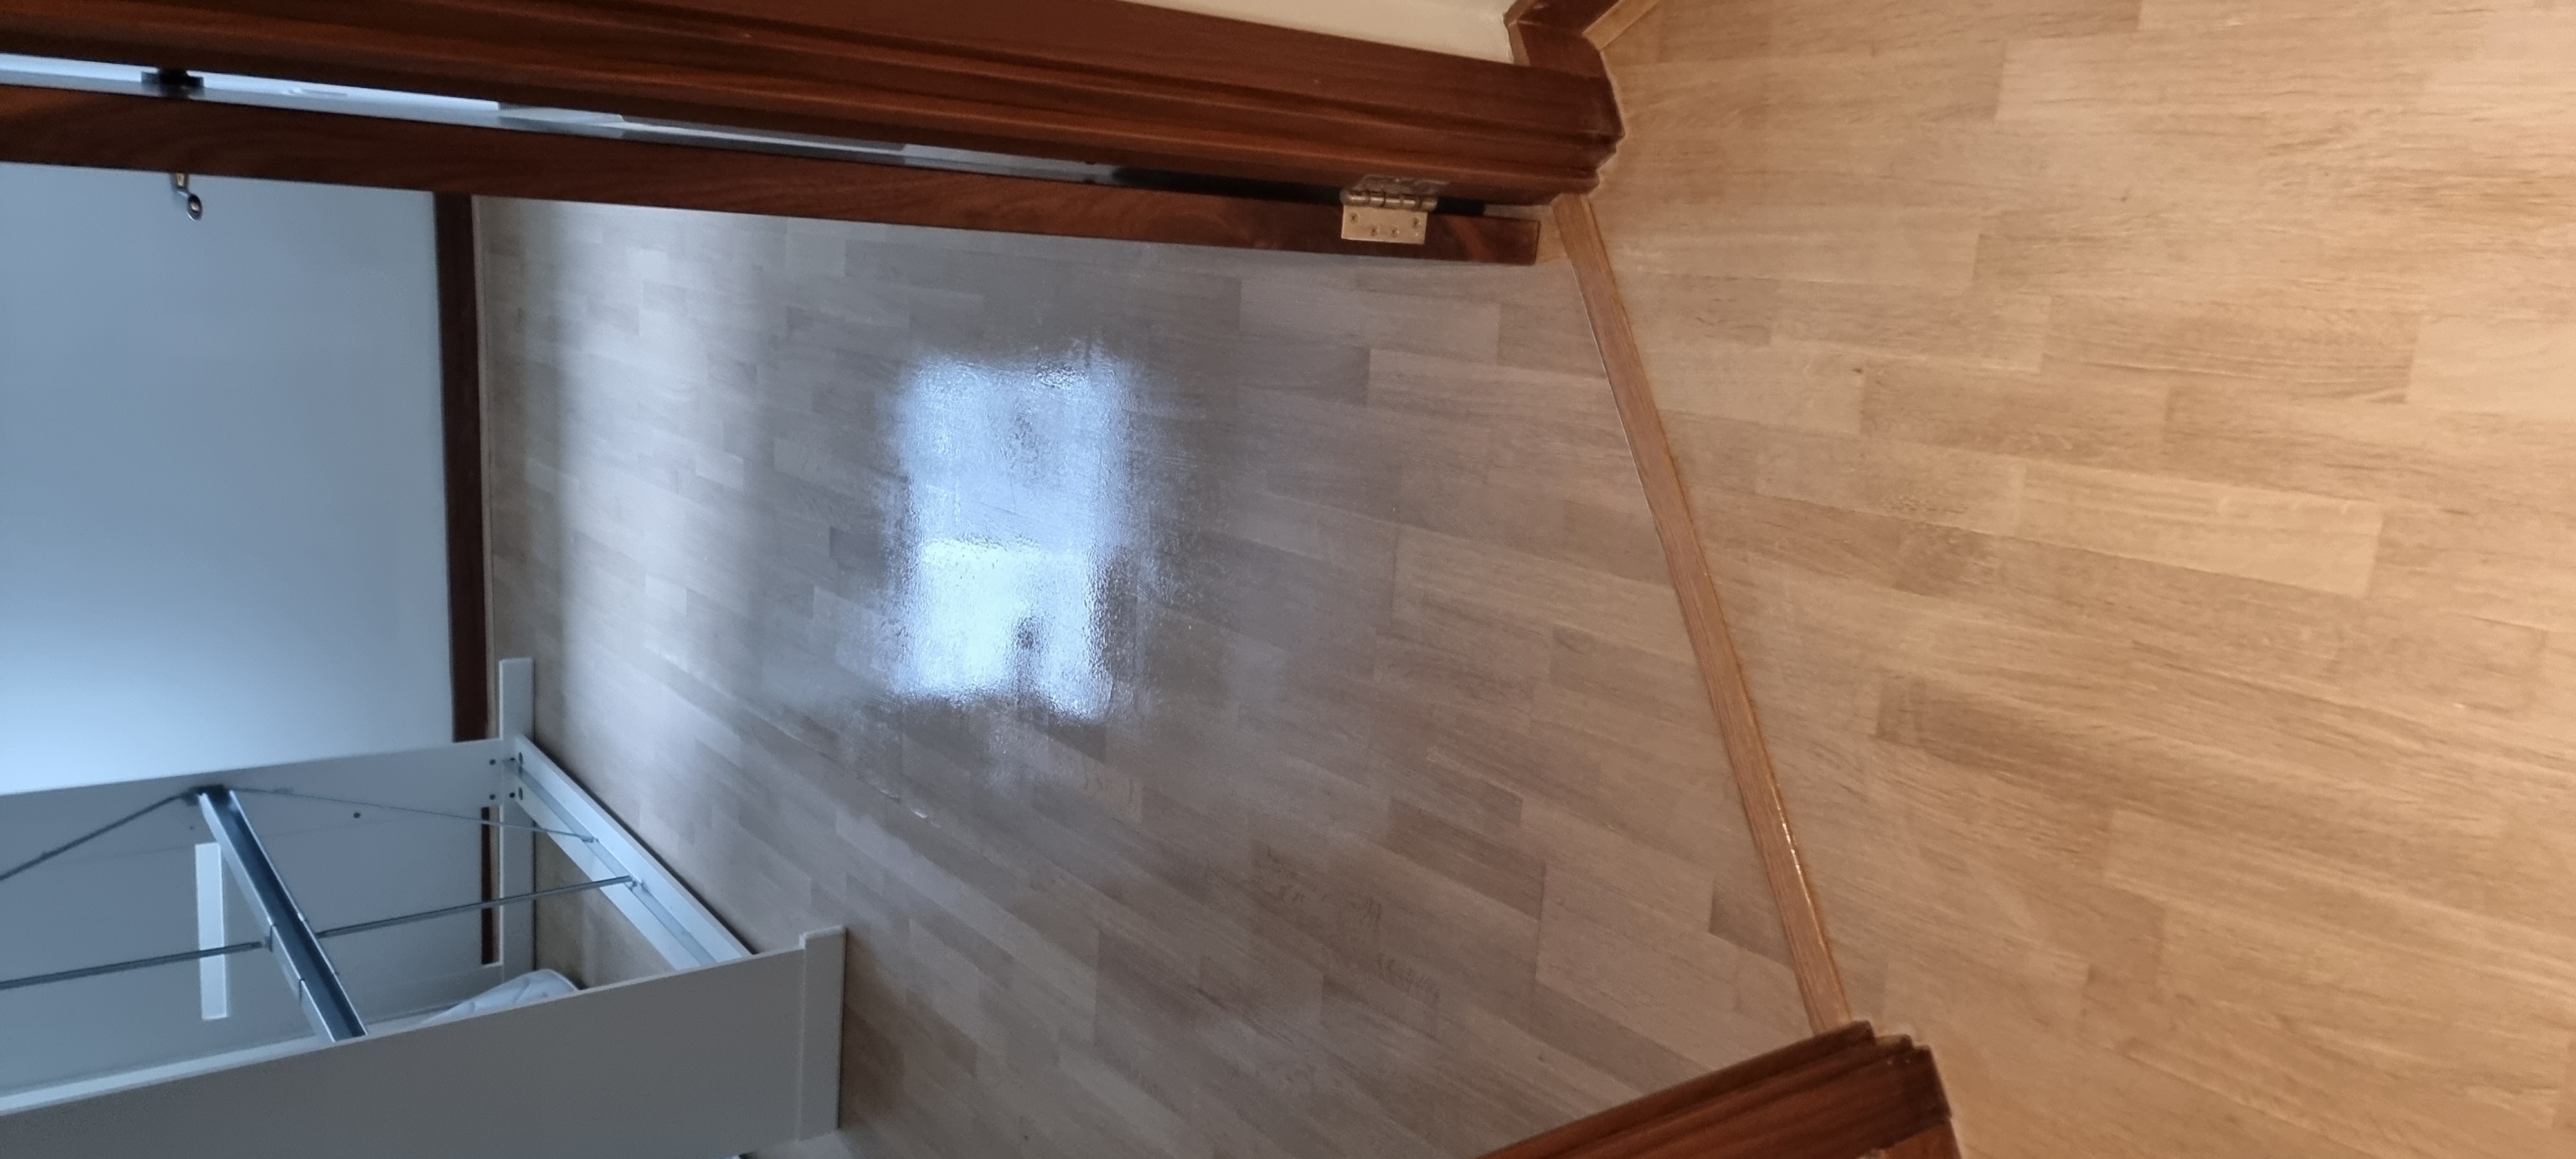
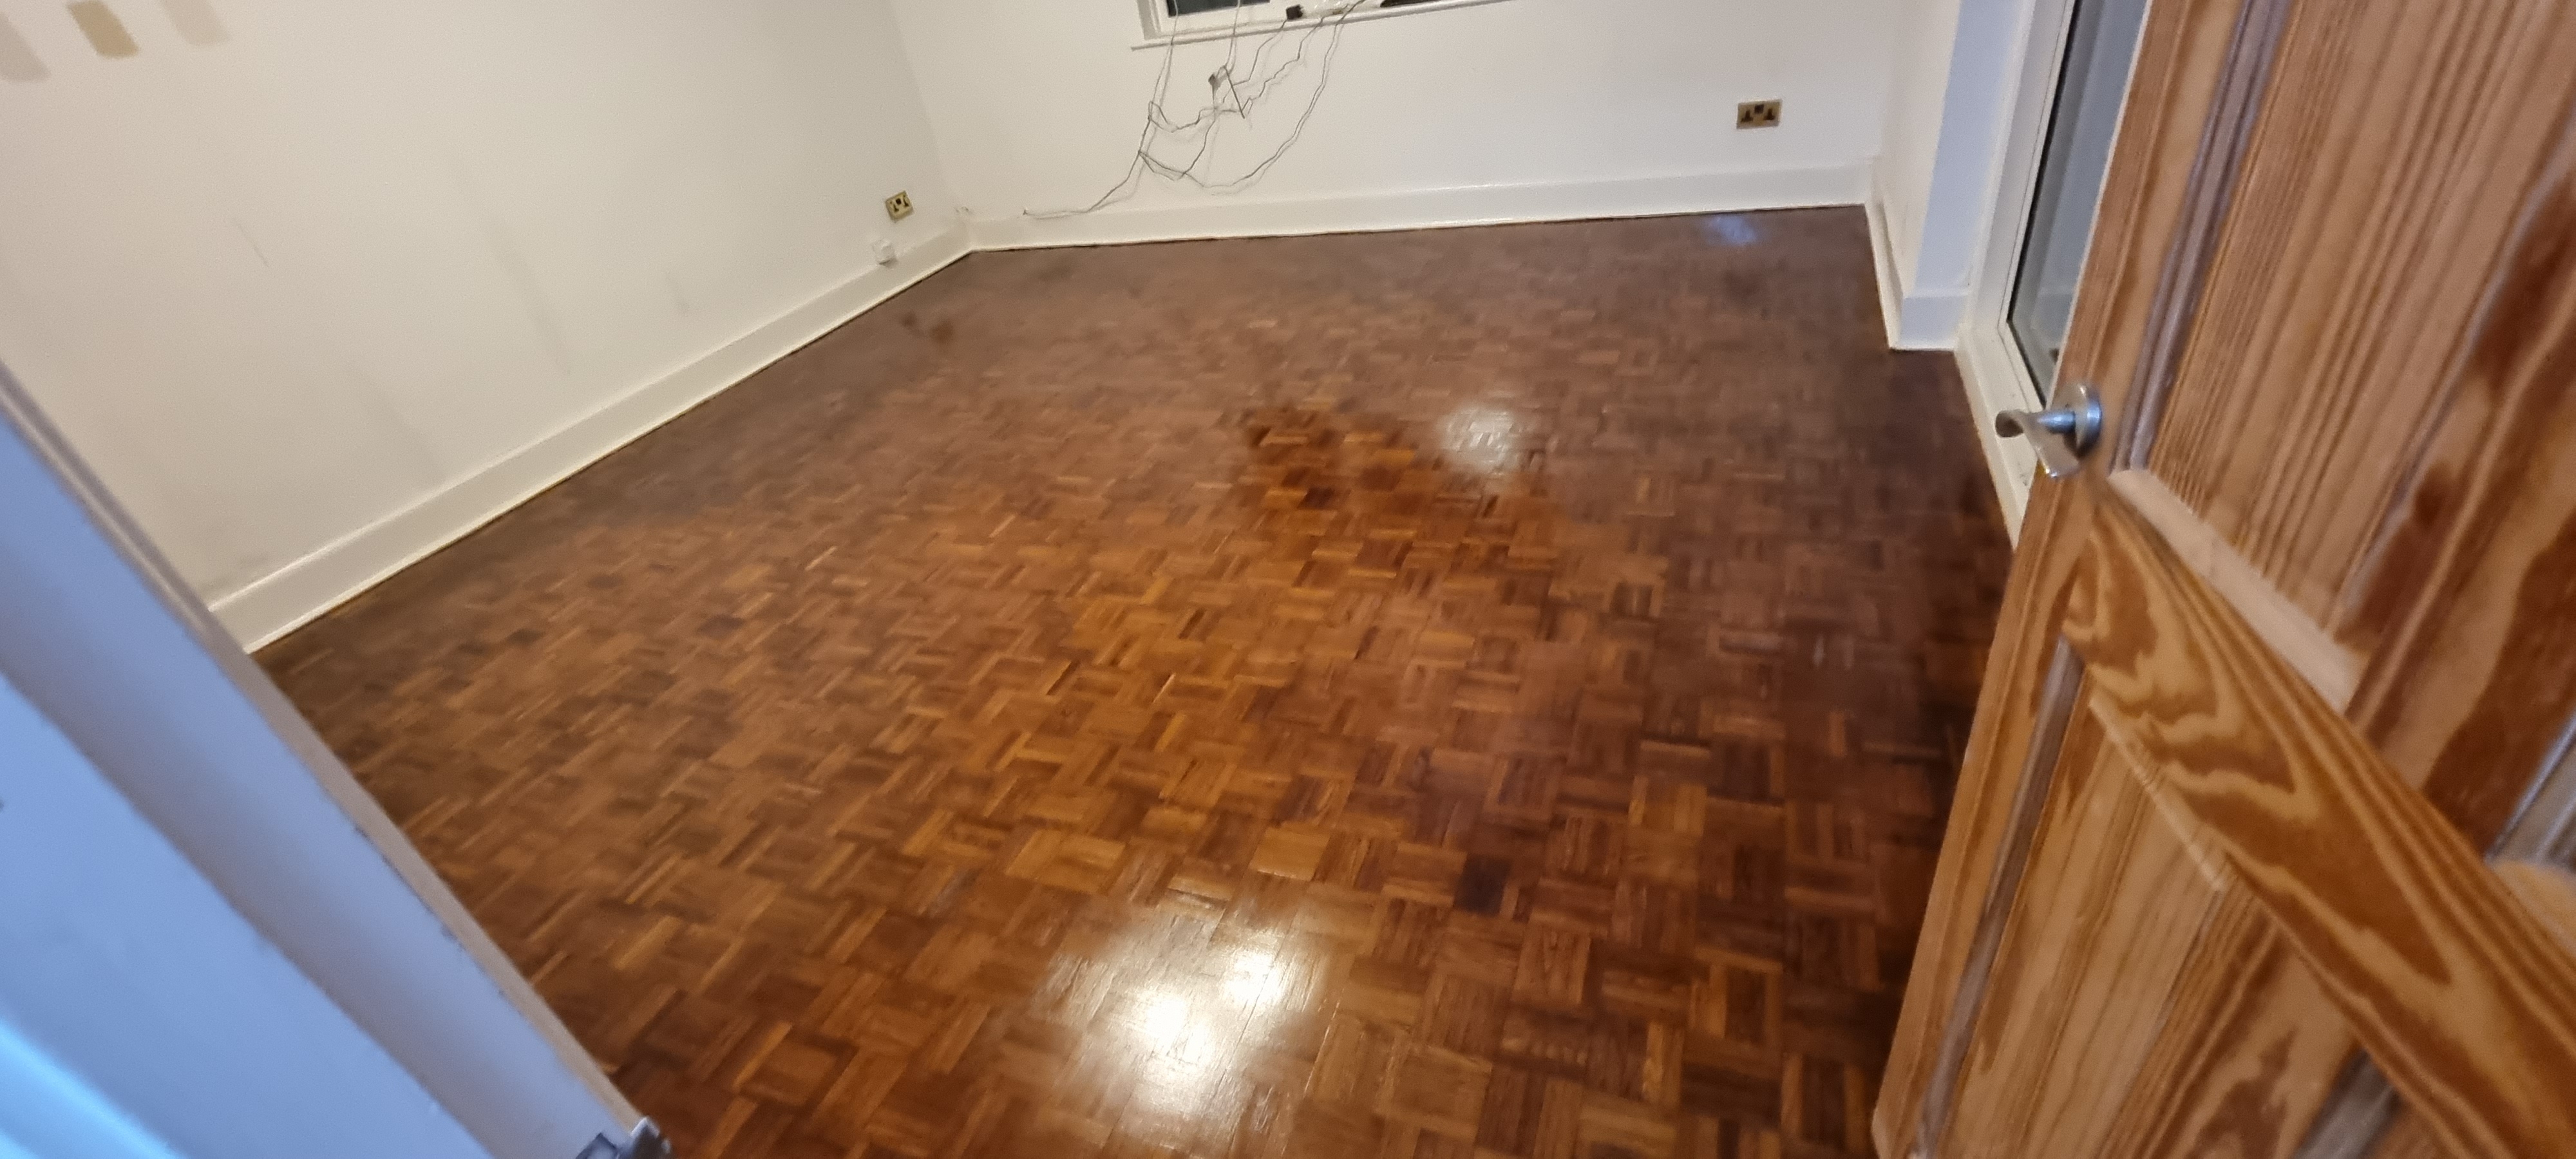
Once the sanding and finishing process was complete, the floor was transformed. The wood grain was opened up and brought back to life, the surface was smooth and even, and the new finish provided lasting protection. The client was left with a floor that looked, and performed, as good as new.
Photos of the completed work:
Frequently Asked Questions
How long does floor sanding take?
Most residential sanding jobs are completed in one to two days, depending on floor size and condition. Lacquering or oiling adds further drying and curing time, which we factor into the job schedule.
Do I need to vacate the property during sanding?
Modern dustless sanding equipment keeps dust to a minimum, but we recommend keeping pets and young children clear of the area during the work. Most clients remain in their property throughout.
How much does floor sanding cost in London?
Prices typically range from £25 to £45 per square metre depending on floor condition, finish type, and any repair work required. Gap filling and board replacement are priced separately if needed.
Have a similar project? Call us on 020 88309782 or Book a Free Site Visit
Show more
Project Overview
This project involved the professional sanding and restoration of an existing wood floor at a property in Kentish Town, NW5. The floor had seen years of daily wear and was in need of attention to bring it back to a quality finish. Our team carried out a full assessment before starting work, checking for any boards that needed attention alongside the main sanding and finishing wor...
Project Overview
This project involved the professional sanding and restoration of an existing wood floor at a property in Kentish Town, NW5. The floor had seen years of daily wear and was in need of attention to bring it back to a quality finish. Our team carried out a full assessment before starting work, checking for any boards that needed attention alongside the main sanding and finishing work.
Before the Work
Before work began, the floor showed typical signs of wear. Surface scratches, dull patches, and general finish deterioration were present. A thorough survey was carried out to plan the correct sanding depth, assess board condition, and choose the most appropriate finish for the space.
Our Approach
The following services were carried out as part of this project:
- Return to fix some blocks and deliver floor kit
The Result
Once the sanding and finishing process was complete, the floor was transformed. The wood grain was opened up and brought back to life, the surface was smooth and even, and the new finish provided lasting protection. The client was left with a floor that looked, and performed, as good as new.
Photos of the completed work:
Frequently Asked Questions
How long does floor sanding take?
Most residential sanding jobs are completed in one to two days, depending on floor size and condition. Lacquering or oiling adds further drying and curing time, which we factor into the job schedule.
Do I need to vacate the property during sanding?
Modern dustless sanding equipment keeps dust to a minimum, but we recommend keeping pets and young children clear of the area during the work. Most clients remain in their property throughout.
How much does floor sanding cost in London?
Prices typically range from £25 to £45 per square metre depending on floor condition, finish type, and any repair work required. Gap filling and board replacement are priced separately if needed.
Have a similar project? Call us on 020 88309782 or Book a Free Site Visit
Show more
Project Overview
This project involved the professional installation of engineered wood flooring at a property in Highams Park, IG8. The client required a quality floor that would stand up to daily use and complement their interior. Our fitting team assessed the subfloor condition, carried out any necessary preparation work, and fitted the new floor to a high standard.
Before the Work
Prior to ...
Project Overview
This project involved the professional installation of engineered wood flooring at a property in Highams Park, IG8. The client required a quality floor that would stand up to daily use and complement their interior. Our fitting team assessed the subfloor condition, carried out any necessary preparation work, and fitted the new floor to a high standard.
Before the Work
Prior to installation, the existing floor covering was inspected and the subfloor was prepared to ensure it was flat, dry, and suitable for the new engineered wood. Any existing floor covering was lifted and disposed of cleanly before the fitting work began.
Our Approach
The following services were carried out as part of this project:
- Engineered Flooring Installation
- Subfloor Preparation (SLC)
- Thresholds & Fitting (inc. materials)
- Duralay Timbermate Excel Silver Wood Floor & Laminate Underlay
- Tradition Engineered Oak Flooring Rustic, Lacquered, 190x20x1900 mm
The Result
The completed engineered wood installation looked clean and finished throughout. Joins are tight, edges are neat, and the floor sits flat and stable. Beading and threshold strips were fitted where required to complete the job properly. The client was pleased with both the quality of the work and the appearance of the new floor.
Photos of the completed work:
Frequently Asked Questions
How long does engineered wood installation take?
Most fitting jobs are completed within one to two days. Larger areas or more detailed layouts such as herringbone patterns take longer due to the additional cutting and positioning involved.
Do I need underlay?
Yes, underlay is required for most floor types and helps with insulation, sound deadening, and levelling minor subfloor imperfections. We can supply and fit appropriate underlay as part of the installation.
How much does floor fitting cost in London?
Fitting costs typically range from £35 to £60 per square metre depending on floor type and complexity. We provide a full written quote before starting any work.
Have a similar project? Call us on 020 88309782 or Book a Free Site Visit
Show more
Project Overview
This project involved the professional sanding and restoration of an existing wood floor at a property in Golders Green, NW11. The floor had seen years of daily wear and was in need of attention to bring it back to a quality finish. Our team carried out a full assessment before starting work, checking for any boards that needed attention alongside the main sanding and finishing w...
Project Overview
This project involved the professional sanding and restoration of an existing wood floor at a property in Golders Green, NW11. The floor had seen years of daily wear and was in need of attention to bring it back to a quality finish. Our team carried out a full assessment before starting work, checking for any boards that needed attention alongside the main sanding and finishing work.
Before the Work
Before work began, the floor showed typical signs of wear. Surface scratches, dull patches, and general finish deterioration were present. A thorough survey was carried out to plan the correct sanding depth, assess board condition, and choose the most appropriate finish for the space.
Survey photos showing the floor condition before work:
Our Approach
The following services were carried out as part of this project:
- Gap Filling
- Parquet - Sand, Buff & Lacquer
- Loose block refitting prior to sanding ( per sqm)
The Result
Once the sanding and finishing process was complete, the floor was transformed. The wood grain was opened up and brought back to life, the surface was smooth and even, and the new finish provided lasting protection. The client was left with a floor that looked, and performed, as good as new.
Photos of the completed work:
Frequently Asked Questions
How long does floor sanding take?
Most residential sanding jobs are completed in one to two days, depending on floor size and condition. Lacquering or oiling adds further drying and curing time, which we factor into the job schedule.
Do I need to vacate the property during sanding?
Modern dustless sanding equipment keeps dust to a minimum, but we recommend keeping pets and young children clear of the area during the work. Most clients remain in their property throughout.
How much does floor sanding cost in London?
Prices typically range from £25 to £45 per square metre depending on floor condition, finish type, and any repair work required. Gap filling and board replacement are priced separately if needed.
Have a similar project? Call us on 020 88309782 or Book a Free Site Visit
Show more
Project Overview
This project involved the professional sanding and restoration of an existing wood floor at a property in Hackney, N1. The floor had seen years of daily wear and was in need of attention to bring it back to a quality finish. Our team carried out a full assessment before starting work, checking for any boards that needed attention alongside the main sanding and finishing work.
Be...
Project Overview
This project involved the professional sanding and restoration of an existing wood floor at a property in Hackney, N1. The floor had seen years of daily wear and was in need of attention to bring it back to a quality finish. Our team carried out a full assessment before starting work, checking for any boards that needed attention alongside the main sanding and finishing work.
Before the Work
Before work began, the floor showed typical signs of wear. Surface scratches, dull patches, and general finish deterioration were present. A thorough survey was carried out to plan the correct sanding depth, assess board condition, and choose the most appropriate finish for the space.
Our Approach
The following services were carried out as part of this project:
- Parquet - Sand, Buff & Lacquer
The Result
Once the sanding and finishing process was complete, the floor was transformed. The wood grain was opened up and brought back to life, the surface was smooth and even, and the new finish provided lasting protection. The client was left with a floor that looked, and performed, as good as new.
Photos of the completed work:
Frequently Asked Questions
How long does floor sanding take?
Most residential sanding jobs are completed in one to two days, depending on floor size and condition. Lacquering or oiling adds further drying and curing time, which we factor into the job schedule.
Do I need to vacate the property during sanding?
Modern dustless sanding equipment keeps dust to a minimum, but we recommend keeping pets and young children clear of the area during the work. Most clients remain in their property throughout.
How much does floor sanding cost in London?
Prices typically range from £25 to £45 per square metre depending on floor condition, finish type, and any repair work required. Gap filling and board replacement are priced separately if needed.
Have a similar project? Call us on 020 88309782 or Book a Free Site Visit
Show more
Floorboards Sanding and Restoration in Kingston Upon Thames, KT2 — Full Case Study
Project Overview
This project involved the professional sanding and restoration of an existing wood floor at a property in Kingston Upon Thames, KT2. The floor had seen years of daily wear and was in need of attention to bring it back to a quality finish. Our team carried out a full assessment before starting work, checking for any boards that needed attention alongside the main sanding and finis...
Project Overview
This project involved the professional sanding and restoration of an existing wood floor at a property in Kingston Upon Thames, KT2. The floor had seen years of daily wear and was in need of attention to bring it back to a quality finish. Our team carried out a full assessment before starting work, checking for any boards that needed attention alongside the main sanding and finishing work.
Before the Work
Before work began, the floor showed typical signs of wear. Surface scratches, dull patches, and general finish deterioration were present. A thorough survey was carried out to plan the correct sanding depth, assess board condition, and choose the most appropriate finish for the space.
Survey photos showing the floor condition before work:
Our Approach
The following services were carried out as part of this project:
- Floorboards - Sand, Buff & Lacquer
The Result
Once the sanding and finishing process was complete, the floor was transformed. The wood grain was opened up and brought back to life, the surface was smooth and even, and the new finish provided lasting protection. The client was left with a floor that looked, and performed, as good as new.
Photos of the completed work:

Frequently Asked Questions
How long does floor sanding take?
Most residential sanding jobs are completed in one to two days, depending on floor size and condition. Lacquering or oiling adds further drying and curing time, which we factor into the job schedule.
Do I need to vacate the property during sanding?
Modern dustless sanding equipment keeps dust to a minimum, but we recommend keeping pets and young children clear of the area during the work. Most clients remain in their property throughout.
How much does floor sanding cost in London?
Prices typically range from £25 to £45 per square metre depending on floor condition, finish type, and any repair work required. Gap filling and board replacement are priced separately if needed.
Have a similar project? Call us on 020 88309782 or Book a Free Site Visit
Show more
Project Overview
This project involved the professional sanding and restoration of an existing wood floor at a property in Islington, N1. The floor had seen years of daily wear and was in need of attention to bring it back to a quality finish. Our team carried out a full assessment before starting work, checking for any boards that needed attention alongside the main sanding and finishing work.
...
Project Overview
This project involved the professional sanding and restoration of an existing wood floor at a property in Islington, N1. The floor had seen years of daily wear and was in need of attention to bring it back to a quality finish. Our team carried out a full assessment before starting work, checking for any boards that needed attention alongside the main sanding and finishing work.
Before the Work
Before work began, the floor showed typical signs of wear. Surface scratches, dull patches, and general finish deterioration were present. A thorough survey was carried out to plan the correct sanding depth, assess board condition, and choose the most appropriate finish for the space.
Our Approach
The following services were carried out as part of this project:
- Parquet - Sand, Buff & Lacquer
The Result
Once the sanding and finishing process was complete, the floor was transformed. The wood grain was opened up and brought back to life, the surface was smooth and even, and the new finish provided lasting protection. The client was left with a floor that looked, and performed, as good as new.
Photos of the completed work:
Frequently Asked Questions
How long does floor sanding take?
Most residential sanding jobs are completed in one to two days, depending on floor size and condition. Lacquering or oiling adds further drying and curing time, which we factor into the job schedule.
Do I need to vacate the property during sanding?
Modern dustless sanding equipment keeps dust to a minimum, but we recommend keeping pets and young children clear of the area during the work. Most clients remain in their property throughout.
How much does floor sanding cost in London?
Prices typically range from £25 to £45 per square metre depending on floor condition, finish type, and any repair work required. Gap filling and board replacement are priced separately if needed.
Have a similar project? Call us on 020 88309782 or Book a Free Site Visit
Show more
Project Overview
This project involved the professional sanding and restoration of an existing wood floor at a property in Battersea, SW11. The floor had seen years of daily wear and was in need of attention to bring it back to a quality finish. Our team carried out a full assessment before starting work, checking for any boards that needed attention alongside the main sanding and finishing work....
Project Overview
This project involved the professional sanding and restoration of an existing wood floor at a property in Battersea, SW11. The floor had seen years of daily wear and was in need of attention to bring it back to a quality finish. Our team carried out a full assessment before starting work, checking for any boards that needed attention alongside the main sanding and finishing work.
Before the Work
Before work began, the floor showed typical signs of wear. Surface scratches, dull patches, and general finish deterioration were present. A thorough survey was carried out to plan the correct sanding depth, assess board condition, and choose the most appropriate finish for the space.
Survey photos showing the floor condition before work:
Our Approach
The following services were carried out as part of this project:
- Beading Installation (incl. materials)
- Engineered - Sand, Buff & Lacquer
- Staining
The Result
Once the sanding and finishing process was complete, the floor was transformed. The wood grain was opened up and brought back to life, the surface was smooth and even, and the new finish provided lasting protection. The client was left with a floor that looked, and performed, as good as new.
Photos of the completed work:
Frequently Asked Questions
How long does floor sanding take?
Most residential sanding jobs are completed in one to two days, depending on floor size and condition. Lacquering or oiling adds further drying and curing time, which we factor into the job schedule.
Do I need to vacate the property during sanding?
Modern dustless sanding equipment keeps dust to a minimum, but we recommend keeping pets and young children clear of the area during the work. Most clients remain in their property throughout.
How much does floor sanding cost in London?
Prices typically range from £25 to £45 per square metre depending on floor condition, finish type, and any repair work required. Gap filling and board replacement are priced separately if needed.
Have a similar project? Call us on 020 88309782 or Book a Free Site Visit
Show more
Project Overview
This project involved the professional sanding and restoration of an existing wood floor at a property in Woodford Green, IG8. The floor had seen years of daily wear and was in need of attention to bring it back to a quality finish. Our team carried out a full assessment before starting work, checking for any boards that needed attention alongside the main sanding and finishing w...
Project Overview
This project involved the professional sanding and restoration of an existing wood floor at a property in Woodford Green, IG8. The floor had seen years of daily wear and was in need of attention to bring it back to a quality finish. Our team carried out a full assessment before starting work, checking for any boards that needed attention alongside the main sanding and finishing work.
Before the Work
Before work began, the floor showed typical signs of wear. Surface scratches, dull patches, and general finish deterioration were present. A thorough survey was carried out to plan the correct sanding depth, assess board condition, and choose the most appropriate finish for the space.
Survey photos showing the floor condition before work:
Our Approach
The following services were carried out as part of this project:
- Gap Filling
- Parquet - Repairs (excl. materials)
- Parquet - Sand, Buff & Lacquer
- Staining
The Result
Once the sanding and finishing process was complete, the floor was transformed. The wood grain was opened up and brought back to life, the surface was smooth and even, and the new finish provided lasting protection. The client was left with a floor that looked, and performed, as good as new.
Photos of the completed work:


Frequently Asked Questions
How long does floor sanding take?
Most residential sanding jobs are completed in one to two days, depending on floor size and condition. Lacquering or oiling adds further drying and curing time, which we factor into the job schedule.
Do I need to vacate the property during sanding?
Modern dustless sanding equipment keeps dust to a minimum, but we recommend keeping pets and young children clear of the area during the work. Most clients remain in their property throughout.
How much does floor sanding cost in London?
Prices typically range from £25 to £45 per square metre depending on floor condition, finish type, and any repair work required. Gap filling and board replacement are priced separately if needed.
Have a similar project? Call us on 020 88309782 or Book a Free Site Visit
Show more
Project Overview
This project involved the professional sanding and restoration of an existing wood floor at a property in Islington, N1. The floor had seen years of daily wear and was in need of attention to bring it back to a quality finish. Our team carried out a full assessment before starting work, checking for any boards that needed attention alongside the main sanding and finishing work.
...
Project Overview
This project involved the professional sanding and restoration of an existing wood floor at a property in Islington, N1. The floor had seen years of daily wear and was in need of attention to bring it back to a quality finish. Our team carried out a full assessment before starting work, checking for any boards that needed attention alongside the main sanding and finishing work.
Before the Work
Before work began, the floor showed typical signs of wear. Surface scratches, dull patches, and general finish deterioration were present. A thorough survey was carried out to plan the correct sanding depth, assess board condition, and choose the most appropriate finish for the space.
Our Approach
The following services were carried out as part of this project:
- Floorboards - Replacement (incl. materials)
- Floorboards - Sand, Buff & Lacquer
- Gap Filling
- Gap Filling - Pine Slivers
The Result
Once the sanding and finishing process was complete, the floor was transformed. The wood grain was opened up and brought back to life, the surface was smooth and even, and the new finish provided lasting protection. The client was left with a floor that looked, and performed, as good as new.
Photos of the completed work:

Frequently Asked Questions
How long does floor sanding take?
Most residential sanding jobs are completed in one to two days, depending on floor size and condition. Lacquering or oiling adds further drying and curing time, which we factor into the job schedule.
Do I need to vacate the property during sanding?
Modern dustless sanding equipment keeps dust to a minimum, but we recommend keeping pets and young children clear of the area during the work. Most clients remain in their property throughout.
How much does floor sanding cost in London?
Prices typically range from £25 to £45 per square metre depending on floor condition, finish type, and any repair work required. Gap filling and board replacement are priced separately if needed.
Have a similar project? Call us on 020 88309782 or Book a Free Site Visit
Show more