Project Overview
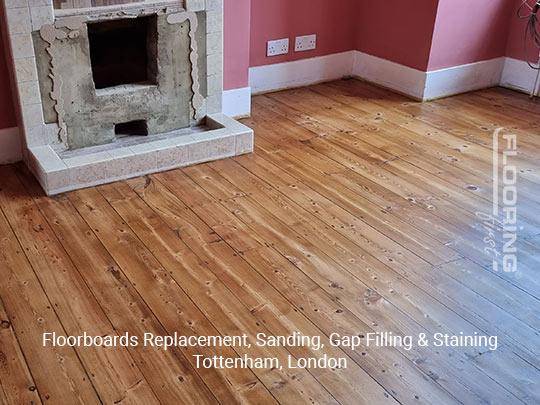
This Tottenham project covered floorboard replacement, gap filling, sanding and staining on a hardwood floor that had been heavily worn and badly maintained over many years. Some boards were damaged beyond what sanding could fix, gaps had opened up significantly between boards, and the client wanted a colour change as part of the renovation rather than simply returning the floor ...
Project Overview
This Tottenham project covered floorboard replacement, gap filling, sanding and staining on a hardwood floor that had been heavily worn and badly maintained over many years. Some boards were damaged beyond what sanding could fix, gaps had opened up significantly between boards, and the client wanted a colour change as part of the renovation rather than simply returning the floor to its original tone. The scope required a disciplined sequence of work: get the repairs right before any finishing begins, so the stain goes down evenly across old and new timber alike.
The Challenge
Combining board replacement, gap filling and staining on the same floor introduces a number of variables that need managing carefully. New boards absorb stain differently to aged timber. If the sanding is not consistent across old and new boards, the stain will go on patchy. The gaps in this floor had also grown wide enough that simple resin filling would not hold over time — we needed to use pine slivers for the larger ones, which also need to be sanded flush before staining. Getting all these elements aligned required planning and a steady hand throughout.
Our Approach
Board replacement: Badly damaged boards were lifted and replaced with matching new timber, cut to size and fixed down securely. We selected boards as close in species and profile to the existing floor as our suppliers could provide.
Gap filling: Wide gaps received pine slivers tapped in tight and trimmed flush. Narrower gaps were filled with a resin-sawdust mix. Once the filler cured, the whole floor went through a first sanding pass to level everything out.
Sanding: We worked through three grit levels — coarse, medium and fine. The coarse pass took care of height differences between old and new boards and levelled the dried filler. Medium and fine passes refined the surface to a smooth, consistent finish ready for staining.
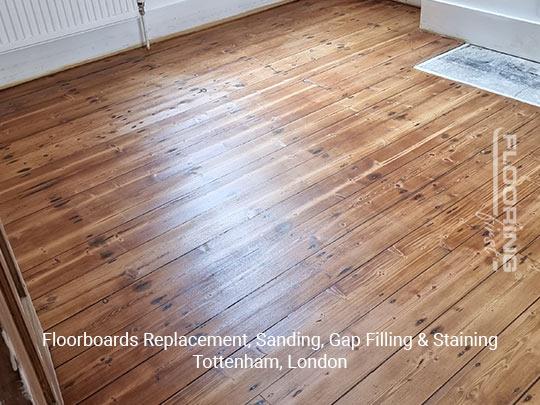
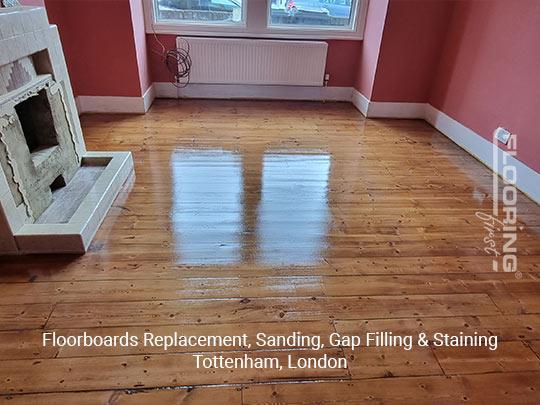
Staining and lacquering: The stain was applied by hand in the direction of the grain, working in sections to keep a wet edge. Once the stain had fully dried, two coats of lacquer were applied to lock in the colour and protect the surface. The client opted for a mid-tone walnut stain with a satin finish, which gave the room a noticeably warmer look.
The Result
The floor came out consistent in colour and surface quality across the full area, old and new boards alike. The stain covered the tonal variation between original and replacement timber, and the lacquer added a clean, durable finish. Work of this scope — board replacement, gap filling, sanding and staining — typically sits in the £30 to £45 per square metre range, making it a cost-effective way to give a tired floor a completely new look.
FAQ
Will new boards always show through a stain finish?
With a consistent sanding job and the right stain preparation, new boards blend in well. Fresh timber is more absorbent, so we sometimes apply a pre-conditioner before staining to regulate absorption and get an even result across old and new wood.
Can I choose any stain colour?
We carry a wide range of wood stain tones from light natural shades through to dark ebony. We can also do test patches on a small area of your floor before committing so you can see how the colour looks in your light before the full application begins.
How long should I wait before walking on the floor after staining and lacquering?
We recommend leaving the floor for 24 hours after the final lacquer coat before light foot traffic. For normal furniture and rugs, 48 to 72 hours is better. The lacquer continues to harden for several days after application, so heavy loads should be kept off for at least a week.
Have a similar project? Call us on 020 88309782 or Book a Free Site Visit