Project Overview
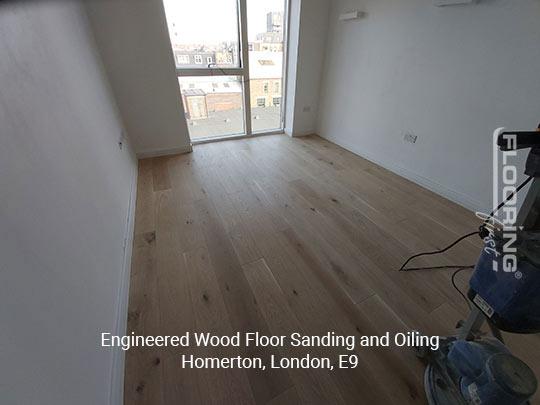
This engineered wood floor sanding and oiling project was completed at a residential property in Homerton, East London. The floor, installed around seven years before we were called in, was looking tired. The original oil finish had worn through in the main traffic lanes, leaving dry, unprotected wood exposed while the rest of the surface retained a patchy sheen. The client wanted a consistent, refreshed finish without a heavy lacquer look, so we agreed that a light surface sand followed by a quality oil re-coat was the right approach. Engineered floor sanding typically runs between £25 and £45 per square metre, depending on the level of work required.
The Challenge
The main thing to understand with engineered wood is that the real wood veneer on top is thinner than in solid boards, typically between three and six millimetres. This means there is a limited number of times the floor can be sanded before the veneer is too thin to work with safely. In this case, the floor had not been professionally sanded before, so we had good material to work with, but we still needed to be conservative with the depth of cut. A standard drum sander set too aggressively could remove more wood than necessary or, worse, break through the veneer into the plywood core below. The other challenge was the existing oil finish, which needed to be fully stripped to allow the new oil to penetrate the wood properly.
Our Approach
- Surface assessment: We measured the veneer thickness in a discreet corner to confirm adequate depth for sanding, then identified the worst-worn areas and checked for any cupped or warped boards.
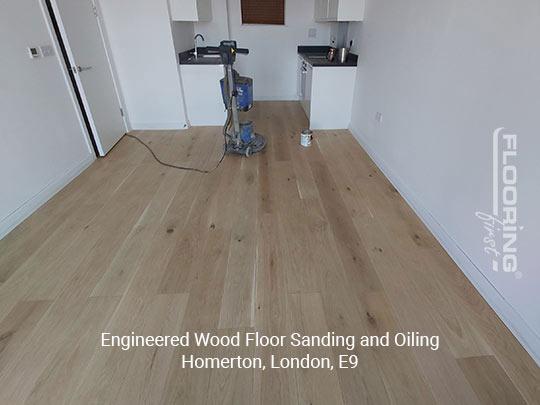
- Light surface sanding: Using a buffing machine rather than a drum sander, we worked across the floor with a medium-grit abrasive pad to strip the old oil finish and smooth the surface. This technique removes far less material than a full drum sand while still achieving a clean base for re-oiling.
- Edge work: The perimeter was carefully sanded by hand with a detail sander to match the centre of the room without marking the skirting boards.
- Fine buffing: A finer abrasive pad completed the prep work, leaving the surface clean, open-grained, and ready for oil penetration.
- First oil coat: We applied a generous first coat of a high-quality hardwax oil, working it into the grain with a cloth applicator and allowing it to penetrate before removing any excess. This coat nourishes the wood and begins building protection.
- Second oil coat: After the first coat had cured overnight, we applied a second, thinner coat and buffed it to an even sheen. The finish is now consistent across the entire floor, with no more patchy worn areas.

The Result
The floor looked completely different after treatment. The patchy, worn surface was replaced by a consistent, natural-looking finish that brought out the grain of the wood without making it look plastic or overly shiny. The oil soaks into the wood rather than sitting on top, which means it feels more natural underfoot and is far easier to spot-repair in future if a section gets damaged. The client was pleased with how much the floor had improved without the cost or disruption of replacement.
Frequently Asked Questions
How many times can an engineered wood floor be sanded?
This depends on the thickness of the real wood veneer. A three-millimetre veneer can typically be lightly sanded once or twice. A six-millimetre veneer allows two or three full sands over the floor's lifetime. We always check the veneer depth before quoting to confirm sanding is viable.
What is the difference between an oil finish and a lacquer on engineered wood?
Oil penetrates the wood fibres and provides a natural look and feel. It is relatively easy to maintain, as you can re-oil specific areas without sanding the entire floor. Lacquer sits on the surface as a hard film, offering stronger protection in very high-traffic areas but requiring a full sand and re-coat when it wears through.
How long after oiling before the floor can be used?
With a hardwax oil, light foot traffic is usually fine after 24 hours. Full hardness and maximum protection develop over seven to ten days. We advise clients to avoid dragging heavy furniture across the floor for at least a week after treatment.