Project Overview
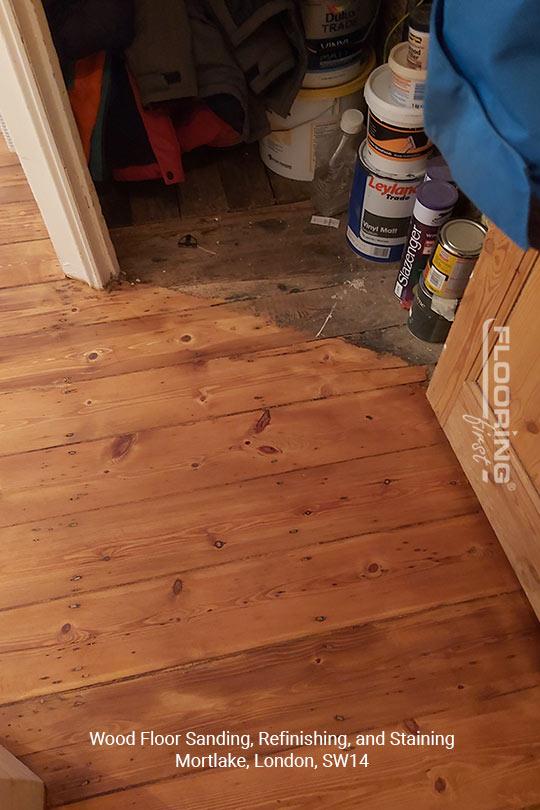
This Mortlake SW14 property had original hardwood floorboards throughout the first floor. The boards had been in place for many years and were showing signs of significant surface wear, with the existing finish scratched through in the heavily trafficked areas and the colour looking faded and inconsistent. The client wanted the floor sanded, stained to a richer colour, and finished with a durable lacquer.
The Challenge
This project involved both staining and refinishing, which requires the preparation to be particularly thorough. Any variation in how the boards absorb the stain will be visible in the finished floor, so the sand needs to be consistent right across the room. The floorboards also had some gaps that needed addressing before work started, as unfilled gaps absorb stain at a different rate and create obvious dark lines in the finished colour. There were also a few boards in the hallway area that had developed some surface checking, which required careful treatment before staining to prevent the cracks from showing through the finish.
Our Approach
Inspection and Repairs
We started with a full assessment of the floor condition. Loose boards were fixed down, gaps between boards were filled with a resin and sawdust mix, and the surface checking on the affected boards was treated before sanding began. Carrying out repairs before sanding rather than after gives a much better result as the repaired areas blend into the sanded surface cleanly.
Full Sand Back
The floor was sanded back to bare wood in stages, working from coarser to finer grits across the whole area. The goal was a completely uniform, bare surface with no remnants of the old finish. Only from this base can a stain be applied evenly.
Staining
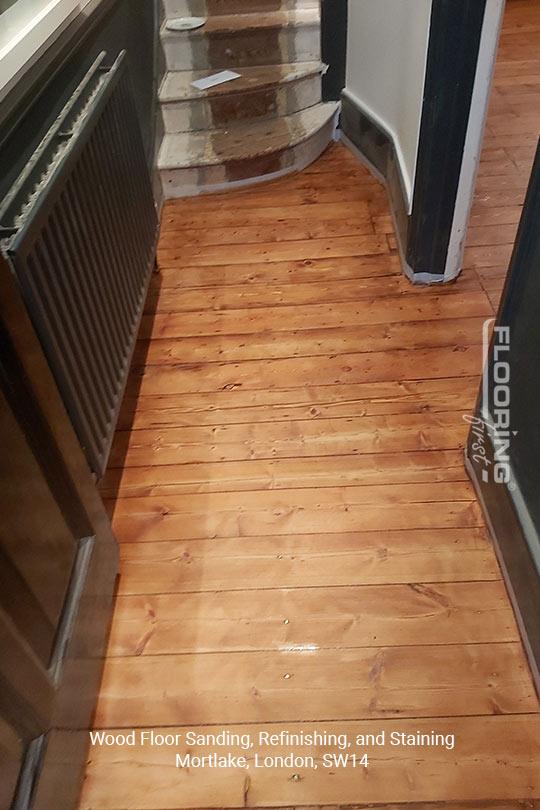
The chosen stain was a warm mid-brown tone that the client had selected to complement the property's interior. We applied it in the direction of the grain, maintaining a wet edge throughout to avoid any lines or patches in the colour. A second coat was applied in the hallway area, where the boards had a slightly more open grain and needed the extra depth of colour.
Lacquer Finish
Three coats of a hard-wearing lacquer were applied over the dried stain, with light buffing between each coat. The result is a surface that protects the stain and provides good resistance to everyday wear and spills.
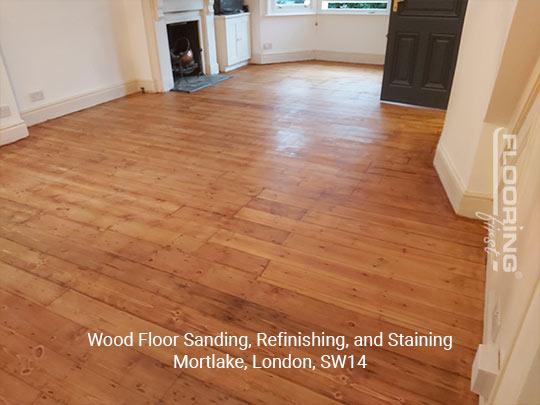
The Result
The transformation was striking. The floor came from a worn, faded surface to a richly coloured, even finish that suited the property well. Gaps and surface damage had been addressed, and the lacquer gave a clean, protective finish throughout. The client was very pleased with the result. Wood floor sanding and refinishing in SW14 and the surrounding area typically costs between £25 and £45 per square metre, with staining adding a modest increment to the overall price.
Frequently Asked Questions
How long does a stained and lacquered floor need before it can be walked on?
The floor can usually be walked on carefully after 24 hours from the final coat. However, for normal furniture use, we recommend waiting at least 48 to 72 hours. Full cure is typically reached after five to seven days, during which time rugs and heavy furniture should be kept off.
Will staining the floor make it harder to maintain?
Stained and lacquered floors are maintained in exactly the same way as any lacquered floor. Regular sweeping and occasional damp mopping with a wood-safe cleaner are all that is needed. The lacquer protects the stain, so the colour does not fade with normal cleaning.
Can I change the stain colour in future if my tastes change?
Yes. The floor can be sanded back and restained to a different colour at any time, as long as there is sufficient board thickness remaining. Going to a darker shade is straightforward. Going lighter requires a more thorough sand to fully remove the existing colour from the wood fibres.