Project Overview
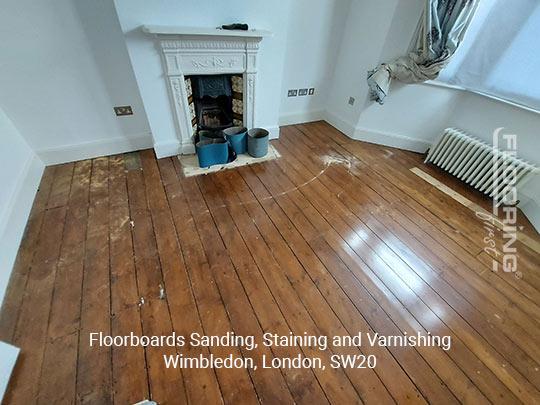
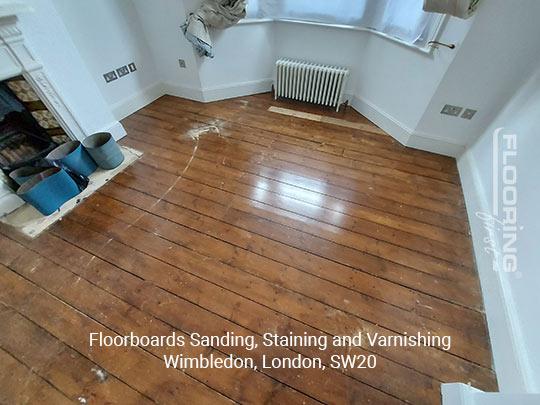
This Wimbledon SW20 property had original pine floorboards that had been covered for years and recently exposed by the current owners. The boards were in reasonable structural condition but were heavily discoloured, had an old finish that had worn unevenly, and needed a stain applied to achieve the darker tone the client wanted before varnishing. The project covered the main living room and hallway.
The Challenge
Staining a floor after sanding sounds straightforward but getting a consistent result across a whole room requires careful preparation. Pine is a particularly absorbent and variable timber. It has hard grain lines and soft grain patches that take stain at very different rates. Without proper preparation, these differences become exaggerated and the floor ends up with a patchy, uneven colour rather than the consistent tone the client wants. The floor also had a previous stain in places, which meant the boards needed to be sanded back uniformly before any new colour work could be done.
Our Approach
Full Strip Back
We started with a thorough multi-stage sand, working from coarser grits to completely remove all remnants of the old finish and any existing stain. The goal at this stage is to get back to bare, consistent wood across the entire floor, which is the only way to guarantee a uniform result with staining.
Board Repairs and Gap Filling
Before staining, we addressed any gaps between boards and secured a couple of boards that had become slightly loose. Filling gaps at this stage is important because unfilled gaps will absorb stain differently and look dark and inconsistent in the finished floor.
Stain Application
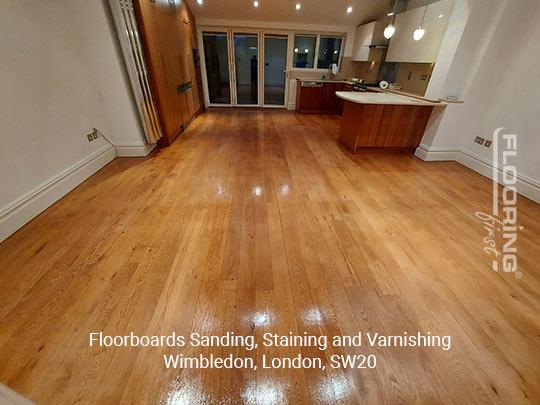
The stain was applied evenly across the whole floor in the direction of the grain, working in manageable sections to keep a wet edge and avoid lap marks. The client had chosen a mid-dark oak tone that complemented the rest of the room's interior. A second coat was applied to deepen the colour to the agreed shade.
Varnish Coats
Once the stain was fully dry, three coats of a hard-wearing polyurethane varnish were applied. This protects the stain from wear and provides the durable, easy-to-clean surface finish the client needed for a busy family home.
The Result
The finished floor bears no resemblance to the tired, discoloured boards we started with. The stain colour is even and consistent throughout, and the varnish gives a clean, durable surface. The client was particularly pleased with how the darker tone had pulled the room together visually. Floor sanding and finishing in the Wimbledon area typically costs between £25 and £45 per square metre, with staining adding a small amount to the overall price.
Frequently Asked Questions
Can the colour be changed after staining and varnishing?
Yes, but it requires a full sand back to bare wood before a different stain can be applied. Going darker is straightforward. Going lighter requires removing the existing stain entirely through sanding, which takes more time. We always advise testing stain colours on an inconspicuous area before committing to the full floor.
How long does a stained and varnished floor last before it needs redoing?
A well-applied varnish in a domestic setting typically lasts five to ten years in high-traffic areas and considerably longer in rooms with less use. Regular sweeping and occasional damp mopping with a suitable wood floor product will extend the life of the finish significantly.
Is pine a good floor to sand and stain?
Pine is one of the most common floor timbers in London properties and sands and stains well when prepared correctly. It is softer than hardwoods such as oak, so it will show more wear over time, but a good varnish provides adequate protection for most domestic uses. Many clients prefer pine precisely because of its character and grain.