Project Overview
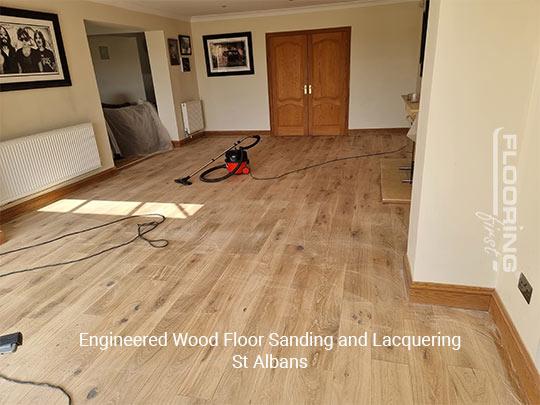
This engineered wood floor in St Albans had accumulated significant surface wear over the years and had reached the point where the old lacquer finish offered little protection and the floor simply looked tired. The owners contacted us for a professional sanding and relacquering service to restore the floor to its original condition. Engineered wood floors can be sanded and refinished when the wear layer above the ply core is thick enough, and in this case there was sufficient material to carry out a full sand. The project was completed with minimal disruption and the results were exactly what the owners were looking for.
The Challenge
One of the most important aspects of sanding an engineered wood floor is controlling the amount of material removed. The top hardwood layer on this floor was sufficient for a full sand, but the operation still required careful machine setup and consistent passes to avoid removing too much material in any one area. The previous finish had also been applied quite thickly in places, meaning the initial passes needed to be thorough enough to cut through the old lacquer completely, without going too deep into the underlying wood. Achieving a completely even surface across a full room, including the areas near walls where the large drum sander cannot reach, is always a test of technique.
Our Approach
Condition assessment. We checked the thickness of the wear layer at several points and confirmed the floor could take a full sand. We also noted the areas of heaviest wear and the state of the previous finish to plan the grit sequence appropriately.
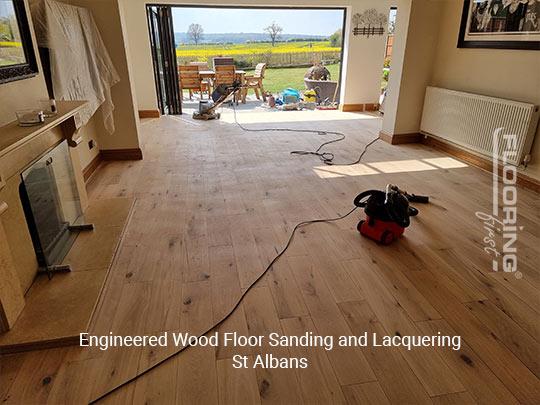
Main floor sanding. Starting with a medium grit to cut through the old finish and surface imperfections, we worked progressively through finer grits to produce a smooth, consistent surface. The advanced sanding equipment used collects the vast majority of dust during the process, leaving very little residue to clean up afterwards.
Edge and corner work. The perimeter was sanded with an edge sander, and corners were completed by hand scraper to ensure no finish remained near the walls.
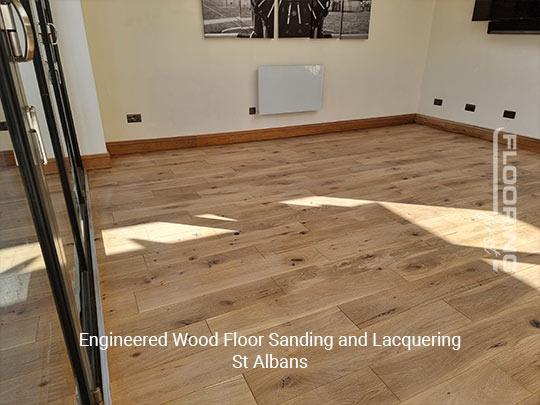
Lacquer finish. Two coats of lacquer were applied with full curing time between coats. The lacquer creates a hard, clear film on the surface that protects against scratches and everyday wear while allowing the natural appearance of the wood to show clearly.
The Result
The floor looked completely renewed after the sanding and lacquering. The surface was even and smooth throughout, the lacquer gave a clear, consistent sheen, and all the scratches and scuff marks from the previous years of use had been removed. The owners were very pleased with the outcome, and the floor is now well-protected for many years of continued use before another sand will be needed.
Frequently Asked Questions
How do I know if my engineered floor has enough wear layer left for sanding?
The safe way to check is to have a professional measure the thickness of the top layer before starting. Most engineered floors with a 3mm or thicker wear layer can take at least one full sand. Floors with a 2mm layer can usually manage a light buff and re-coat but not a full sand.
Does professional sanding equipment create a lot of dust?
Modern professional sanding equipment is fitted with dust extraction systems that collect most of the material during sanding. There is always some fine dust that settles in the room, but the quantity is significantly less than older belt sander systems, and a quick clean-up is all that is needed after the job.
How long does a professional sanding and lacquering job take?
A standard room of 20 to 30 square metres typically takes one day for sanding and the application of the first lacquer coat, and a second visit the following day for the final coat. The floor can usually be walked on lightly within 24 hours of the last coat.